Craving a delicious weeknight dinner solution? Try this easy baked honey balsamic chicken recipe, made with homemade goodness and a quick cooking method, perfect for a family favorite meal, save for later
Baked Honey Balsamic Chicken
Introduction
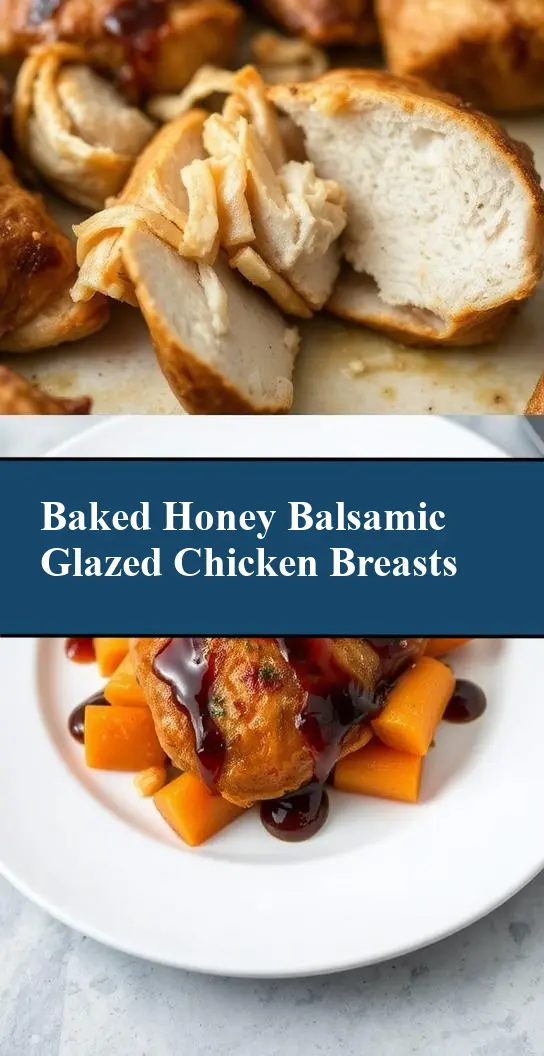
Imagine a dish that combines the sweetness of honey, the tanginess of balsamic vinegar, and the savory flavor of chicken, all baked to perfection in under 30 minutes. This Baked Honey Balsamic Chicken recipe is a game-changer for anyone looking for a flavorful, easy-to-make meal that’s perfect for weeknights or special occasions. With its balance of sweet and sour flavors, this dish is sure to become a family favorite. The best part?! It’s incredibly easy to make, requiring only a few everyday ingredients and some basic kitchen skills. Whether you’re a seasoned chef or a culinary newbie, this recipe is sure to impress.
Why This Works
- The combination of honey and balsamic vinegar creates a rich, balanced flavor profile that elevates the chicken to a whole new level.
- The recipe is incredibly easy to prepare, requiring minimal prep time and effort.
- The result is a dish that’s not only delicious but also impressive, making it perfect for serving to guests or enjoying as a special treat.
Key Ingredients
The star of this show is, of course, the chicken. We recommend using boneless, skinless chicken breasts for the best results. You’ll also need some olive oil, honey, balsamic vinegar, garlic, and your choice of herbs (we like thyme or rosemary). If you don’t have honey, you can substitute it with maple syrup or agave nectar. For a gluten-free option, be sure to choose a gluten-free balsamic vinegar. In terms of practical substitutions, you can also use chicken thighs or a combination of chicken breasts and thighs if you prefer.
Instructions
- Step 1: Preheat your oven to 400°F (200°C). Rinse the chicken breasts and pat them dry with paper towels. Season with salt, pepper, and your choice of herbs.
- Step 2: In a small bowl, whisk together the olive oil, honey, balsamic vinegar, and minced garlic. Brush the mixture evenly over both chicken breasts, making sure they’re fully coated.
- Step 3: Place the chicken breasts on a baking sheet lined with parchment paper and bake for 20-25 minutes, or until they reach an internal temperature of 165°F (74°C).
- Step 4: Remove the chicken from the oven and let it rest for a few minutes before slicing and serving. You can serve it with your choice of sides, such as roasted vegetables, mashed potatoes, or a salad.
Handy Tips
- Make sure to not overcrowd the baking sheet, as this can affect the even cooking of the chicken.
- If you’re using a meat thermometer, insert it into the thickest part of the breast to get an accurate reading.
- Don’t be afraid to experiment with different herbs and spices to find the combination that works best for you.
Heat Control
The ideal temperature for baking the chicken is 400°F (200°C). You’ll want to cook it for 20-25 minutes, or until it reaches an internal temperature of 165°F (74°C). To ensure the chicken is cooked through, check for a few key signs: the juices should run clear, the meat should feel firm to the touch, and the internal temperature should be at or above 165°F (74°C).
Crunch Factor
This dish is all about tender, juicy chicken, so you won’t need to worry about achieving a crunchy texture. However, if you want to add some crunch to your meal, you could try serving the chicken with a side of roasted vegetables or a salad with croutons.
Pro Kitchen Tricks
- Use a cast-iron skillet or oven-safe pan to cook the chicken, as this will help retain heat and promote even cooking.
- Let the chicken rest for a few minutes before slicing, as this will help the juices redistribute and the meat stay tender.
- Consider using a meat mallet or rolling pin to pound the chicken breasts to an even thickness, which will help them cook more evenly.
Storage Tips
- Let the chicken cool completely before storing it in an airtight container in the fridge. It will keep for up to 3 days.
- Reheat the chicken in the oven or microwave until it’s warmed through. You can also slice it thin and add it to salads or wraps.
- Consider freezing the chicken for up to 2 months. Simply thaw it overnight in the fridge or reheat it from frozen in the oven or microwave.
Gift Packaging Ideas
This dish isn’t typically giftable, but if you want to share it with friends or family, you could consider packaging it in a cute container or bag with some fresh herbs or a side of roasted vegetables. You could also include a jar of homemade honey or balsamic glaze for a special touch.
Flavor Variations
- 🌟 Try adding some dried or fresh herbs, such as thyme, rosemary, or parsley, to the honey and balsamic glaze for added depth of flavor.
- 🌟 Substitute the chicken with pork chops or salmon fillets for a different twist on the recipe.
- 🌟 Add some heat to the dish by incorporating red pepper flakes or sliced jalapeños into the glaze.
Troubleshooting
- Texture problems: If the chicken is overcooked, it may become dry and tough. To avoid this, make sure to cook it to the correct internal temperature and let it rest before slicing.
- Ingredient replacements: If you don’t have honey, you can substitute it with maple syrup or agave nectar. If you don’t have balsamic vinegar, you can use apple cider vinegar or white wine vinegar as a substitute.
- Over/undercooking signs: If the chicken is undercooked, it may be pink or raw in the center. If it’s overcooked, it may be dry and tough. To ensure the chicken is cooked through, check for a few key signs: the juices should run clear, the meat should feel firm to the touch, and the internal temperature should be at or above 165°F (74°C).
FAQs
- Can I freeze it? Yes, you can freeze the cooked chicken for up to 2 months. Simply thaw it overnight in the fridge or reheat it from frozen in the oven or microwave.
- Is it gluten-free? Yes, this recipe is gluten-free, making it a great option for those with gluten intolerance or sensitivity. Just be sure to choose a gluten-free balsamic vinegar.
- Can I double the recipe? Yes, you can easily double or triple the recipe to feed a larger crowd. Just be sure to adjust the cooking time accordingly.
Conclusion
This Baked Honey Balsamic Chicken recipe is a game-changer for anyone looking for a flavorful, easy-to-make meal. With its balance of sweet and sour flavors, this dish is sure to become a family favorite. Whether you’re a seasoned chef or a culinary newbie, this recipe is sure to impress. So go ahead, give it a try, and enjoy the delicious results! Don’t be afraid to experiment with different herbs and spices to find the combination that works best for you. And remember, the key to a great dish is to use high-quality ingredients and to not be afraid to try new things.