Craving something sweet and easy to make? These gooey chocolate oatmeal bars are a quick homemade treat made with rolled oats and melted chocolate, perfect for a weeknight dinner dessert, save for later and indulge in the goodness.
Gooey Chocolate Oatmeal Bars
Introduction
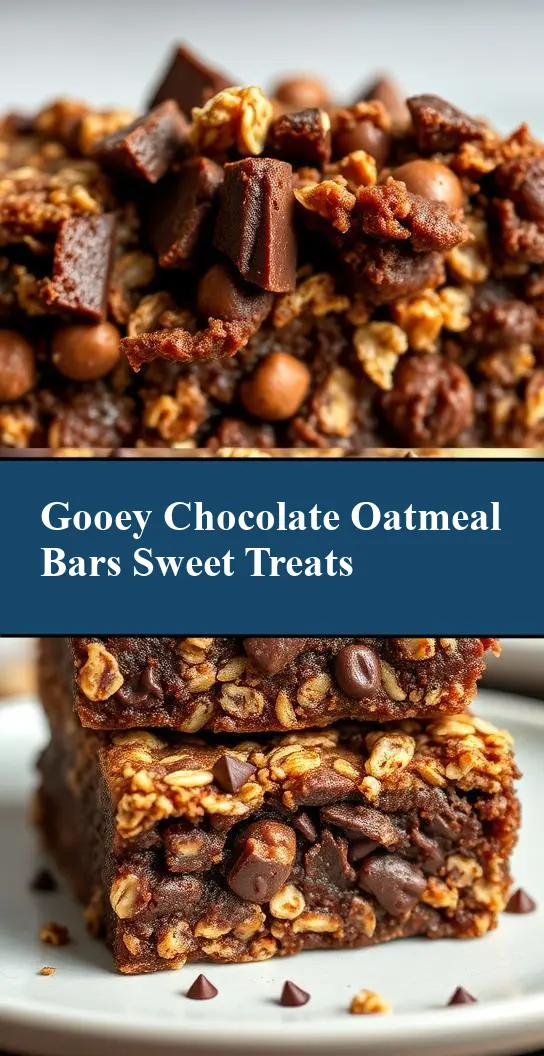
Imagine sinking your teeth into a rich, gooey, and utterly divine chocolate oatmeal bar, feeling the crunch of the oatmeal crust giving way to a velvety chocolate center. These bars are a masterclass in simplicity and flavor, requiring just a handful of everyday ingredients and minimal effort to create something truly special. Whether you’re a seasoned baker or a culinary newbie, this recipe is sure to become a staple in your kitchen, perfect for satisfying sweet tooth cravings, impressing friends and family, or simply as a comforting treat to brighten up your day.
Why This Works
- Flavor balance and ingredient accessibility: The combination of rolled oats, melted chocolate, and a hint of vanilla creates a perfectly balanced flavor profile that’s both comforting and indulgent. Plus, all the ingredients are easily found in most supermarkets, making this recipe accessible to anyone.
- Ease of preparation: With a simple mix-and-bake method, these bars come together in no time, requiring minimal preparation and effort. This makes them perfect for busy days or last-minute gatherings.
- Impressive results with minimal effort: Despite the ease of preparation, the end result is nothing short of impressive. The gooey chocolate center and crunchy oat topping are sure to wow anyone who tries them, making them perfect for potlucks, parties, or as a gift for friends and family.
Key Ingredients
The stars of the show in this recipe are the rolled oats, which provide a delicious crunch and texture, and the melted chocolate, which adds a rich, velvety element. You’ll also need some basic pantry staples like sugar, flour, and butter, as well as a few eggs and a teaspoon of vanilla extract to bring everything together. If you’re looking for substitutions, you can try using different types of chocolate or adding in some nuts or dried fruit to change up the flavor and texture.
Instructions
- Step 1: Begin by preheating your oven to 350°F (180°C). While that’s heating up, mix together your rolled oats, sugar, and flour in a large bowl. Add in some melted butter and stir until everything is well combined and you have a crumbly mixture.
- Step 2: Press half of the oat mixture into a lined or greased 8×8 inch baking dish. This will form the base! Next, melt your chocolate in a double boiler or in the microwave in 30-second increments, stirring between each interval until smooth. Pour the melted chocolate over the oat base.
- Step 3: Top the chocolate layer with the remaining oat mixture, spreading it out evenly to cover the entire surface. Don’t worry if it gets a bit messy – that’s half the fun!
- Step 4: Pop the baking dish into the oven and bake for about 20-25 minutes, or until the edges are lightly golden brown and the center is still slightly gooey. Remove from the oven and let cool completely in the pan before slicing into bars and serving.
Handy Tips
- To ensure your bars are nice and gooey, don’t overbake them! A slightly underbaked center is better than an overcooked one. If you’re unsure, it’s always better to err on the side of caution and take them out a minute or two early.
- Experiment with different types of chocolate for unique flavor profiles. White chocolate, dark chocolate, or even caramel-filled chocolate chips can add a fun twist to the recipe.
- Consider adding some nuts or dried fruit to the oat mixture for added texture and flavor. Walnuts, pecans, or cranberries work particularly well in this recipe.
Heat Control
When it comes to heat control, the key is to keep an eye on your oven temperature and baking time. You want the edges to be lightly golden brown and the center to be still slightly gooey. If you’re unsure, it’s always better to check on the bars a minute or two early and give them a little more time if needed. Remember, it’s easier to add more baking time than it is to take it away, so be patient and keep an eye on things!
Crunch Factor
The crunch factor in these bars comes from the rolled oats, which provide a delicious texture contrast to the gooey chocolate center. To ensure your bars have the perfect crunch, make sure to not overmix the oat mixture, and don’t overbake the bars. You want the oats to retain some of their texture and crunch, rather than becoming too soft or soggy.
Pro Kitchen Tricks
- Use a high-quality chocolate for the best flavor. While it may be tempting to use cheaper chocolate, trust us – it’s worth splurging on the good stuff for this recipe.
- Don’t overmix the oat mixture! You want it to be just combined, with a few streaks of butter still visible. This will help the bars retain their texture and crunch.
- Consider using a kitchen scale to measure out your ingredients. This will ensure accuracy and consistency, which is especially important when working with ingredients like chocolate and oats.
Storage Tips
- Store your bars in an airtight container at room temperature for up to 5 days. You can also freeze them for up to 2 months and thaw at room temperature when you’re ready to serve.
- Reheat your bars in the microwave or oven if you want to serve them warm. Just be careful not to overheat, as this can cause the chocolate to seize up and become gritty.
- Consider using a glass or plastic container with a tight-fitting lid to store your bars. This will help keep them fresh and prevent them from becoming stale or soggy.
Gift Packaging Ideas
These bars are perfect for gifting to friends and family, and with a little creative packaging, you can make them look almost as good as they taste! Consider wrapping individual bars in plastic wrap or wax paper and tying with a ribbon, or packaging them in a decorative tin or jar. You could also add a gift tag or card with a personal message, or include a few extra treats like chocolate chips or nuts to make the gift even more special.
Flavor Variations
- 🌟 Different spices: Try adding a pinch of cinnamon, nutmeg, or cardamom to the oat mixture for a unique flavor twist.
- 🌟 Creative toppings: Consider adding some chopped nuts, dried fruit, or even candy pieces to the top of the bars before baking for added texture and flavor.
- 🌟 Ingredient swaps: Swap out the chocolate for caramel, peanut butter, or even Nutella for a completely different flavor profile.
Troubleshooting
- Texture problems: If your bars are too hard or too soft, it may be due to overmixing or incorrect baking time. Try adjusting your technique and baking time to get the perfect texture.
- Ingredient replacements: If you’re missing an ingredient or want to try a substitution, be sure to test the recipe first to ensure the replacement works well. Some ingredients, like chocolate or oats, are crucial to the recipe and can’t be replaced with just anything.
- Over/undercooking signs: Keep an eye on your bars while they’re baking, and check for signs of overcooking like a dark brown color or hard texture. If you’re unsure, it’s always better to err on the side of caution and take them out a minute or two early.
FAQs
- Can I freeze it? Yes, you can freeze the bars for up to 2 months and thaw at room temperature when you’re ready to serve.
- Is it gluten-free? Unfortunately, this recipe contains oats and flour, which contain gluten. However, you can try substituting with gluten-free oats and flour to make a gluten-free version.
- Can I double the recipe? Yes, you can easily double or triple the recipe to make more bars. Just be sure to adjust the baking time accordingly, and keep an eye on the bars to ensure they don’t overcook.
Conclusion
And there you have it – a simple, delicious, and indulgent recipe for gooey chocolate oatmeal bars that’s sure to become a staple in your kitchen. Whether you’re a seasoned baker or a culinary newbie, this recipe is perfect for anyone looking to satisfy their sweet tooth or impress friends and family. So go ahead, get creative, and enjoy every last bite of these scrumptious bars! Don’t forget to share your experiences, tips, and variations with us, and happy baking!