What makes the perfect sweet treat? These easy homemade Kool Aid Meringues are a quick family favorite made with simple ingredients and a fun cooking method, save for later and indulge in their sweet goodness.
Kool Aid Meringues
Introduction
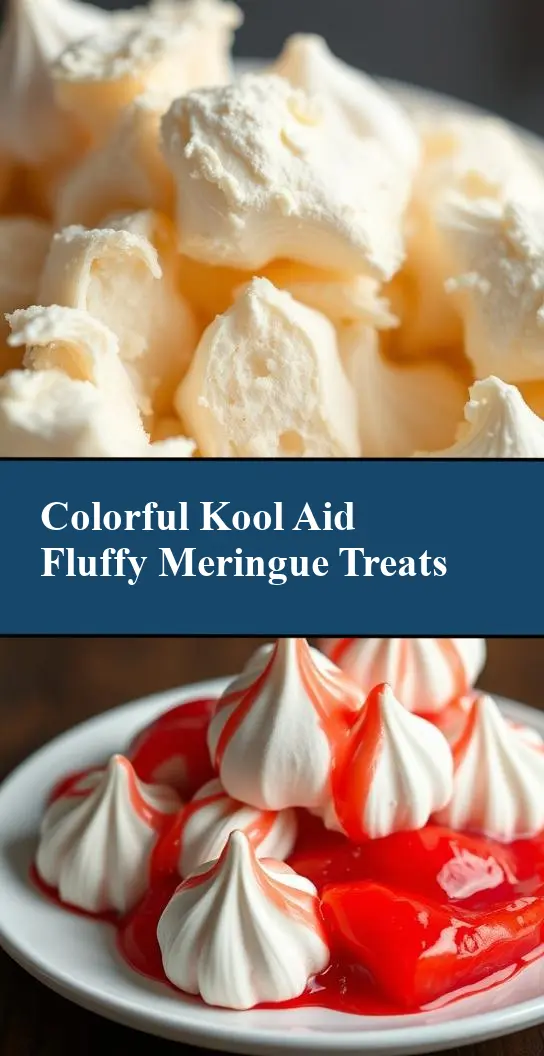
Indulge in the whimsical world of Kool Aid Meringues, a treat that combines the nostalgic charm of Kool Aid with the elegance of meringue cookies. This recipe is a masterclass in simplicity, requiring just a few everyday ingredients to create a snack that is as flavorful as it is visually appealing. The best part? It’s incredibly easy to make, allowing you to unleash your creativity in the kitchen without the need for fancy equipment or techniques. Whether you’re a seasoned baker or a novice cook, Kool Aid Meringues are the perfect project to add a splash of color and fun to your dessert repertoire.
Why This Works
- Flavor balance and ingredient accessibility: The combination of Kool Aid and meringue creates a delightful harmony of sweet and tart flavors, all achievable with ingredients you likely have on hand.
- Ease of preparation: With a straightforward mixing process and a simple baking step, these meringues are ready to delight in no time.
- Impressive results with minimal effort: Despite the simplicity of the recipe, the end result is a batch of vibrant, crispy meringues that are sure to impress friends and family alike.
Key Ingredients
The magic of Kool Aid Meringues lies in their simplicity, with the main ingredients including egg whites, granulated sugar, and, of course, Kool Aid powder. For the egg whites, ensure they are at room temperature for easier whipping. Granulated sugar provides the necessary sweetness, while Kool Aid powder is the star of the show, offering a rainbow of flavor options. Practical substitutions can include using different flavors of Kool Aid for varied taste experiences or experimenting with natural food colorings for a more subdued palette.
Instructions
- Step 1: Begin by preheating your oven to 200°F (90°C) and lining a baking sheet with parchment paper. This step is crucial for achieving the perfect crispiness.
- Step 2: In a large mixing bowl, whip the egg whites and sugar until stiff peaks form. This should take about 5-7 minutes with an electric mixer. Add the Kool Aid powder towards the end of the whipping process to distribute the color and flavor evenly.
- Step 3: Spoon the meringue mixture onto the prepared baking sheet, creating small, round shapes. You can also use a piping bag for more uniform meringues, but it’s not necessary.
- Step 4: Bake the meringues for about 1.5 to 2 hours, or until they are dry and crisp. Allow them to cool completely on the baking sheet before transferring them to an airtight container for storage.
Handy Tips
- Ensure your bowl and utensils are completely clean and dry before starting, as any moisture can prevent the egg whites from whipping properly.
- Don’t overmix the meringue mixture, as this can lead to dense, chewy meringues instead of light, crispy ones.
- Experiment with different Kool Aid flavors to create a variety pack of meringues perfect for parties or gift giving.
Heat Control
For Kool Aid Meringues, heat control is crucial. The oven should be set at a low temperature (200°F or 90°C) to slowly dry out the meringues without browning them. The baking time can vary depending on the size of your meringues and your oven’s performance, so keep an eye on them after the 1 hour mark to avoid overcooking.
Crunch Factor
Achieving the perfect crunch is the goal of baking meringues. To ensure your Kool Aid Meringues come out crispy, it’s essential to not open the oven door during the baking time and to let them cool completely on the baking sheet after baking. This gradual cooling process helps prevent moisture from entering the meringues, keeping them crisp for longer.
Pro Kitchen Tricks
- For an extra crispy exterior and a chewy interior, try baking the meringues for a shorter time, such as 45 minutes, and then letting them cool in the oven with the door ajar.
- Use a silicone mat on your baking sheet instead of parchment paper for easier meringue removal and less waste.
- Experiment with adding a pinch of salt to the meringue mixture to balance the sweetness and enhance the flavors.
Storage Tips
- Store the meringues in an airtight container to maintain their crispiness. Moisture is the enemy of meringues, so keep them away from humid environments.
- For longer storage, consider placing the container in the refrigerator, but be aware that the meringues might absorb odors from other foods.
- Meringues are best consumed fresh, but they can be stored for up to 2 weeks when kept properly.
Gift Packaging Ideas
Kool Aid Meringues make for a vibrant and thoughtful gift, especially when packaged with care. Consider placing them in decorative jars or bags, tied with a ribbon and accompanied by a gift tag with the flavor name. For a more personalized touch, you can also include a packet of the Kool Aid used, allowing the recipient to make their own batch.
Flavor Variations
- 🌟 Different spices: Infuse your meringues with a pinch of cinnamon, nutmeg, or ginger for a unique twist.
- 🌟 Creative toppings: Once the meringues are baked and cooled, you can decorate them with a drizzle of chocolate, sprinkles, or even shredded coconut for added texture and flavor.
- 🌟 Ingredient swaps: Experiment with using different types of sugar, like brown sugar for a richer flavor, or trying out natural food colorings for a more pastel palette.
Troubleshooting
- Texture problems: If your meringues turn out chewy instead of crisp, it might be due to underbaking or humidity. Try baking them for a longer time or storing them in a drier environment.
- Ingredient replacements: While egg whites are essential for meringues, you can experiment with aquafaba (the liquid from canned chickpeas) as a vegan substitute, though the results might vary.
- Over/undercooking signs: Undercooked meringues will be sticky to the touch, while overcooked ones might become too brown or brittle. Adjust your baking time accordingly based on the size of your meringues and your oven’s performance.
FAQs
- Can I freeze it? Yes, meringues can be frozen, but it’s best to do so in an airtight container to prevent moisture from affecting their texture. When you’re ready to serve, simply thaw them at room temperature.
- Is it gluten-free? Yes, Kool Aid Meringues are naturally gluten-free, making them an excellent option for those with gluten intolerance or sensitivity.
- Can I double the recipe? Absolutely, you can double or even triple the recipe if you’re planning a large gathering or want to make a big batch for gift giving. Just ensure you have enough baking sheets and oven space to accommodate the increased quantity.
Conclusion
Kool Aid Meringues are a delightful treat that combines nostalgia with elegance, perfect for any occasion. With their vibrant colors and crispy texture, they’re sure to be a hit. Don’t be afraid to experiment with different flavors and toppings to make the recipe your own, and consider sharing your creations with friends and family as a thoughtful and unique gift. Remember, the key to perfect meringues is patience and attention to detail, but the payoff is well worth the effort. So, go ahead, get creative, and indulge in the whimsical world of Kool Aid Meringues!