Are you ready for a decadent dessert? This easy Oreo pie recipe is a quick homemade treat made with creamy filling and crunchy cookies, perfect for a weeknight dinner. Save for later and indulge in this family favorite dessert tonight.
Oreo Pie Recipe
Introduction
This Oreo Pie Recipe is a dream come true for anyone with a sweet tooth. It’s surprisingly easy to make, using everyday ingredients that you might already have in your pantry. The best part? It’s incredibly versatile, allowing you to get creative with different flavors and textures. Whether you’re a fan of classic Oreos or want to mix things up with some unique variations, this recipe is the perfect starting point. With its perfect balance of creamy and crunchy, it’s sure to impress your friends and family. So, let’s dive in and explore the world of Oreo pie!
Why This Works
- Flavor balance and ingredient accessibility: This recipe strikes the perfect balance between rich, creamy filling and crunchy Oreo crust, all made with easily accessible ingredients.
- Ease of preparation: Despite its impressive results, this Oreo pie is surprisingly simple to prepare, requiring minimal cooking and effort.
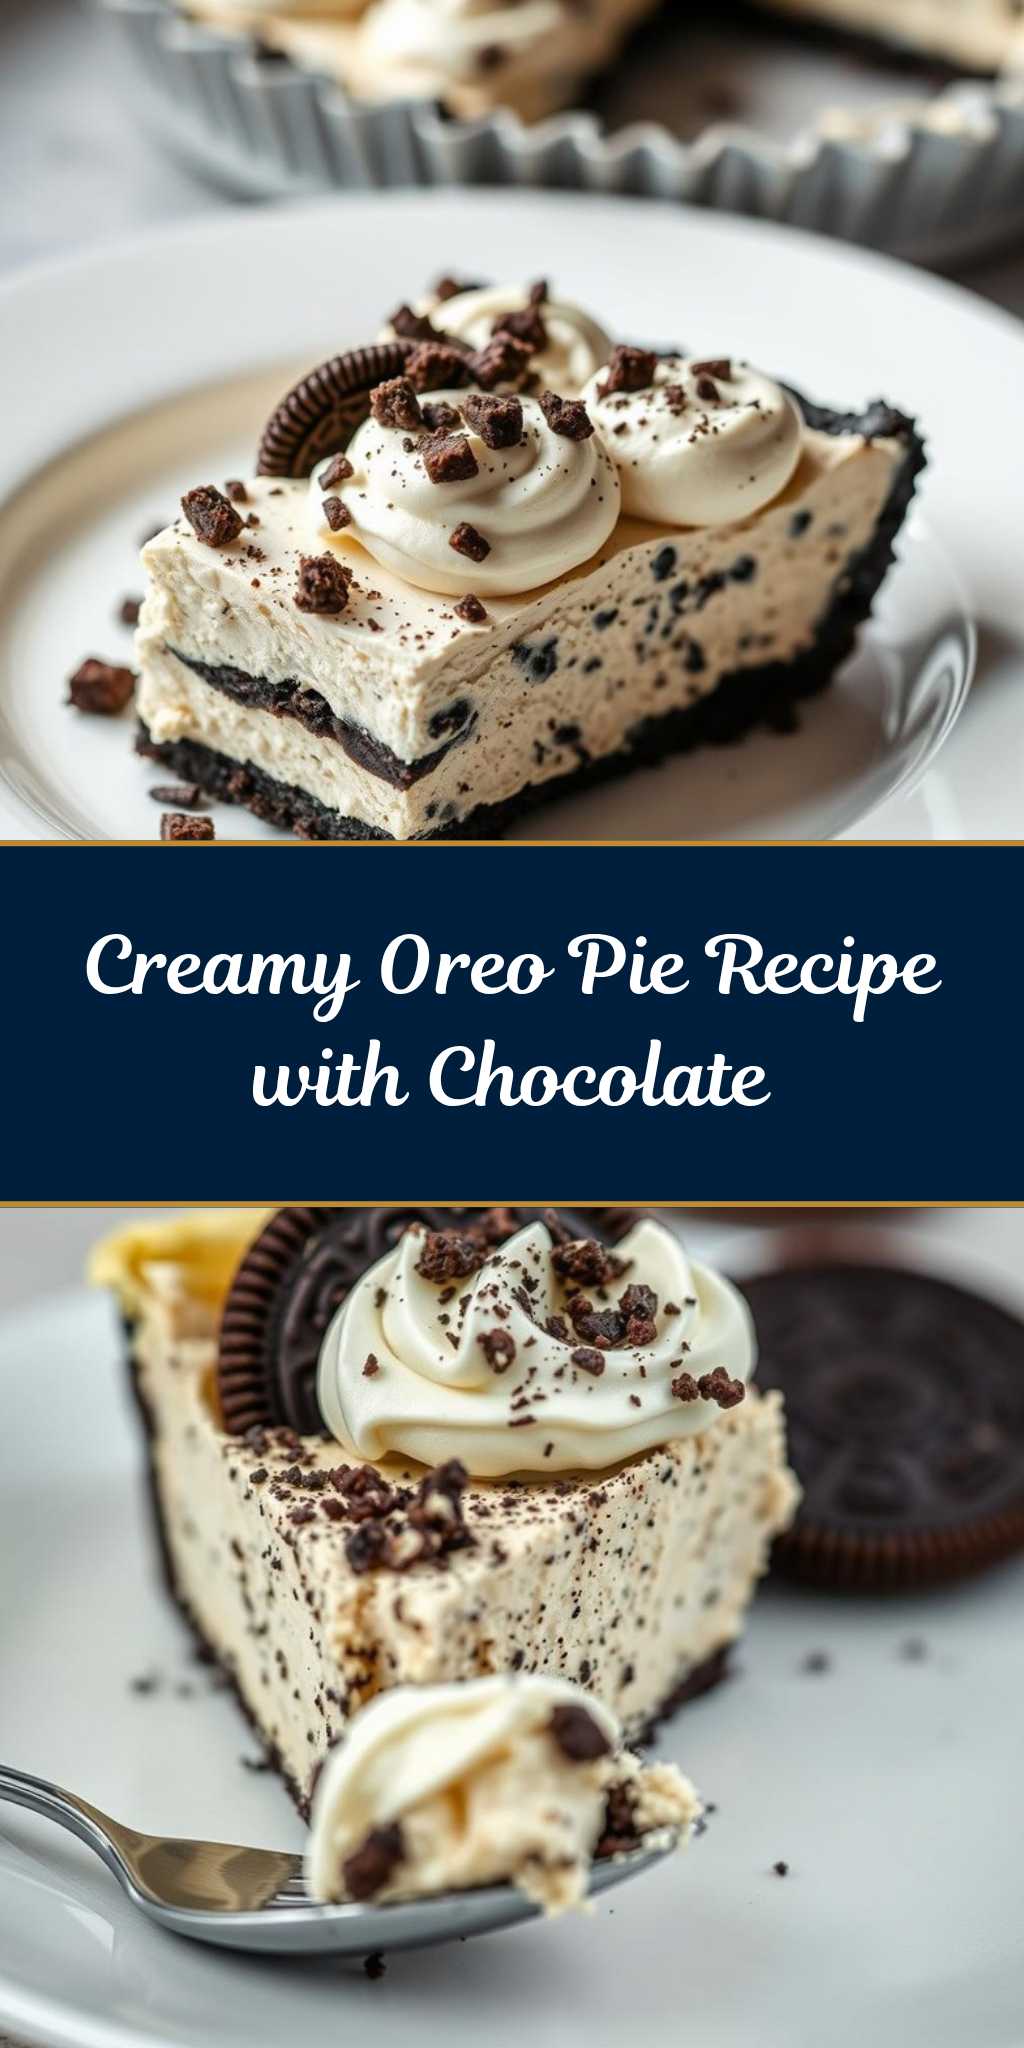
- Impressive results with minimal effort: The combination of a crunchy Oreo crust, creamy filling, and decorative toppings makes for a show-stopping dessert that’s sure to impress, all without requiring hours of intricate preparation.
Key Ingredients
The main ingredients in this Oreo Pie Recipe include a package of Oreos for the crust, a block of cream cheese, a can of sweetened condensed milk, a teaspoon of vanilla extract, and whipped cream for topping. For the crust, you can also use other types of cookies like chocolate sandwich cookies or wafers as a substitute for Oreos. The cream cheese can be replaced with a similar soft cheese, and the sweetened condensed milk can be swapped out for a mixture of sugar and heavy cream if needed. These substitutions allow you to customize the recipe to your taste preferences and dietary needs.
Instructions
- Step 1: Begin by preparing your crust. Crush a package of Oreos in a food processor until they’re finely ground, then mix in a little melted butter to hold the crumbs together. Press this mixture into the bottom of a pie dish to form the crust.
- Step 2: Next, prepare your filling. Beat a block of cream cheese until it’s smooth, then gradually add in a can of sweetened condensed milk, beating until well combined. Add a teaspoon of vanilla extract for extra flavor.
- Step 3: Pour the filling into the Oreo crust and smooth the top. Refrigerate the pie for at least a couple of hours to allow it to set.
- Step 4: Just before serving, top the pie with whipped cream and decorate with additional Oreos or other toppings of your choice. This could be chocolate shavings, chopped nuts, or even a sprinkle of edible gold dust for a luxurious touch.
Handy Tips
- To ensure your crust holds together well, don’t overmix the Oreo crumbs with the melted butter. Just stir until they’re evenly moistened.
- For a lighter texture, make sure to beat the cream cheese until it’s very smooth before adding the sweetened condensed milk.
- Avoid overbaking if you choose to bake the crust for a firmer texture. A few minutes in a low oven should suffice.
Heat Control
If you decide to bake your Oreo crust for a firmer texture, preheat your oven to a low temperature, around 300°F (150°C). Place the pie crust in the oven for just a few minutes, until it’s lightly toasted and fragrant. Keep an eye on it to avoid overbaking, which can make the crust too dark or bitter. The ideal time will depend on your oven, but it should be around 5-7 minutes. Let it cool completely before filling.
Crunch Factor
The crunch factor in this Oreo pie comes from the Oreo crust and any additional crunchy toppings you might choose, like chopped nuts or chocolate chips. To maintain the crunch of your crust, avoid overmixing the Oreo crumbs with the butter, and don’t overbake if you choose to bake it. For the filling, you can add some texture with crunchy elements like cookie pieces or candy bits, mixed into the cream cheese mixture before pouring it into the crust.
Pro Kitchen Tricks
- For a shortcut, consider using a pre-made Oreo crust or a graham cracker crust as a substitute. This can save you time and still yield great results.
- When whipping cream for topping, make sure it’s very cold. This will help it whip up faster and to a stiffer peak, perfect for topping your pie.
Storage Tips
- The Oreo pie should be stored in the refrigerator to keep it fresh. It can be made ahead of time, but it’s best to add the whipped cream topping just before serving.
- If you have leftovers, they can be stored in an airtight container in the fridge for up to 3 days. Let it come to room temperature or chill in the fridge before serving again.
- For longer storage, consider freezing the pie without the whipped topping. It can be frozen for up to 2 months, then thawed in the fridge overnight before serving.
Gift Packaging Ideas
This Oreo pie makes a wonderful gift, especially for special occasions like birthdays or holidays. Consider packaging it in a decorative pie box or a gift tin, topped with a bow or a gift tag. You could also pair it with a bag of gourmet coffee or a box of chocolates for a complete gift set. For a more rustic look, wrap the pie in parchment paper and twine, perfect for a homemade, heartfelt gift.
Flavor Variations
- Try adding different spices like cinnamon or nutmeg to the filling for a unique twist.
- Use creative toppings like caramel sauce, chopped nuts, or shaved chocolate to add texture and flavor.
- Swap out the Oreos for a different type of cookie, like peanut butter cookies or wafers, for a different flavor profile.
Troubleshooting
- If your crust doesn’t hold together, it might be due to overmixing the crumbs with the butter. Try adding a bit more melted butter to help it stick together.
- If the filling is too runny, it might not have been refrigerated long enough. Give it a few more hours in the fridge to set.
- If the whipped cream topping starts to weep or become too runny, it might be due to it being too warm. Try chilling it in the fridge for a bit before re-whipping.
FAQs
- Can I freeze it? Yes, you can freeze the Oreo pie without the whipped topping for up to 2 months. Thaw it overnight in the fridge before serving.
- Is it gluten-free? Depending on the type of cookies used for the crust, this pie might not be gluten-free. Look for gluten-free alternatives to make it accessible to those with dietary restrictions.
- Can I double the recipe? Yes, you can easily double the recipe to make a larger pie. Just keep in mind that you might need to adjust the baking time slightly if you choose to bake the crust.
Conclusion
This Oreo Pie Recipe is a versatile and delicious dessert that’s perfect for any occasion. With its easy preparation, impressive results, and endless possibilities for customization, it’s a must-try for anyone looking to satisfy their sweet tooth. Don’t be afraid to experiment with different flavors and toppings to make it your own, and enjoy sharing it with friends and family. Happy baking, and we look forward to hearing about your Oreo pie adventures!