What makes a truly decadent dessert? For me, it’s the richness of dark chocolate in a classic chocolate mousse, made easy with just a few ingredients like heavy cream and high-quality cocoa powder. This quick and homemade treat is perfect for a weeknight pick-me-up or special occasion. Save this idea for your next dinner party inspiration.
Classic Chocolate Mousse
Introduction
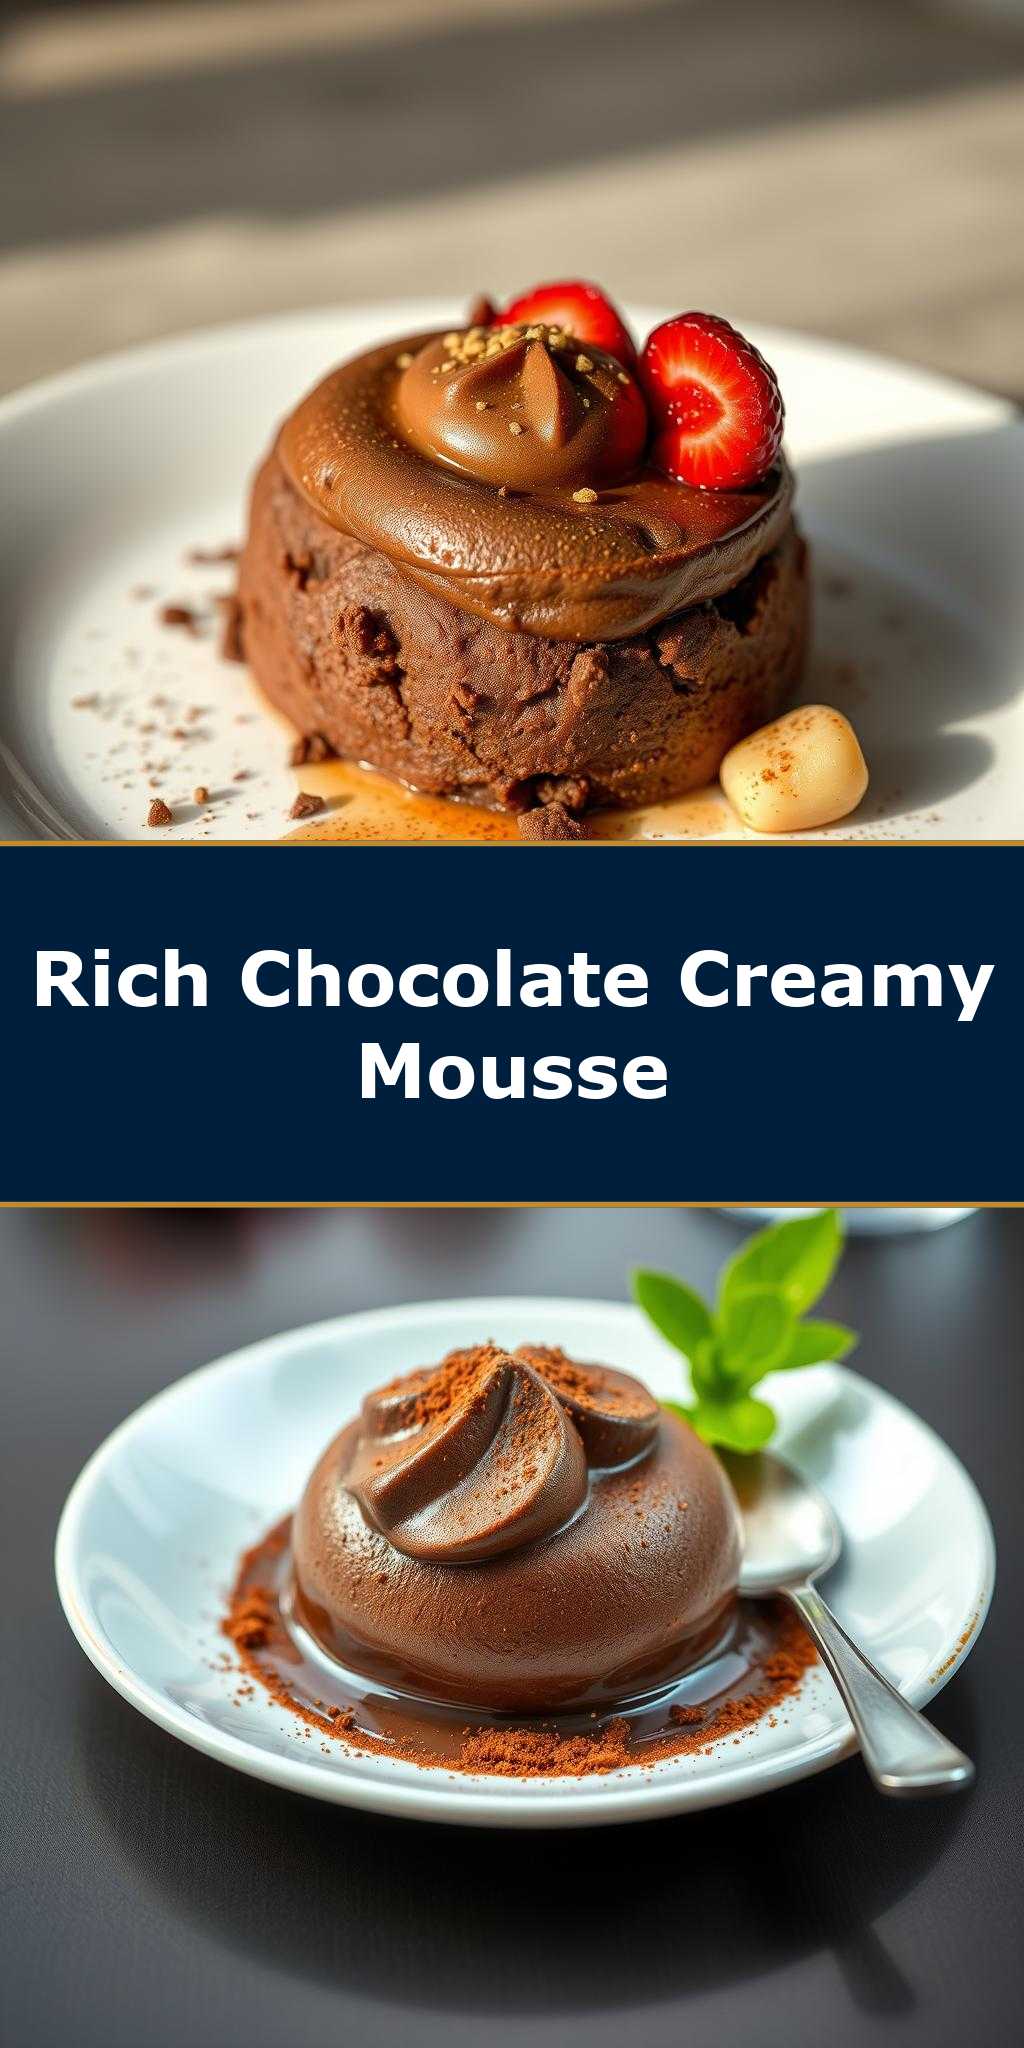
Indulge in the rich, velvety smoothness of Classic Chocolate Mousse, a dessert that embodies the perfect blend of ease, flavor, and creativity, all achievable with everyday ingredients. This decadent treat is not only a delight to the taste buds but also a testament to the magic that can happen in the kitchen with minimal fuss. Whether you’re a seasoned chef or a beginner in the culinary world, this recipe is sure to impress, requiring only a few quality ingredients and some simple yet precise steps to create a masterpiece that’s both elegant and irresistible.
Why This Works
- Flavor balance and ingredient accessibility: The combination of high-quality dark chocolate, fresh eggs, and sugar creates a deep, balanced flavor profile that’s accessible to make with commonly found ingredients.
- Ease of preparation: Despite its luxurious feel, the chocolate mousse is surprisingly easy to prepare, involving just a few key steps that don’t require specialized cooking techniques.
- Impressive results with minimal effort: The end result is a light, airy dessert that looks and tastes like it was made by a professional, making it perfect for special occasions or as a treat any day of the week.
Key Ingredients
The main ingredients in this Classic Chocolate Mousse recipe include high-quality dark chocolate (at least 70% cocoa for the best flavor), large egg whites, granulated sugar, and heavy cream. For those looking for substitutions, using high-quality milk chocolate can offer a sweeter alternative, though it will change the flavor profile significantly. Additionally, ensuring that all ingredients are at room temperature before starting can greatly improve the texture and stability of the mousse.
Instructions
- Step 1: Begin by preparing your ingredients. Chop the dark chocolate into small pieces to ensure it melts evenly and quickly. Separate the eggs, making sure no yolk gets into the whites, as this can prevent the whites from whipping properly. Measure out the sugar and heavy cream.
- Step 2: Melt the chocolate in a double boiler or in a heatproof bowl set over a pot of simmering water. Once melted, let it cool slightly to prevent it from scrambling the eggs when mixed. In a separate bowl, whip the heavy cream until it forms stiff peaks and set aside.
- Step 3: In another bowl, whisk together the egg whites and granulated sugar until stiff peaks form. This step is crucial for achieving the light and airy texture of the mousse. Fold the egg mixture into the cooled chocolate until well combined, being careful not to deflate the mixture. Then, gently fold in the whipped cream until no white streaks remain.
- Step 4: Spoon the mousse into individual serving cups or a large serving dish. Chill in the refrigerator for at least 2 hours or until set. Just before serving, you can garnish with whipped cream, chocolate shavings, or fresh fruit to add a pop of color and extra flavor.
Handy Tips
- When melting chocolate, avoid overheating, as this can cause the chocolate to seize up and become grainy. Using a double boiler or a microwave-safe bowl in short increments, stirring between each heating, can help prevent this.
- Don’t overmix the egg whites and sugar, as this can result in a mousse that’s too dense. Stop whisking once stiff peaks form.
- For a lighter mousse, make sure to fold the whipped cream into the chocolate mixture gently but thoroughly to incorporate air without deflating the mixture.
Heat Control
Heat control is crucial when melting the chocolate. Ideally, the chocolate should be melted at a low temperature to prevent burning or seizing. If using a double boiler, ensure the water does not boil vigorously, and if using a microwave, heat in short intervals (10-15 seconds) and stir well between each heating until smooth and melted.
Crunch Factor
The Classic Chocolate Mousse is designed to be smooth and airy, not crunchy. However, you can add a delightful textural contrast by topping it with crunchy elements like chopped nuts, chocolate chips, or even cookie crumbs before serving.
Pro Kitchen Tricks
- Tempering the chocolate before whipping in the eggs and cream can enhance the mousse’s stability and give it a more professional finish.
- Using room temperature ingredients can significantly improve the whipping time and stability of the egg whites and cream.
- Avoid opening the refrigerator door too frequently while the mousse is chilling, as the temperature fluctuations can affect the setting process.
Storage Tips
- Store the mousse in the refrigerator, covered with plastic wrap or aluminum foil, to prevent it from absorbing other flavors. It can be made a day in advance.
- For longer storage, the mousse can be frozen. Spoon it into an airtight container or freezer-safe bag, press out as much air as possible, and freeze for up to 3 months. Thaw overnight in the refrigerator before serving.
- Reheating is not recommended, as it can cause the mousse to melt or become too runny. Serve chilled for the best texture and flavor.
Gift Packaging Ideas
The Classic Chocolate Mousse makes a wonderful gift, especially when packaged elegantly. Consider spooning the mousse into small glass jars or ramekins, topping with a sprinkle of cocoa powder or edible flowers, and wrapping with a ribbon or decorative paper. For a more rustic look, use small wooden cups or wrap the mousse in parchment paper and tie with twine.
Flavor Variations
- Different spices: A pinch of salt, a teaspoon of espresso powder, or a few grinds of cinnamon can add depth and complexity to the mousse.
- Creative toppings: Fresh berries, caramel sauce, whipped cream, or even a sprinkle of edible gold dust can elevate the mousse to a new level of luxury.
- Ingredient swaps: Using almond milk or coconut cream instead of heavy cream can offer a non-dairy alternative, while swapping dark chocolate for white or milk chocolate changes the flavor profile entirely.
Troubleshooting
- Texture problems: If the mousse turns out too dense, it may be due to overmixing the egg whites or not folding in the whipped cream gently enough. If it’s too runny, it might not have chilled long enough or the chocolate was not cooled sufficiently before mixing.
- Ingredient replacements: Always replace ingredients with like-for-like alternatives to ensure the best results. For example, using egg replacers can affect the texture and stability of the mousse.
- Over/undercooking signs: Since this recipe doesn’t involve cooking in the traditional sense, watch for signs of overheating when melting the chocolate (it becomes grainy or separates) and under-whipping of the cream or eggs (the mousse doesn’t set properly).
FAQs
- Can I freeze it? Yes, the mousse can be frozen for up to 3 months. Thaw overnight in the refrigerator before serving.
- Is it gluten-free? Yes, this recipe is naturally gluten-free, making it suitable for those with gluten intolerance or sensitivity.
- Can I double the recipe? Yes, you can double or even triple the recipe if you’re serving a larger crowd. Just ensure you have enough bowls and utensils to handle the increased volume without cross-contamination.
Conclusion
With its simplicity, versatility, and indulgent taste, the Classic Chocolate Mousse is a recipe that’s sure to become a staple in your dessert repertoire. Whether you’re a chocolate aficionado, a beginner baker, or just someone who loves to indulge in a sweet treat, this mousse offers a world of possibilities for creativity and enjoyment. So go ahead, give it a try, and don’t be afraid to experiment with different flavors and toppings to make it your own. Happy baking, and remember, the most important ingredient in any recipe is love!