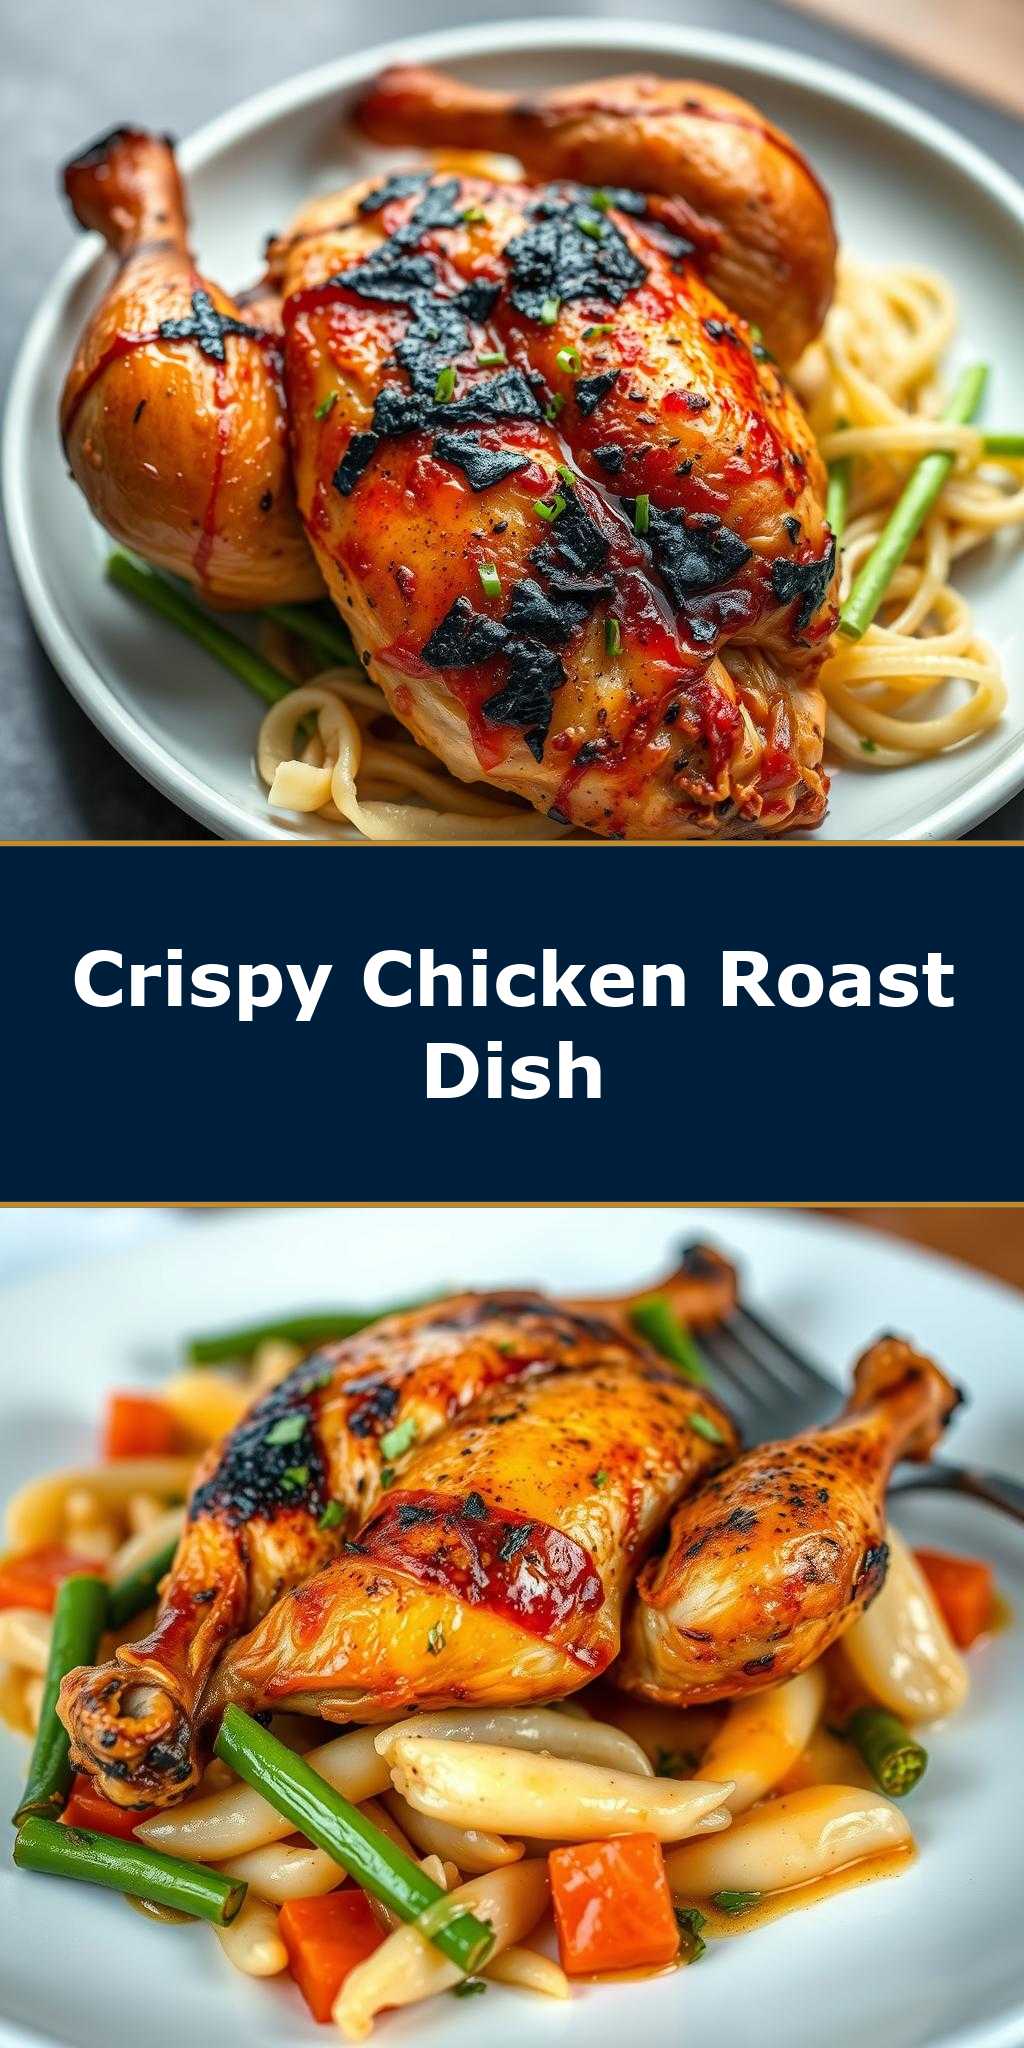
What if you could cook a whole chicken in under an hour with minimal fuss, using a simple spatchcock method and flavorful lemon and herbs. This quick and easy homemade recipe is perfect for a weeknight dinner, featuring roasted chicken with a delicious crispy skin. Save this idea for a stress-free family favorite meal that everyone will love, try it soon.
Spatchcock Chicken Recipe
Introduction
This Spatchcock Chicken Recipe is a game-changer for anyone looking to elevate their cooking skills with minimal effort. By using everyday ingredients and a simple yet effective technique, you can achieve a dish that is not only visually stunning but also packed with flavor. Spatchcocking, which involves removing the backbone of the chicken to flatten it, allows for even cooking and a crispy skin that will leave your family and friends impressed. The best part? It’s incredibly easy to make and requires just a few ingredients, making it perfect for a weeknight dinner or a special occasion.
Why This Works
- Flavor balance and ingredient accessibility: This recipe strikes a perfect balance between flavors, with the chicken, herbs, and spices coming together to create a dish that is both savory and aromatic. The ingredients are also easily accessible, making it a practical choice for home cooks.
- Ease of preparation: The spatchcock technique might seem intimidating, but it’s actually quite simple. With a few quick cuts, you can have your chicken ready for the oven in no time. The rest of the recipe involves just mixing and applying the marinade, making it a breeze to prepare.
- Impressive results with minimal effort: Despite its simplicity, this recipe yields impressive results. The chicken cooks evenly, the skin crisps up beautifully, and the flavors meld together to create a dish that looks and tastes like it was made by a professional chef.
Key Ingredients
The key ingredients in this recipe include a whole chicken (3-4 lbs), olive oil, salt, black pepper, garlic powder, onion powder, paprika, and your choice of herbs (such as thyme, rosemary, or parsley). You can also add some lemon juice or zest for extra brightness and flavor. For a spicy kick, consider adding some red pepper flakes. When it comes to substitutions, you can use different types of oil, such as avocado or grapeseed, and swap out the herbs for other options like oregano or basil.
Instructions
- Step 1: Begin by preheating your oven to 425°F (220°C). While the oven is heating up, prepare your chicken by rinsing it under cold water, patting it dry with paper towels, and removing the backbone to spatchcock it. This will help the chicken cook more evenly and prevent it from steaming instead of browning.
- Step 2: In a small bowl, mix together the olive oil, salt, black pepper, garlic powder, onion powder, paprika, and your choice of herbs. Brush the mixture all over the chicken, making sure to get some under the skin as well. This will help the flavors penetrate deeper into the meat and create a delicious, aromatic crust.
- Step 3: Place the chicken in a roasting pan or a large skillet, breast side up. If using a roasting pan, you can add some sliced onions, carrots, and potatoes around the chicken for a delicious, one-pan meal. Roast the chicken in the preheated oven for about 30-40 minutes, or until the skin is golden brown and crispy, and the internal temperature reaches 165°F (74°C).
- Step 4: Once the chicken is cooked, remove it from the oven and let it rest for 10-15 minutes before carving and serving. This will help the juices redistribute, making the chicken even more tender and flavorful. You can serve the chicken with your choice of sides, such as mashed potatoes, roasted vegetables, or a simple salad.
Handy Tips
- Make sure to pat the chicken dry with paper towels before applying the marinade, as excess moisture can prevent the skin from crisping up.
- Don’t overcrowd the roasting pan, as this can prevent the chicken from cooking evenly. If necessary, cook the chicken in batches or use a larger pan.
- Let the chicken rest for at least 10-15 minutes before carving, as this will help the juices redistribute and the meat stay tender.
Heat Control
When it comes to heat control, it’s essential to get the oven temperature just right. If the oven is too hot, the chicken can burn on the outside before it’s fully cooked on the inside. On the other hand, if the oven is too cool, the chicken can take too long to cook, leading to dry, overcooked meat. Aim for an oven temperature of 425°F (220°C), and use a meat thermometer to ensure the internal temperature reaches 165°F (74°C). You can also use the visual cues of a golden-brown skin and clear juices to determine if the chicken is cooked to perfection.
Crunch Factor
The crunch factor is all about achieving that perfect, crispy skin. To get it just right, make sure to pat the chicken dry with paper towels before applying the marinade, and don’t overcrowd the roasting pan. You can also try broiling the chicken for an extra 2-3 minutes to get the skin even crisper. Just keep an eye on it to prevent burning. For an extra crunchy texture, you can also add some crispy elements to the dish, such as toasted breadcrumbs or chopped nuts.
Pro Kitchen Tricks
- Use a cast-iron skillet or a stainless steel roasting pan to get a crispy crust on the chicken. These materials retain heat well and can help create a beautiful, golden-brown skin.
- Don’t be afraid to experiment with different marinades and seasonings to find the combination that works best for you. You can try using different herbs, spices, or citrus juices to create a unique flavor profile.
- Let the chicken rest for at least 10-15 minutes before carving, as this will help the juices redistribute and the meat stay tender. You can also use this time to prepare your sides or set the table, making the overall cooking process more efficient.
Storage Tips
- Let the chicken cool completely before storing it in an airtight container in the refrigerator. This will help prevent moisture from building up and making the chicken soggy.
- Consume the chicken within 3-4 days, or freeze it for up to 2 months. When reheating, make sure the chicken reaches an internal temperature of 165°F (74°C) to ensure food safety.
- Consider using a vacuum sealer or a zip-top bag to store the chicken, as these can help prevent air from reaching the meat and making it dry. You can also add some aromatics like onion, carrot, or celery to the container for extra flavor.
Gift Packaging Ideas
If you’re looking to give this recipe as a gift, consider packaging it in a beautiful, reusable container like a ceramic dish or a wooden crate. You can also add some decorative elements like fresh herbs, edible flowers, or a handwritten note to make it more special. For a more practical approach, you can store the chicken in an airtight container or a zip-top bag and include a card with reheating instructions and serving suggestions.
Flavor Variations
- Different spices: Try using different spice blends like cumin, coriander, or smoked paprika to create a unique flavor profile. You can also experiment with different types of pepper, such as black, white, or green peppercorns.
- Creative toppings: Add some creative toppings like toasted breadcrumbs, chopped nuts, or diced fruit to give the chicken a burst of flavor and texture. You can also try using different types of cheese, such as parmesan, feta, or goat cheese.
- Ingredient swaps: Swap out the chicken for other proteins like turkey, duck, or pork, or try using different types of vegetables like Brussels sprouts, broccoli, or sweet potatoes. You can also experiment with different types of oil, such as olive, avocado, or grapeseed.
Troubleshooting
- Texture problems: If the chicken is too dry, it may be overcooked. Try reducing the cooking time or using a meat thermometer to ensure the internal temperature reaches 165°F (74°C). If the chicken is too soggy, it may be undercooked or have too much moisture. Try patting it dry with paper towels or broiling it for an extra 2-3 minutes to crisp up the skin.
- Ingredient replacements: If you’re missing an ingredient, try substituting it with something similar. For example, you can use dried herbs instead of fresh, or swap out the garlic powder for onion powder. Just be aware that the flavor may be slightly different, so adjust the amount used accordingly.
- Over/undercooking signs: Keep an eye on the chicken’s internal temperature and visual cues like a golden-brown skin and clear juices to determine if it’s cooked to perfection. If the chicken is overcooked, it may be dry and tough. If it’s undercooked, it may be pink and juicy. Adjust the cooking time accordingly to get the best results.
FAQs
- Can I freeze it? Yes, you can freeze the chicken for up to 2 months. Just make sure to let it cool completely before storing it in an airtight container or zip-top bag.
- Is it gluten-free? Yes, this recipe is gluten-free, making it a great option for those with gluten intolerance or sensitivity. Just be aware that some ingredients like soy sauce or certain spices may contain gluten, so adjust accordingly.
- Can I double the recipe? Yes, you can easily double or triple the recipe to feed a larger crowd. Just keep in mind that you may need to adjust the cooking time accordingly, and make sure to use a large enough roasting pan or skillet to accommodate the extra chicken.
Conclusion
This Spatchcock Chicken Recipe is a game-changer for anyone looking to elevate their cooking skills with minimal effort. By following these simple steps and using everyday ingredients, you can achieve a dish that is not only delicious but also visually stunning. Don’t be afraid to experiment with different flavors and ingredients to make the recipe your own, and don’t hesitate to reach out if you have any questions or need further guidance. Happy cooking, and enjoy the oohs and aahs from your family and friends as you present this beautiful, crispy chicken at your next gathering!