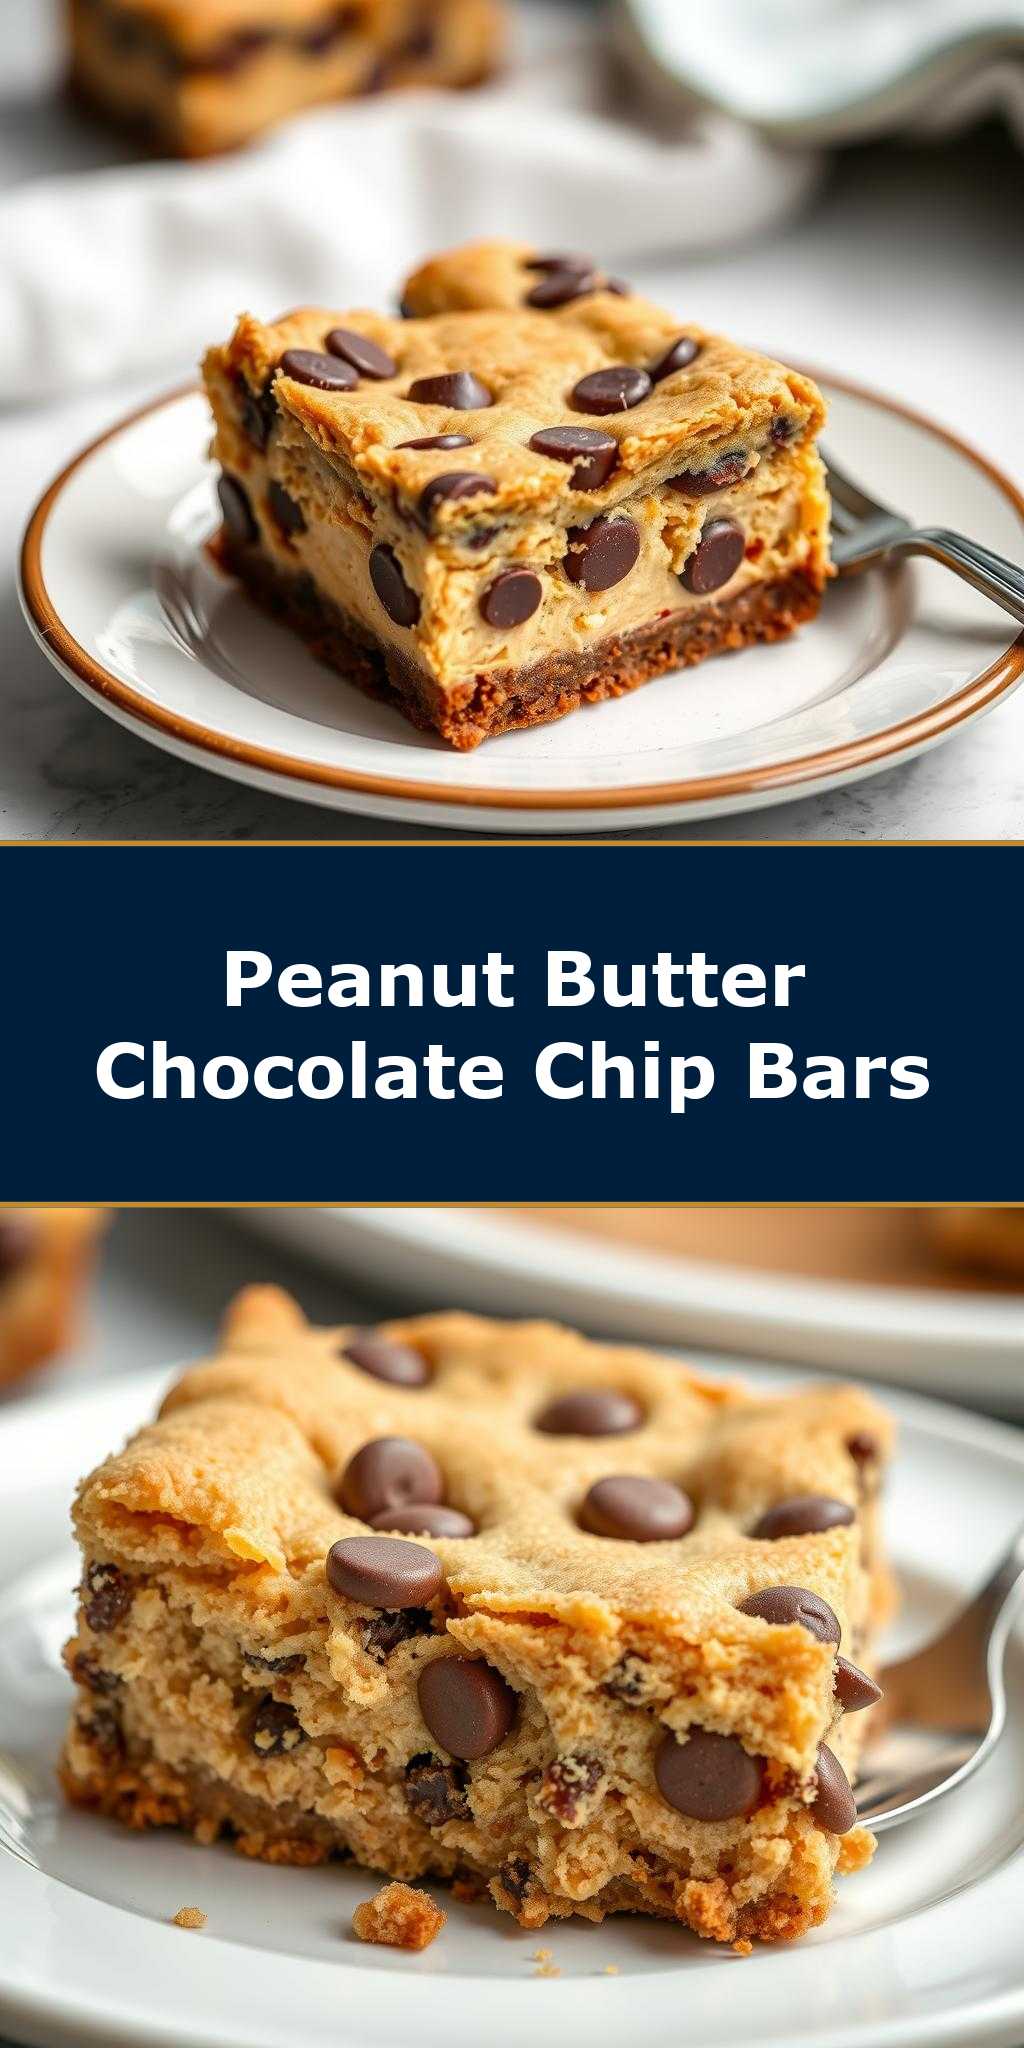
What happens when peanut butter and chocolate collide in a rich dessert. These decadent cheesecake bars are made with a homemade peanut butter cookie crust and loaded with dark chocolate chips for an easy yet impressive family favorite treat. Save this idea
Decadent Peanut Butter Chocolate Chip Cookie Cheesecake Bars
Introduction
Imagine a dessert that combines the richness of peanut butter, the indulgence of chocolate chips, and the creamy texture of cheesecake, all layered on top of a crunchy cookie base. The Decadent Peanut Butter Chocolate Chip Cookie Cheesecake Bars are a masterpiece of flavors and textures, perfect for satisfying your sweet tooth. What’s more, this recipe is surprisingly easy to make, using everyday ingredients that you might already have in your pantry. It’s a creative way to impress your friends and family with a dessert that looks and tastes like it was made by a professional. In this article, we’ll guide you through the simple steps to create this decadent treat, and share some handy tips and tricks to make it even more special.
Why This Works
- The balance of flavors between the peanut butter, chocolate chips, and cheesecake is perfectly balanced, creating a delightful taste experience.
- The ingredients used are easily accessible and affordable, making this recipe a great option for anyone looking to create a show-stopping dessert without breaking the bank.
- The preparation is surprisingly easy, requiring minimal effort and time, making it perfect for busy home bakers who want to impress their loved ones.
Key Ingredients
The main ingredients in this recipe include a cookie base made with peanut butter, sugar, eggs, and flour, topped with a creamy cheesecake mixture, and loaded with chocolate chips for added flavor and texture. You can substitute the peanut butter with other nut butters like almond or cashew butter if you prefer, and use different types of chocolate chips or add-ins like nuts or caramel bits to create a unique flavor combination. The cheesecake mixture is made with cream cheese, sugar, eggs, and vanilla extract, and can be adjusted to your taste by adding different flavorings like lemon or orange zest.
Instructions
- Step 1: Begin by preheating your oven to 350°F (180°C). Prepare the cookie base by whisking together the peanut butter, sugar, eggs, and flour in a large bowl until a dough forms. Press the dough into a lined or greased 8-inch square baking pan.
- Step 2: Bake the cookie base for 20-25 minutes, or until it’s lightly golden brown. While the cookie base is baking, prepare the cheesecake mixture by beating the cream cheese, sugar, eggs, and vanilla extract in a separate bowl until smooth.
- Step 3: Once the cookie base is ready, pour the cheesecake mixture over the top and smooth out the surface. Sprinkle the chocolate chips over the cheesecake mixture and use a knife or spatula to create a swirly design.
- Step 4: Bake the cheesecake for an additional 25-30 minutes, or until the edges are set and the center is just slightly jiggly. Remove the bars from the oven and let them cool completely in the pan before slicing and serving.
Handy Tips
- To ensure that your cookie base is evenly baked, rotate the pan halfway through the baking time.
- Don’t overmix the cheesecake mixture, as this can cause it to become tough and dense.
- Use high-quality chocolate chips for the best flavor, and consider adding other mix-ins like nuts or caramel bits to create a unique flavor combination.
Heat Control
When baking the cookie base and cheesecake, it’s essential to keep an eye on the temperature and timing to ensure that the bars are cooked to perfection. The ideal temperature is 350°F (180°C), and the baking time will depend on your oven and the size of your pan. Keep an eye on the bars after 20-25 minutes, and check for doneness by gently jiggling the pan. If the edges are set and the center is just slightly jiggly, the bars are ready.
Crunch Factor
The crunch factor in these bars comes from the cookie base, which should be lightly golden brown and crispy after baking. To achieve this, make sure to press the dough evenly into the pan and bake for the recommended time. If you prefer a chewier cookie base, you can bake for a few minutes less. The cheesecake mixture will add a creamy texture to the bars, while the chocolate chips will provide a sweet and indulgent flavor.
Pro Kitchen Tricks
- To ensure that your bars are evenly cut and look professional, use a sharp knife and cut them when they’re completely cool.
- Consider adding a sprinkle of sea salt or a drizzle of caramel sauce to the top of the bars for added flavor and texture.
- To make the bars more impressive, use a pastry bag or piping bag to create a decorative border around the edges.
Storage Tips
- Store the bars in an airtight container at room temperature for up to 3 days.
- For longer storage, wrap the bars individually in plastic wrap or aluminum foil and freeze for up to 2 months.
- To reheat, simply thaw the bars at room temperature or reheat in the microwave for a few seconds.
Gift Packaging Ideas
These bars are perfect for gift-giving, and can be packaged in a variety of creative ways. Consider wrapping individual bars in cellophane or plastic wrap and tying with a ribbon, or placing a few bars in a decorative tin or jar. You can also add a personal touch by including a handwritten note or a sprinkle of decorative toppings like sprinkles or chopped nuts.
Flavor Variations
- Try adding different spices like cinnamon or nutmeg to the cookie base for a unique flavor combination.
- Use different types of chocolate chips or add-ins like nuts or caramel bits to create a unique flavor profile.
- Swap out the peanut butter for other nut butters like almond or cashew butter for a different flavor.
Troubleshooting
- If the cookie base is too crispy, try baking for a few minutes less or using a lower oven temperature.
- If the cheesecake mixture is too runny, try adding a little more flour or baking for a few minutes longer.
- If the bars are too dense, try using a higher-quality cream cheese or adding a little more sugar to the cheesecake mixture.
FAQs
- Can I freeze it? Yes, you can freeze the bars for up to 2 months. Simply wrap individual bars in plastic wrap or aluminum foil and store in a freezer-safe bag.
- Is it gluten-free? No, this recipe contains gluten due to the presence of flour in the cookie base. However, you can try substituting the flour with a gluten-free alternative to make the recipe gluten-free.
- Can I double the recipe? Yes, you can double the recipe to make a larger batch of bars. Simply multiply the ingredients and use a larger baking pan.
Conclusion
In conclusion, the Decadent Peanut Butter Chocolate Chip Cookie Cheesecake Bars are a show-stopping dessert that’s perfect for any occasion. With their rich flavors, creamy texture, and crunchy cookie base, they’re sure to impress your friends and family. By following the simple steps and tips outlined in this recipe, you can create a truly decadent treat that’s sure to become a favorite. So go ahead, get creative, and indulge in the rich flavors of these delicious bars!