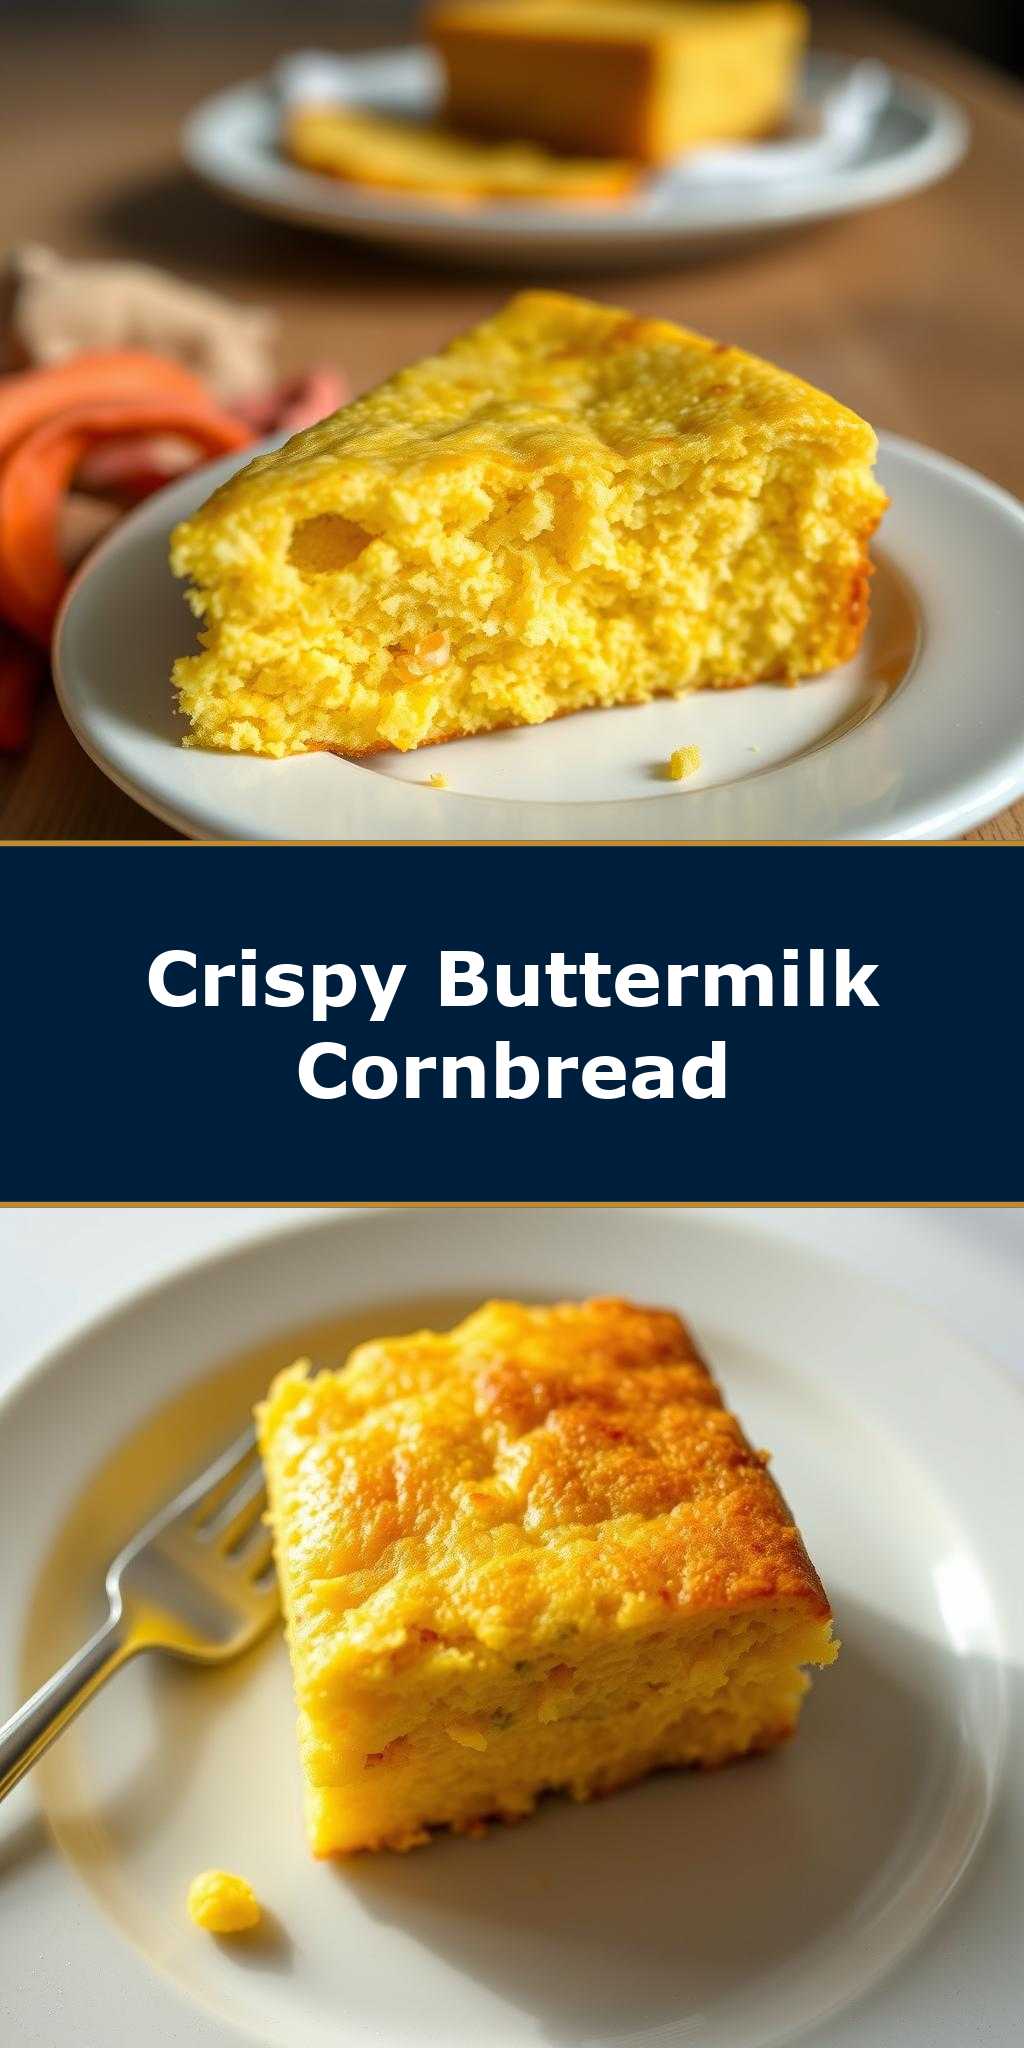
What makes the perfect comfort food side dish? For me, it’s a warm slice of homemade Buttermilk Cornbread, fresh from the oven with a crispy edge and tender crumb, thanks to the creamy tang of buttermilk. This easy weeknight dinner staple is a family favorite, and with simple ingredients like cornmeal and butter, it’s a quick solution for any meal. Save this idea for your next family gathering or try it soon as a delicious accompaniment to your favorite soups and stews.
Buttermilk Cornbread
Introduction
Imagine a warm, sunny day, surrounded by the comforting aroma of freshly baked cornbread, its golden crust glistening with a subtle sheen of butter. The simplicity of combining everyday ingredients like cornmeal, flour, and buttermilk to create a dish that is not only delicious but also steeped in tradition and nostalgia, is truly one of the joys of cooking. This buttermilk cornbread recipe is a masterclass in ease, flavor, and creativity, perfect for beginners and seasoned cooks alike. With its moist texture, slightly crumbly edges, and the depth of flavor that only buttermilk can provide, this cornbread is sure to become a staple in your kitchen. So, let’s dive into the world of buttermilk cornbread and explore what makes it so special.
Why This Works
- Flavor balance and ingredient accessibility: The combination of cornmeal, sugar, eggs, and buttermilk creates a perfect balance of flavors, from the slight sweetness to the tanginess of the buttermilk, all of which are easily accessible in most supermarkets.
- Ease of preparation: The beauty of this recipe lies in its simplicity. With a straightforward list of ingredients and a preparation process that involves minimal steps, it’s a dish that can be whipped up in no time, perfect for a quick weeknight dinner or a weekend brunch.
- Impressive results with minimal effort: Despite the ease of preparation, the end result is nothing short of impressive. The cornbread emerges from the oven with a beautiful golden crust, a moist interior, and a flavor that is both comforting and sophisticated, sure to impress family and friends alike.
Key Ingredients
The backbone of this buttermilk cornbread recipe consists of a few key ingredients, each playing a vital role in the final product. Cornmeal provides the base flavor and texture, while all-purpose flour adds lightness and structure. Buttermilk is the star of the show, contributing a tangy flavor and moisture that elevates the cornbread to the next level. Eggs bind the ingredients together, and a touch of sugar balances out the savory flavors. For those looking for substitutions, almond milk or soy milk with a tablespoon of white vinegar or lemon juice can mimic the acidity of buttermilk, though the flavor and texture might slightly differ. Furthermore, for a gluten-free version, consider replacing the all-purpose flour with a gluten-free flour blend.
Instructions
- Step 1: Begin by preheating your oven to 400°F (200°C). While the oven is warming up, prepare your ingredients. In a large bowl, whisk together 2 cups of cornmeal, 1 cup of all-purpose flour, 1 teaspoon of salt, 1/2 teaspoon of baking soda, and 1 tablespoon of sugar. In a separate bowl, whisk 2 large eggs and 1 cup of buttermilk until well combined.
- Step 2: Add the wet ingredients to the dry ingredients and stir until just combined. The batter should still be slightly lumpy. If using any additional flavorings such as diced jalapeños or grated cheese, fold them into the batter at this stage.
- Step 3: Pour the batter into a greased 9-inch round cake pan or an 8-inch square baking dish. Smooth the top and ensure the batter is evenly distributed. If desired, sprinkle a little extra cornmeal or grated cheese on top for added texture and flavor.
- Step 4: Bake the cornbread for about 20-25 minutes, or until a toothpick inserted into the center comes out clean. The top should be golden brown, and the edges might be slightly darker. Remove from the oven and let cool for a few minutes before slicing and serving.
Handy Tips
- When mixing the batter, be careful not to overmix, as this can lead to a dense cornbread. Stop mixing once the ingredients are just combined, and the batter still retains a bit of its lumpy texture.
- For an extra crispy crust, try baking the cornbread in a preheated cast-iron skillet. The iron retains heat beautifully and can give the cornbread a delightful crunch on the bottom and sides.
- Don’t open the oven door during the baking time, as this can cause the cornbread to sink or not cook evenly. Instead, rely on the baking time and check for doneness by inserting a toothpick into the center.
Heat Control
Heat control is crucial when baking cornbread. The ideal temperature is 400°F (200°C), which helps the cornbread cook quickly and evenly, resulting in a beautifully golden crust. It’s also important to ensure your oven is at the correct temperature before baking. An oven thermometer can be a handy tool for this. The baking time will depend on the size of your cornbread and your oven’s performance, but as a general rule, a 9-inch round cornbread will take about 20-25 minutes to cook through.
Crunch Factor
Achieving the perfect crunch factor in cornbread is all about the baking process. A combination of the right baking temperature and not overmixing the batter can help ensure that your cornbread has a beautifully crispy crust on the outside and a tender, moist interior. For an extra crunchy top, you can also try broiling the cornbread for an additional 1-2 minutes after baking, though keep a close eye to prevent burning.
Pro Kitchen Tricks
- Resting the batter: Allowing the batter to rest for 30 minutes to an hour before baking can help the cornmeal absorb the liquid ingredients more evenly, potentially leading to a more consistent texture.
- Using different types of cornmeal: Experiment with fine, medium, or coarse cornmeal to change the texture of your cornbread. Coarse cornmeal will give a more rustic, textured cornbread, while fine cornmeal will result in a smoother, more cake-like texture.
- Cleaning as you go: To make cleanup easier, wash your bowls and utensils as you go. This habit not only saves time in the long run but also prevents ingredients from drying onto surfaces, making them harder to clean.
Storage Tips
- Leftover cornbread can be stored at room temperature for up to 2 days. Wrap it tightly in plastic wrap or aluminum foil to keep it fresh.
- For longer storage, consider freezing the cornbread. Wrap it tightly in plastic wrap or aluminum foil and place it in a freezer-safe bag. Frozen cornbread will keep for up to 3 months. To reheat, thaw overnight at room temperature and then warm it up in the oven at 350°F (175°C) for about 10-15 minutes, or until heated through.
- When reheating cornbread, a toaster oven is a great tool to use. It heats the cornbread evenly and can help retain its moisture better than a conventional oven.
Gift Packaging Ideas
If you’re considering gifting your buttermilk cornbread, there are several creative ways to package it. One idea is to wrap the cooled cornbread in a decorative towel or cloth, tied with a ribbon. You could also place slices of cornbread in a gift tin or a Mason jar, perfect for a rustic, homemade touch. Adding a personal note or a recipe card with suggestions for serving or reheating can make the gift even more special and thoughtful.
Flavor Variations
- Different spices: Consider adding a pinch of cayenne pepper for a spicy kick, smoked paprika for a smoky flavor, or dried herbs like thyme or rosemary for an aromatic twist.
- Creative toppings: Before baking, sprinkle the top of the cornbread with grated cheese, diced bacon, or chopped scallions for added flavor and texture.
- Ingredient swaps: For a vegan version, replace the eggs with flax eggs and use a non-dairy milk. You could also experiment with different types of flour, like whole wheat or oat flour, for a nuttier flavor.
Troubleshooting
- Texture problems: If your cornbread turns out too dense, it might be due to overmixing the batter. Try to mix the ingredients just until they come together, and then stop. If it’s too crumbly, it could be a sign that the cornbread is overcooked or that there wasn’t enough liquid in the batter.
- Ingredient replacements: If you find yourself without buttermilk, you can make a substitute by mixing 1 cup of milk with 1 tablespoon of white vinegar or lemon juice. Let it sit for 5-10 minutes to thicken and curdle before using.
- Over/undercooking signs: An undercooked cornbread will be soggy in the center and might not hold its shape well when removed from the pan. Overcooked cornbread will be dry and might have a darker than desired crust. Keep an eye on the baking time and check for doneness frequently towards the end of the baking time.
FAQs
- Can I freeze it? Yes, cornbread can be frozen. Wrap it tightly and place it in a freezer-safe bag. It will keep for up to 3 months.
- Is it gluten-free? The traditional recipe includes all-purpose flour, which contains gluten. However, you can make a gluten-free version by substituting the flour with a gluten-free flour blend.
- Can I double the recipe? Yes, you can double the recipe. Just keep in mind that you might need to adjust the baking time slightly. A larger cornbread will take longer to cook through, so check for doneness regularly to avoid overcooking.
Conclusion
Buttermilk cornbread is more than just a recipe; it’s an experience that combines the simplicity of traditional cooking with the joy of sharing delicious food with others. With its moist texture, tangy flavor, and the ease with which it can be customized to suit any taste, it’s a dish that is sure to become a favorite. Whether you’re a seasoned cook or just starting out, this recipe is a great place to begin your culinary journey. So, go ahead, give it a try, and enjoy the process of creating something truly special. And don’t forget to share your creations and the joy of cooking with those around you, because in the end, that’s what makes any dish truly unforgettable.