What makes a classic Italian dish truly unforgettable? For me, it’s all about the homemade touch, especially when it comes to a simple yet satisfying weeknight dinner like manicotti. Made with tender pasta tubes, rich ricotta cheese, and a quick homemade sauce, this easy recipe is sure to become a family favorite. Save this idea for a delicious meal to try soon.
Manicotti Recipe
Introduction
Imagine a dish that combines the comfort of pasta, the richness of cheese, and the simplicity of everyday ingredients, all wrapped up in a delightful package that’s both easy to make and impressive to serve. That’s what you get with this Manicotti recipe, a classic Italian dish that’s perfect for family dinners, special occasions, or even a quick weeknight meal. The beauty of Manicotti lies in its versatility and accessibility, allowing you to create a flavorful, satisfying meal using ingredients you likely have on hand, with the option to get creative and make it your own.
Why This Works
- Flavor balance and ingredient accessibility are key to this recipe’s success, ensuring that every bite is a perfect blend of tastes and textures without requiring a trip to a specialty store.
- Ease of preparation is another significant advantage, as the steps to prepare Manicotti are straightforward and can be completed with minimal fuss, making it a great option for beginners or those short on time.
- Impressive results with minimal effort are perhaps the most compelling reason to give this recipe a try, as the end result looks and tastes like it was prepared by a professional, sure to impress family and friends alike.
Key Ingredients
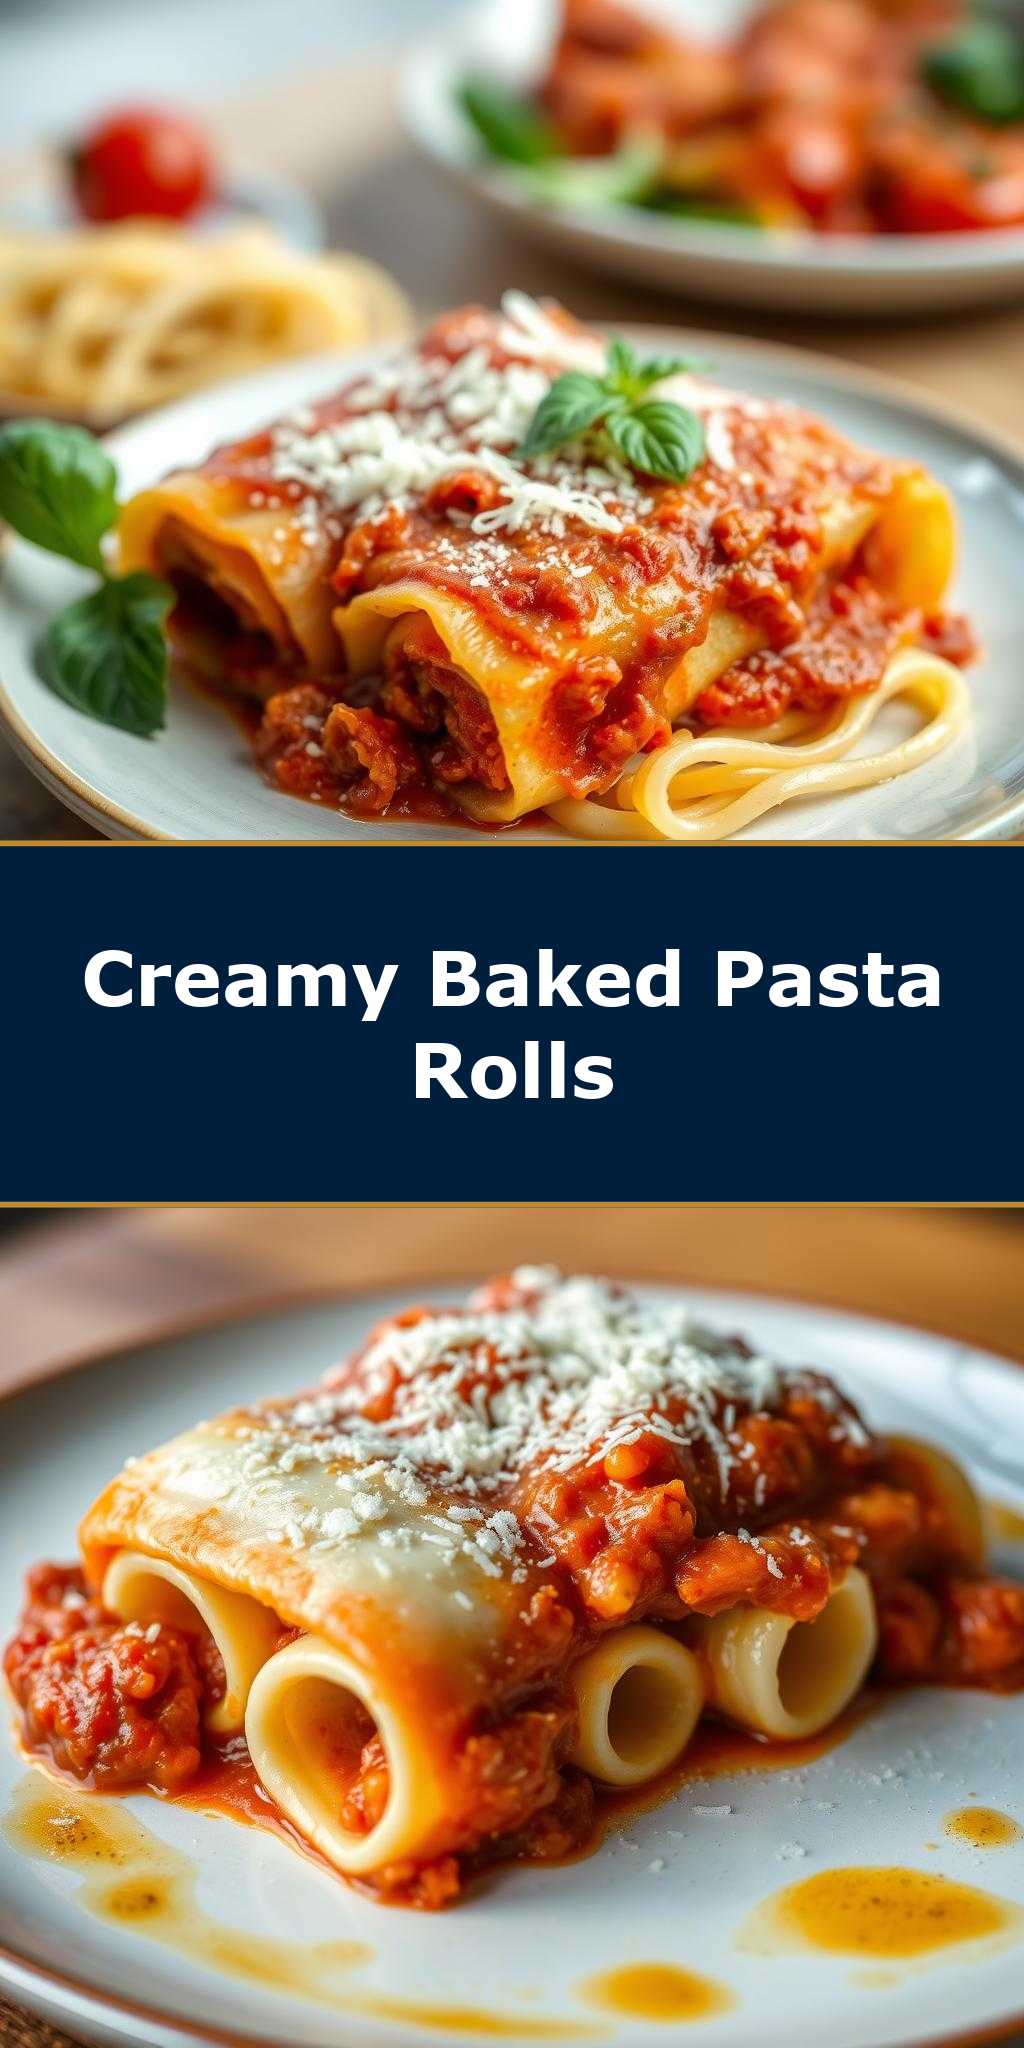
The main ingredients for Manicotti include pasta tubes, ricotta cheese, mozzarella cheese, parmesan cheese, eggs, salt, pepper, and your choice of sauce, which could be a homemade or store-bought marinara or a creamy Alfredo. For added flavor, you might also include chopped spinach, basil, or other herbs, and some grated nutmeg. Practical substitutions could include using different types of cheese or adding protein like cooked sausage or chicken to the ricotta mixture. The pasta tubes are the foundation, providing a gentle, cylindrical shape that’s perfect for filling and baking.
Instructions
- Step 1: Begin by preheating your oven to 375°F (190°C). While that’s heating up, cook your Manicotti pasta tubes according to the package instructions until they’re al dente, then set them aside to cool. This step is crucial as it ensures the pasta doesn’t become too soft or mushy during baking.
- Step 2: In a large mixing bowl, combine the ricotta cheese, mozzarella cheese, parmesan cheese, eggs, salt, pepper, and any additional herbs or spices you’re using. Mix this filling thoroughly until it’s smooth and well combined. The quality of your cheese will greatly impact the flavor, so choose the best you can find.
- Step 3: To assemble the Manicotti, lay a cooked pasta tube flat and fill it with the ricotta mixture, placing it in a baking dish as you go. Repeat this process with the remaining tubes and filling. Once all the tubes are filled and in the baking dish, cover them with your chosen sauce and top with additional mozzarella cheese.
- Step 4: Cover the baking dish with aluminum foil and bake for about 25-30 minutes, then remove the foil and continue baking for an additional 10-15 minutes, or until the cheese is melted and bubbly. Remove from the oven and let it rest for a few minutes before serving. This final step is where the magic happens, as the flavors meld together and the cheese becomes golden and inviting.
Handy Tips
- One of the most helpful tips for making Manicotti is to not overfill the pasta tubes, as this can make them difficult to seal and may result in filling spilling out during baking. Also, consider using a piping bag to fill the tubes for a neater and more efficient process.
Heat Control
Heat control is crucial when baking Manicotti. The ideal temperature is 375°F (190°C), and the baking time should be around 35-45 minutes in total. It’s essential to check the dish periodically to avoid overcooking, which can be indicated by the top becoming too brown or the sauce starting to dry out. Proper doneness is achieved when the cheese is melted, bubbly, and slightly golden on top.
Crunch Factor
The desired texture for Manicotti is tender pasta tubes filled with a creamy ricotta mixture, all enveloped in a rich, tangy sauce and melted cheese. To achieve this, ensure your pasta is al dente before filling and baking, and don’t overbake, as this can cause the pasta to become mushy and the top layer of cheese to become too crispy.
Pro Kitchen Tricks
- A pro tip for making your Manicotti truly stand out is to add a layer of freshness on top, such as a sprinkle of chopped basil or a drizzle of high-quality extra virgin olive oil, just before serving. This adds a bright, vibrant note to the dish that complements the rich flavors of the cheese and sauce.
Storage Tips
- For storing leftovers, allow the Manicotti to cool completely, then cover it tightly with plastic wrap or aluminum foil and refrigerate for up to 3 days. For longer storage, consider freezing either the filled but unbaked Manicotti or the baked dish. When reheating, a gentle oven heat (around 300°F or 150°C) is recommended to prevent drying out the cheese or overcooking the pasta.
Gift Packaging Ideas
While Manicotti might not be the first dish that comes to mind when thinking of gifts, it can actually be a thoughtful and appreciated present, especially for new homeowners, families with young children, or anyone who loves Italian food. Consider packaging a batch of freshly baked Manicotti in a decorative tin or a microwave-safe container, accompanied by a jar of homemade marinara sauce and a bag of garlic bread for a complete meal gift.
Flavor Variations
- Different spices, such as nutmeg or Italian seasoning, can add unique twists to your Manicotti.
- Creative toppings, like chopped olives, artichoke hearts, or sun-dried tomatoes, can provide additional flavor dimensions.
- Ingredient swaps, such as using goat cheese instead of ricotta or adding some diced ham, can also customize the dish to your taste preferences.
Troubleshooting
- Texture problems, such as mushy pasta or too-dry filling, can often be resolved by adjusting cooking times or the moisture content of the filling.
- Ingredient replacements, like using vegan cheese alternatives or gluten-free pasta, can help accommodate dietary restrictions.
- Over/undercooking signs, such as an overly browned top or a cold center, should be watched for to ensure the dish is cooked to perfection.
FAQs
- Can I freeze it? Yes, Manicotti can be frozen, either before or after baking, making it a great option for meal prep or future meals.
- Is it gluten-free? Traditional Manicotti is not gluten-free due to the pasta, but gluten-free pasta alternatives can be used to make a gluten-free version.
- Can I double the recipe? Absolutely, Manicotti can be easily scaled up or down depending on your needs, just be sure to adjust the baking time accordingly if making a larger batch.
Conclusion
This Manicotti recipe is a versatile and delicious addition to any meal repertoire, offering a blend of comforting pasta, rich cheese, and savory sauce that’s sure to please a variety of palates. Whether you’re a seasoned chef or a culinary beginner, the steps are straightforward, and the result is well worth the effort. Feel free to experiment with different fillings, sauces, and toppings to make the dish your own, and don’t hesitate to share your creations with friends and family. With its ease of preparation, impressive presentation, and adaptability, Manicotti is a recipe that’s sure to become a favorite.