What’s the secret to a decadent dessert with minimal effort? These easy no-bake Samoa truffles are made with creamy caramel and crunchy cookies for a quick homemade treat that’s perfect for any weeknight. Save this idea for a family favorite dessert to make soon.
Easy No-Bake Samoa Truffles Recipe
Introduction
Indulge in the rich flavors of Samoa cookies without the hassle of baking with our Easy No-Bake Samoa Truffles Recipe. This creative twist on a classic favorite combines the perfect balance of caramel, coconut, and chocolate, all in a bite-sized truffle. Using everyday ingredients and requiring no baking, this recipe is perfect for those looking to satisfy their sweet tooth without spending hours in the kitchen. The best part? It’s incredibly easy to make and customize, allowing your creativity to shine through in every delicious bite.
Why This Works
- Flavor balance and ingredient accessibility: Our recipe ensures that each truffle is packed with a harmonious blend of flavors, from the sweetness of caramel and chocolate to the freshness of coconut, all using ingredients easily found in most grocery stores.
- Ease of preparation: With no baking required, this recipe simplifies the process of creating a decadent dessert. It’s perfect for beginners or those short on time, as it involves minimal cooking and straightforward mixing and chilling steps.
- Impressive results with minimal effort: Despite its simplicity, the end result is nothing short of impressive. These truffles are perfect for potlucks, gift-giving, or simply enjoying as a treat, and they’re sure to impress anyone with their rich flavors and elegant presentation.
Key Ingredients
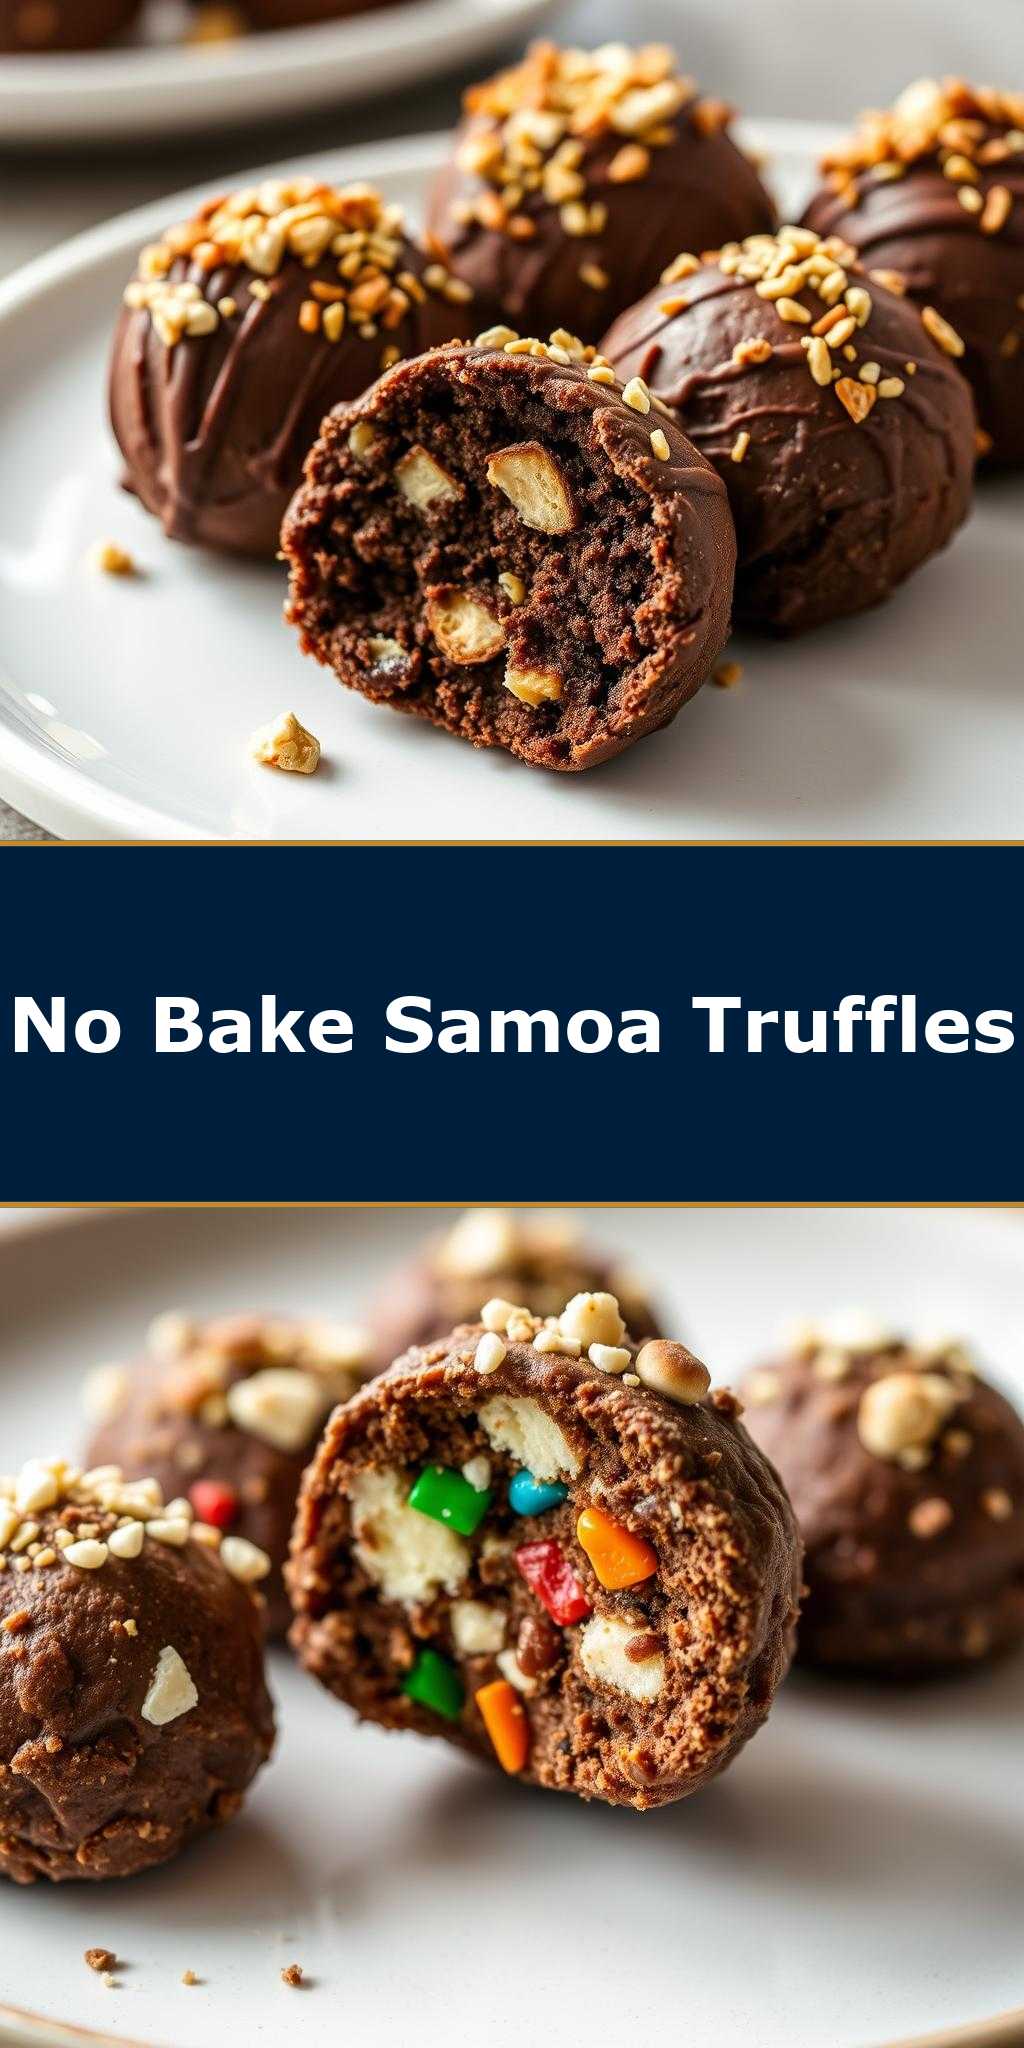
The success of our Easy No-Bake Samoa Truffles Recipe lies in the combination of a few key ingredients. You’ll need a base of crushed cookies (such as shortbread or vanilla wafers) to provide texture, sweetened condensed milk for binding and sweetness, shredded coconut for that distinctive Samoa flavor, caramel sauce for an added layer of sweetness, and melted chocolate (preferably semi-sweet or milk chocolate) to coat the truffles. For practical substitutions, you can use different types of cookies or nuts for the base, and experiment with various flavors of extract (like coconut or vanilla) in the sweetened condensed milk for added depth.
Instructions
- Step 1: Begin by preparing your ingredients. Crush the cookies in a food processor until finely ground, and toast the shredded coconut in a pan over low heat until lightly browned, stirring frequently to prevent burning.
- Step 2: In a large mixing bowl, combine the crushed cookies, toasted coconut, and sweetened condensed milk. Mix until well combined and a dough forms. If the mixture is too dry, you can add a little more sweetened condensed milk. If it’s too wet, add more crushed cookies.
- Step 3: Roll the dough into small balls, about 1 inch in diameter. You should end up with around 20-25 truffles. Place the truffles on a baking sheet lined with parchment paper and refrigerate for at least 30 minutes to firm up.
- Step 4: Melt the chocolate in a double boiler or in the microwave in 30-second increments, stirring between each heating until smooth. Dip each chilled truffle into the melted chocolate, using a fork to fully coat the truffle and then tapping off any excess chocolate by gently tapping the fork against the side of the bowl. Place the chocolate-covered truffles back on the parchment-lined baking sheet. Drizzle with caramel sauce and sprinkle with additional toasted coconut if desired. Refrigerate for another 30 minutes to allow the chocolate to set.
Handy Tips
- To ensure your truffles are evenly coated in chocolate, make sure they are well chilled before dipping. This will help the chocolate set faster and adhere better to the truffle.
- For an extra crunchy texture, you can roll the truffles in chopped nuts or additional shredded coconut after coating them in chocolate.
- Avoid overheating the chocolate, as this can cause it to seize up and become grainy. If you’re using the microwave, heat it in short increments and stir well between each heating.
Heat Control
While this recipe is no-bake, you will need to melt chocolate and possibly toast coconut, both of which require some heat control. For toasting coconut, keep the heat on low and stir frequently to avoid burning. For melting chocolate, use a double boiler or microwave-safe bowl in short increments, stirring between each heating until smooth and melted.
Crunch Factor
The crunch factor in these truffles comes from the toasted coconut and the crushed cookies in the dough. To enhance the crunch, you can also roll the chocolate-covered truffles in chopped nuts or additional toasted coconut. This adds a satisfying textural element to each bite.
Pro Kitchen Tricks
- Use high-quality chocolate for the best flavor. While it might be more expensive, the difference in taste is noticeable.
- Experiment with different extracts (like almond or coconut) in the sweetened condensed milk for unique flavor twists.
- For a cleaner look, use a fork to dip the truffles in chocolate and tap off excess. This helps create a smooth, even coat.
Storage Tips
- Store the truffles in an airtight container in the refrigerator for up to 5 days.
- For longer storage, consider freezing the truffles. Place them in a single layer in a freezer-safe bag or container and store for up to 2 months. Allow to thaw at room temperature or in the refrigerator when ready to serve.
- Avoid storing truffles at room temperature for extended periods, as the chocolate can melt and become sticky.
Gift Packaging Ideas
These truffles are perfect for gifting, especially during holidays or special occasions. Consider packaging them in decorative tins, jars, or boxes lined with parchment paper or tissue paper. You can also wrap each truffle individually in plastic wrap or wax paper and place them in a gift bag or box. Add a personal touch with ribbons, gift tags, or a handwritten note for a thoughtful and delicious gift.
Flavor Variations
- Different spices: Try adding a pinch of salt or a teaspoon of cinnamon to the dough for a unique twist.
- Creative toppings: Experiment with different toppings like diced nuts, shredded coconut, or even candy pieces for added texture and flavor.
- Ingredient swaps: Use different types of milk or flavor extracts in the sweetened condensed milk, or try using white chocolate instead of semi-sweet for a lighter flavor.
Troubleshooting
- Texture problems: If your truffles are too dry, add a bit more sweetened condensed milk. If they’re too wet, add more crushed cookies.
- Ingredient replacements: If you can’t find sweetened condensed milk, you can make a substitute by heating 1 cup of milk with 1/2 cup of sugar in a saucepan until the sugar dissolves.
- Over/undercooking signs: Since this is a no-bake recipe, you don’t have to worry about overcooking. However, make sure to chill the truffles long enough for them to firm up before coating in chocolate.
FAQs
- Can I freeze it? Yes, you can freeze the truffles for up to 2 months. Simply place them in a single layer in a freezer-safe bag or container and thaw at room temperature or in the refrigerator when ready to serve.
- Is it gluten-free? Depending on the type of cookies used for the base, these truffles can be gluten-free. Make sure to use gluten-free cookies to accommodate dietary restrictions.
- Can I double the recipe? Yes, you can easily double or triple this recipe to make more truffles. Just keep in mind that you’ll need more chocolate for coating and possibly more parchment paper for chilling.
Conclusion
With our Easy No-Bake Samoa Truffles Recipe, you’re just a few steps away from indulging in a delicious, bite-sized treat that’s perfect for any occasion. Whether you’re a seasoned baker or a beginner in the kitchen, this recipe is sure to please with its ease of preparation, rich flavors, and impressive presentation. Don’t be afraid to get creative with the ingredients and toppings, and enjoy the process of making something truly special. Happy baking, and we look forward to hearing about your truffle-making adventures!