What’s the secret to making cream puffs that are both impressive and easy to make at home? It starts with a simple homemade pastry dough and a light vanilla cream filling made with fresh vanilla beans. Whip up a batch for your next family favorite dessert, perfect for a weeknight treat or special occasion. Try making these quick and delicious cream puffs soon, save this idea for later
Cream Puffs with Vanilla Cream
Introduction
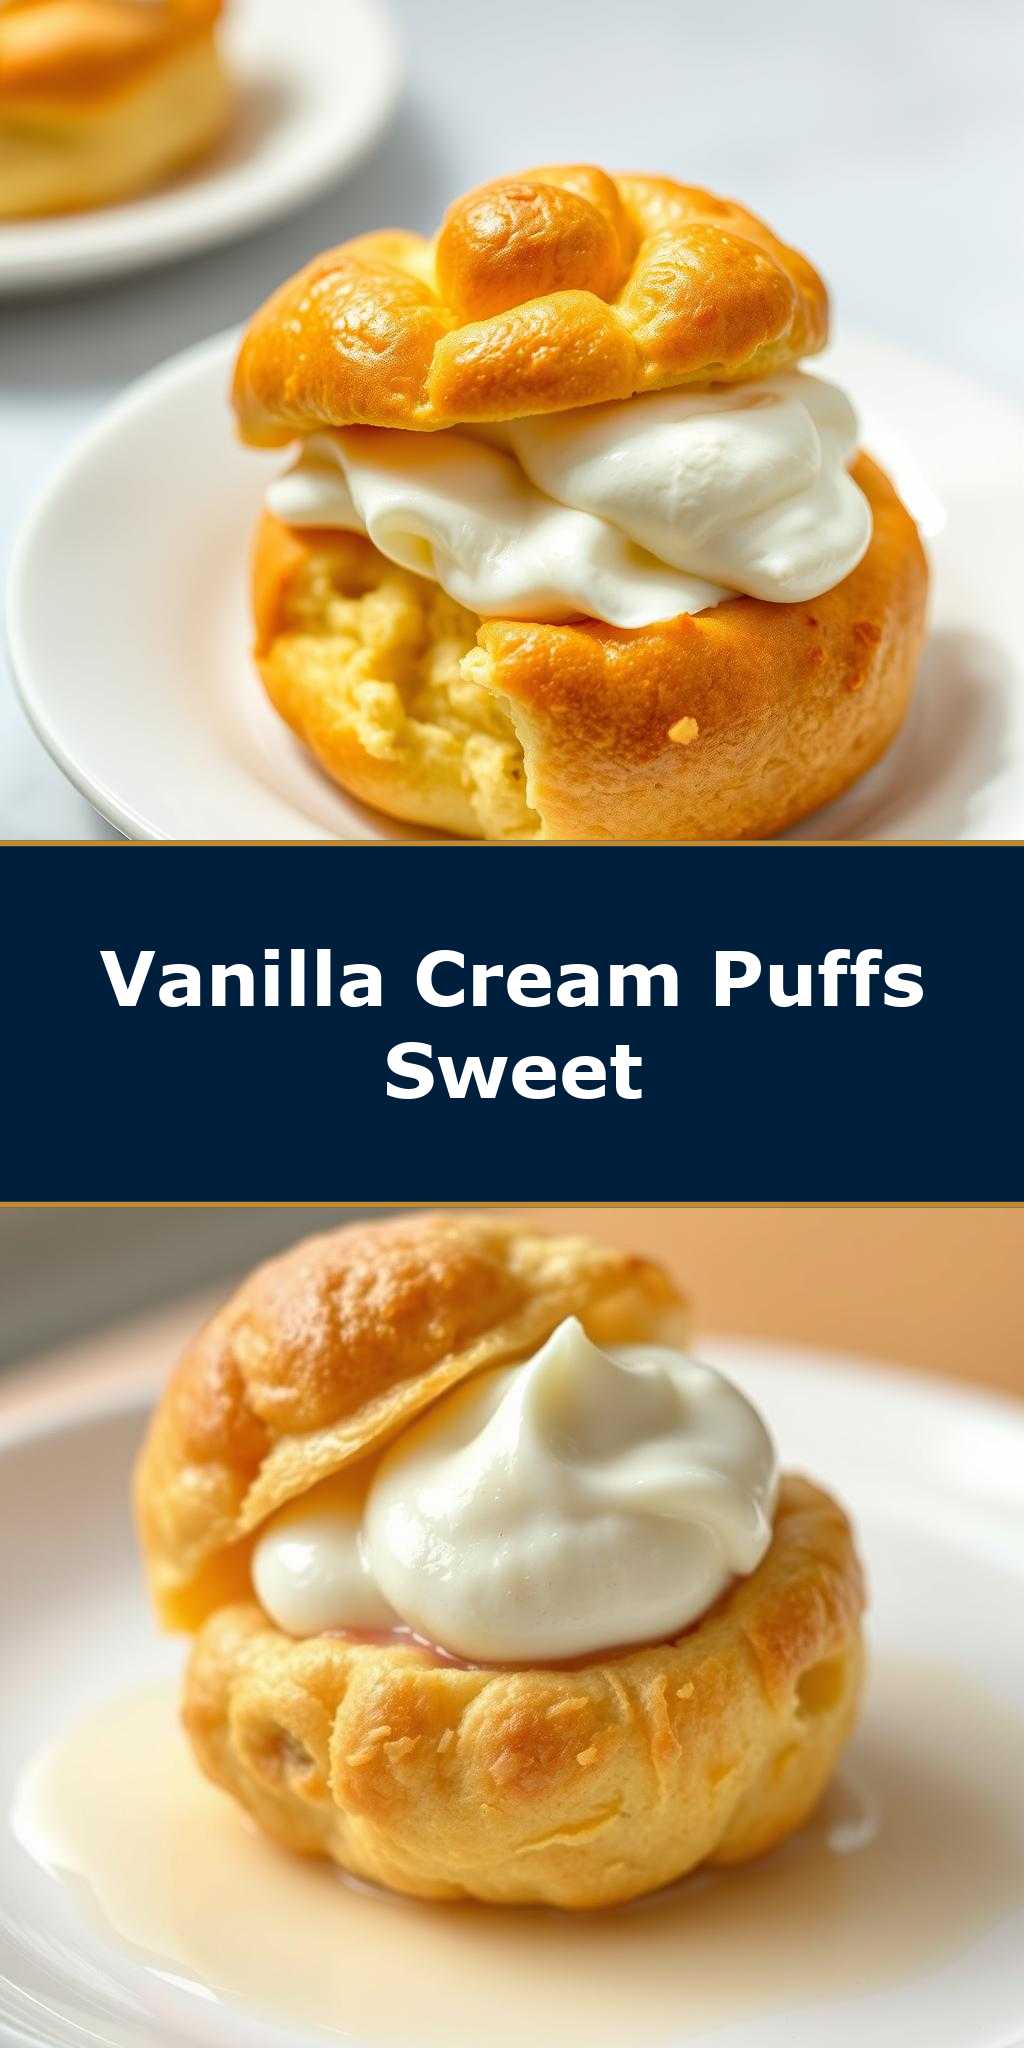
Cream puffs are a classic dessert that combines the simplicity of puff pastry with the richness of vanilla cream, all wrapped up in an elegant package that’s sure to impress. The beauty of this dessert lies in its use of everyday ingredients, transformed through a series of straightforward steps into a masterpiece of texture and flavor. Whether you’re a seasoned baker or just starting out, the cream puff is an accessible yet impressive dessert that’s sure to become a favorite. With its delicate pastry shell giving way to a velvety, vanilla-infused cream, this dessert is a symphony of sensations that will leave you and your guests in awe.
Why This Works
- Flavor balance and ingredient accessibility: The combination of puff pastry, vanilla cream, and a touch of sugar creates a perfect balance of flavors that’s both familiar and decadent, using ingredients that are readily available in most supermarkets.
- Ease of preparation: Despite their impressive appearance, cream puffs are surprisingly easy to make, requiring just a few ingredients and some basic kitchen equipment.
- Impressive results with minimal effort: The real magic of cream puffs lies in their ability to transform simple ingredients into a show-stopping dessert that’s sure to impress even the most discerning palates.
Key Ingredients
The key to making great cream puffs is in the quality of the ingredients. For the puff pastry, you’ll want to use a high-quality, store-bought or homemade pastry that’s been chilled to perfection. For the vanilla cream, you’ll need heavy cream, granulated sugar, and a high-quality vanilla extract or a vanilla bean. Practical substitutions include using almond extract for a different flavor profile or substituting the heavy cream with a non-dairy alternative for a vegan version.
Instructions
- Step 1: Begin by preheating your oven to 400°F (200°C). Line a baking sheet with parchment paper and set aside. Roll out your puff pastry on a lightly floured surface to a thickness of about 1/8 inch. Cut out circles of pastry using a cookie cutter or the rim of a glass.
- Step 2: Place the pastry circles on the prepared baking sheet, leaving about 1 inch of space between each puff. Brush the tops of the pastry with a little bit of egg wash (beaten egg mixed with a splash of water) and bake for 15-20 minutes, or until the pastry is golden brown.
- Step 3: While the pastry is baking, prepare the vanilla cream. In a medium saucepan, combine the heavy cream, granulated sugar, and vanilla extract. Heat over medium heat, stirring occasionally, until the sugar has dissolved and the mixture is just simmering. Remove from heat and let cool to room temperature.
- Step 4: Once the pastry has cooled completely, use a sharp knife to cut a slit in the top of each puff. Fill a piping bag with the cooled vanilla cream and pipe into the puffs, filling them generously. Serve immediately, or store in an airtight container in the refrigerator for up to 24 hours.
Handy Tips
- Avoid overfilling the puffs, as this can cause them to burst open. Instead, fill them generously but gently, so that the cream is visible through the slit but not oozing out.
- For an extra-crispy puff pastry, try baking the puffs for an additional 2-3 minutes, or until they’re a deep golden brown.
- If you’re having trouble getting the vanilla cream to pipe smoothly, try warming it up slightly by placing the piping bag in a bowl of warm water for a few minutes.
Heat Control
When baking the puff pastry, it’s essential to keep an eye on the temperature and timing to ensure that the pastry cooks evenly and doesn’t burn. The ideal temperature is 400°F (200°C), and the puffs should be baked for 15-20 minutes, or until they’re golden brown. To check for doneness, remove a puff from the oven and let it cool for a minute or two. If it’s still soft or squishy, return it to the oven for an additional 2-3 minutes.
Crunch Factor
The crunch factor is essential in cream puffs, as it provides a satisfying textural contrast to the soft, creamy filling. To achieve the perfect crunch, make sure to bake the puff pastry until it’s golden brown and crispy, then let it cool completely before filling. If you’re looking for an extra-crunchy puff, try sprinkling the tops with a little bit of granulated sugar before baking.
Pro Kitchen Tricks
- To ensure that your puff pastry cooks evenly, try rotating the baking sheet halfway through the baking time.
- For a professional-looking finish, try dusting the tops of the puffs with a little bit of powdered sugar before serving.
- If you’re having trouble getting the vanilla cream to hold its shape, try adding a little bit of cornstarch or flour to the mixture before piping.
Storage Tips
- Leftover cream puffs can be stored in an airtight container in the refrigerator for up to 24 hours.
- To reheat, simply place the puffs in the microwave for 10-15 seconds, or until the cream is softened and the pastry is warm.
- The best containers for storing cream puffs are airtight, shallow containers with a lid, such as a plastic or glass storage container.
Gift Packaging Ideas
Cream puffs make a beautiful and delicious gift, especially when packaged in a decorative box or bag. Try placing the puffs in a paper bag or a decorative tin, then topping with a sprinkle of powdered sugar and a ribbon. Alternatively, you could package the puffs in a cellophane bag and tie with a twist tie, then attach a gift tag or a card with a personal message.
Flavor Variations
- Different spices: Try adding a pinch of cinnamon or nutmeg to the vanilla cream for a unique flavor twist.
- Creative toppings: Top the puffs with a sprinkle of powdered sugar, a drizzle of chocolate sauce, or a sprinkle of chopped nuts for added flavor and texture.
- Ingredient swaps: Substitute the heavy cream with a non-dairy alternative, such as almond milk or soy cream, for a vegan version. Alternatively, try using different types of sugar, such as brown sugar or honey, for a unique flavor profile.
Troubleshooting
- Texture problems: If the puff pastry is too soft or squishy, try baking it for an additional 2-3 minutes. If the vanilla cream is too runny, try adding a little bit of cornstarch or flour to the mixture.
- Ingredient replacements: If you’re out of heavy cream, try substituting with half-and-half or whole milk. If you’re out of vanilla extract, try using a different type of extract, such as almond or coconut.
- Over/undercooking signs: If the puff pastry is overcooked, it will be dark brown and crispy. If it’s undercooked, it will be soft and squishy. If the vanilla cream is overcooked, it will be thick and sticky. If it’s undercooked, it will be runny and thin.
FAQs
- Can I freeze it? Yes, cream puffs can be frozen for up to 2 months. Simply place the puffs in a single layer on a baking sheet, then transfer to a freezer-safe bag or container.
- Is it gluten-free? No, traditional cream puffs are not gluten-free, as they contain wheat flour. However, you can make a gluten-free version by substituting the wheat flour with a gluten-free alternative.
- Can I double the recipe? Yes, you can double the recipe to make more cream puffs. Simply multiply the ingredients by two, then proceed with the recipe as instructed.
Conclusion
Cream puffs are a delicious and impressive dessert that’s sure to become a favorite. With their delicate pastry shell and rich, creamy filling, they’re the perfect treat for any occasion. Whether you’re a seasoned baker or just starting out, this recipe is easy to follow and requires minimal ingredients and equipment. So why not give it a try? With a little bit of practice and patience, you’ll be making cream puffs like a pro in no time. And don’t forget to experiment with different flavors and toppings to make the recipe your own. Happy baking!