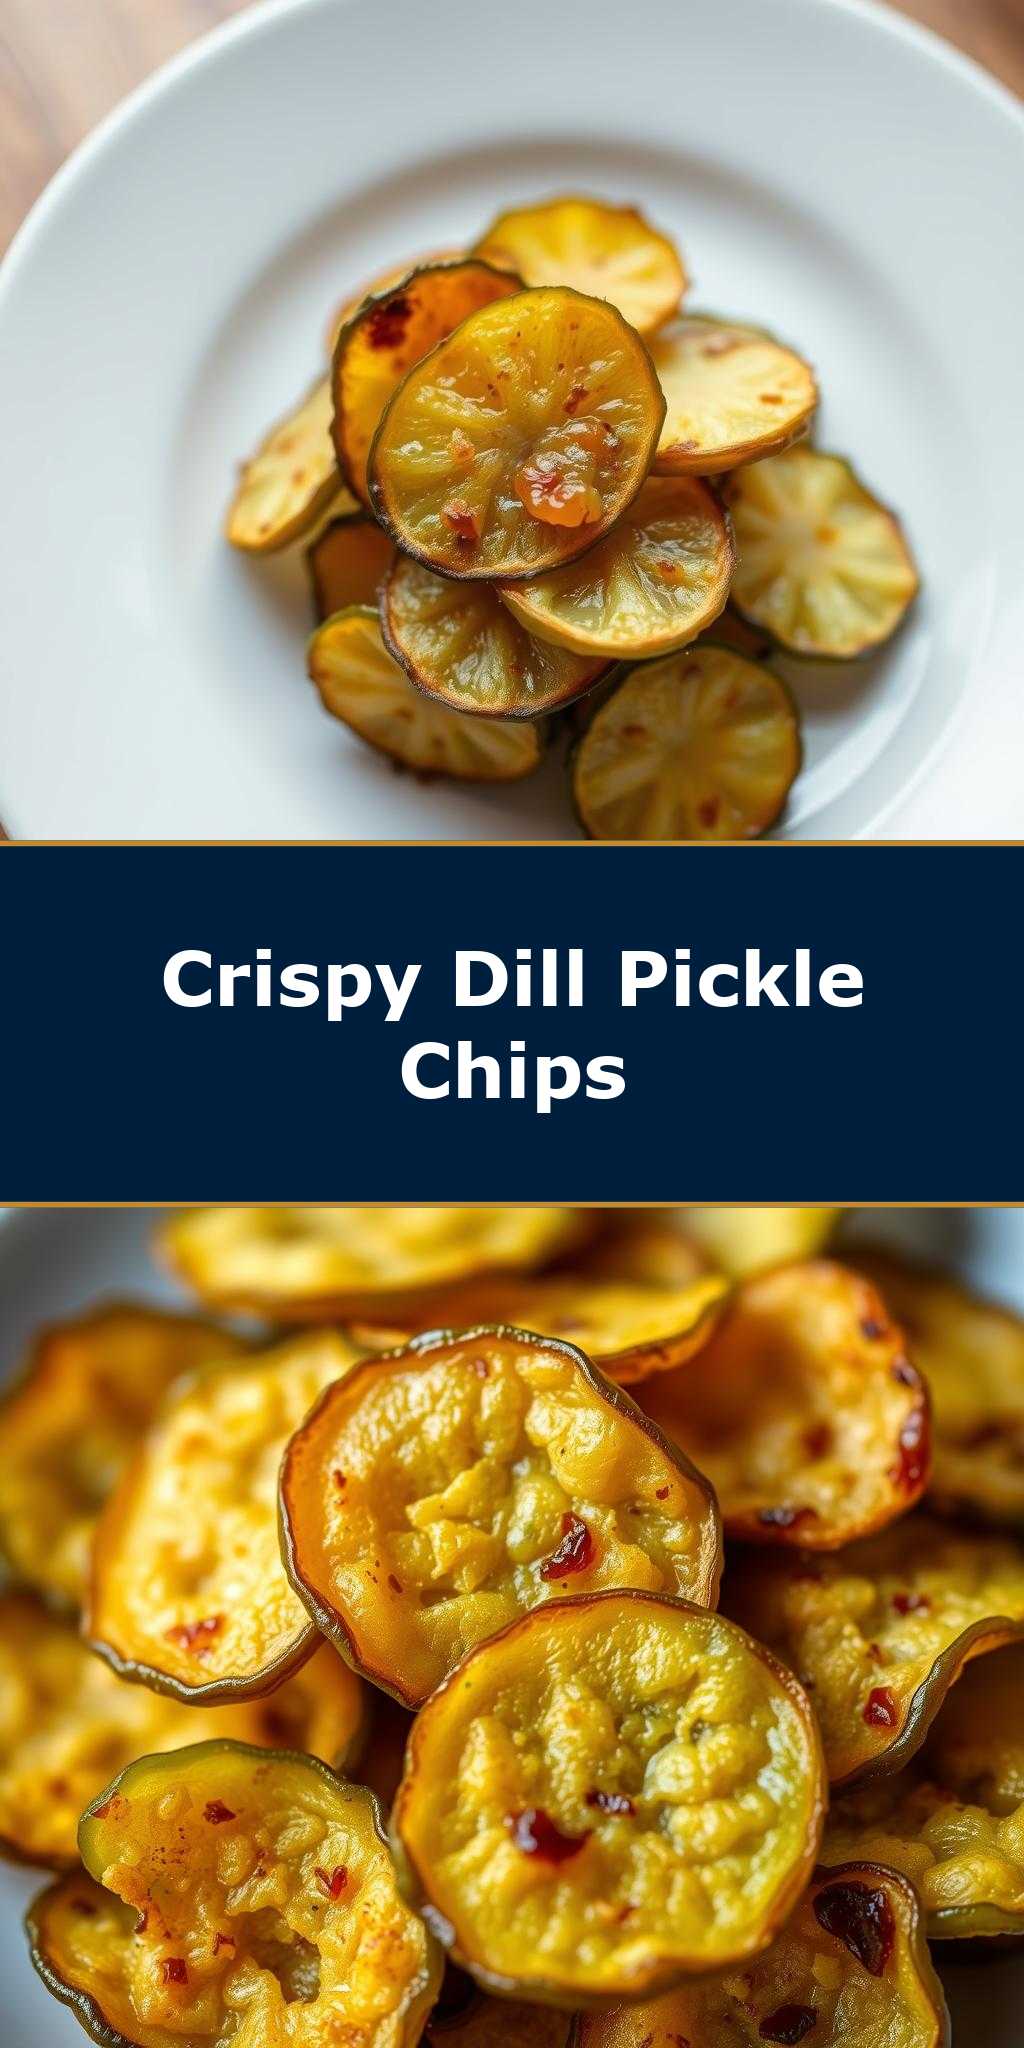
What makes the perfect snack utterly irresistible? For me, it’s all about the tangy crunch of homemade pickle chips, made with thinly sliced dill pickles and a quick dredge in seasoned flour. This easy family favorite is a weeknight dinner sidesaver. Save this idea for a deliciously easy addition to your next meal.
Pickle Chips
Introduction
Imagine the tangy, salty flavor of pickles transformed into a crispy, addictive snack that’s incredibly easy to make and fun to eat. Welcome to the world of Pickle Chips, where the traditional dill pickle flavor gets a modern twist in the form of crunchy, bite-sized chips. This recipe is all about creativity and simplicity, using everyday ingredients to create a snack that’s perfect for parties, movie nights, or just a quick pick-me-up. With minimal effort and a few clever tricks, you’ll be enjoying your very own homemade Pickle Chips in no time.
Why This Works
- Flavor balance and ingredient accessibility: The combination of dill pickle flavor with the right amount of spice and salt creates a perfectly balanced taste experience. Plus, all the ingredients are easily found in most supermarkets.
- Ease of preparation: This recipe requires minimal cooking skills and equipment, making it accessible to everyone. The steps are straightforward, and the preparation time is remarkably short.
- Impressive results with minimal effort: Despite the simplicity of the recipe, the end result is impressive. The Pickle Chips are not only delicious but also look great, making them a fantastic option for entertaining guests.
Key Ingredients
The main ingredients for Pickle Chips include dill pickle slices, all-purpose flour, paprika, garlic powder, salt, black pepper, and olive oil. For a lighter coating, you can also use panko breadcrumbs. Practical substitutions can be made depending on personal preferences or dietary restrictions, such as using gluten-free flour for those with gluten intolerance. The pickles can be substituted with other types of pickles, like sweet pickles, for a different flavor profile.
Instructions
- Step 1: Begin by preheating your oven to 400°F (200°C). While the oven is heating up, prepare your pickle slices. You’ll want to pat them dry with paper towels to remove excess moisture, which helps the coating adhere better.
- Step 2: In a shallow dish, mix together the flour, paprika, garlic powder, salt, and black pepper. In another dish, beat an egg for egg wash, which will help the coating stick to the pickles. If using panko breadcrumbs, place them in a third dish.
- Step 3: Dip each pickle slice first into the flour mixture, coating both sides evenly, then into the egg wash, making sure to coat completely, and finally into the panko breadcrumbs if using, pressing the crumbs gently onto the pickle to ensure they stick. Place the coated pickle slices on a baking sheet lined with parchment paper. Drizzle with olive oil and gently toss to coat evenly.
- Step 4: Bake the pickle chips in the preheated oven for about 15-20 minutes or until they are crispy and golden brown. Keep an eye on them to prevent burning. Once done, remove them from the oven and let them cool on the baking sheet for a few minutes before transferring them to a paper towel-lined plate to drain any excess oil.
Handy Tips
- Avoid overcoating the pickle slices, as this can lead to a heavy, greasy snack. A light, even coating is key to achieving the perfect crunch.
- For an extra crispy texture, you can try chilling the coated pickle slices in the refrigerator for about 30 minutes before baking. This helps the coating set and adheres better to the pickles.
- Experiment with different seasonings in your flour mixture to give your Pickle Chips unique flavors. For example, adding some cayenne pepper can give them a spicy kick.
Heat Control
When baking the Pickle Chips, it’s crucial to keep an eye on the temperature and timing. The ideal temperature is 400°F (200°C), and the chips are done when they reach a golden brown color and feel crispy to the touch. Overcooking can lead to burnt chips, so it’s better to err on the side of undercooking slightly, as they will continue to crisp up a bit after being removed from the oven.
Crunch Factor
Achieving the right crunch is essential for Pickle Chips. The combination of the right coating and not overcooking them in the oven helps to maintain their crunchiness. If you find your chips are not as crispy as you like, try baking them for a few more minutes or until they reach your desired level of crunch.
Pro Kitchen Tricks
- To make your Pickle Chips extra crispy, try using a wire rack on your baking sheet instead of parchment paper. This allows air to circulate under the chips, helping them crisp up more evenly.
- For easier cleanup, line your baking sheet with aluminum foil and then top it with parchment paper. This way, any spills or messes are contained and can be easily cleaned up.
Storage Tips
- Pickle Chips are best served fresh, but if you need to store them, place them in an airtight container. They can be stored at room temperature for up to 24 hours. For longer storage, consider freezing them. Simply place the cooled Pickle Chips in a single layer in a freezer-safe bag or container and store in the freezer for up to 2 months. To reheat, simply bake them in a preheated oven at 350°F (180°C) for about 5-7 minutes or until crispy again.
Gift Packaging Ideas
Pickle Chips can be a unique and thoughtful gift, especially for those who love snacks. Consider packaging them in decorative jars or bags and adding a personal touch with a ribbon or a handwritten note. For a more substantial gift, pair the Pickle Chips with other homemade snacks or a bottle of your favorite dipping sauce.
Flavor Variations
- Different spices: Experiment with various spices like smoked paprika for a smoky flavor, chili powder for a spicy kick, or dried dill weed for an enhanced pickle flavor.
- Creative toppings: Before baking, sprinkle some grated parmesan cheese, chopped fresh parsley, or minced garlic on top of the Pickle Chips for added flavor and texture.
- Ingredient swaps: Use sweet pickle slices for a sweeter version or try using pickle spears cut into chips for a different texture.
Troubleshooting
- Texture problems: If your Pickle Chips turn out too soggy, it might be due to excess moisture in the pickles or overcooking. Try patting the pickles dry more thoroughly before coating or reducing the baking time.
- Ingredient replacements: If you’re out of a specific ingredient, don’t be afraid to get creative with substitutions. For example, you can use Italian seasoning instead of paprika for a different flavor profile.
- Over/undercooking signs: Keep an eye on your Pickle Chips while they’re baking. If they’re undercooked, they’ll be soft and pale. If they’re overcooked, they’ll be dark brown and possibly burnt. Aim for a golden brown color for the perfect crunch.
FAQs
- Can I freeze it? Yes, you can freeze Pickle Chips for up to 2 months. Simply place them in a freezer-safe bag or container and store in the freezer. Reheat in the oven at 350°F (180°C) for about 5-7 minutes or until crispy.
- Is it gluten-free? The recipe can be made gluten-free by using gluten-free flour. Ensure that all the other ingredients, including the pickles, are also gluten-free.
- Can I double the recipe? Yes, you can easily double or triple the recipe to make more Pickle Chips. Just remember to adjust the baking time slightly if you’re making a larger batch, as it may take a few minutes longer for them to cook through.
Conclusion
Making Pickle Chips at home is a fun and rewarding process that yields a deliciously crunchy and flavorful snack. With these simple steps and handy tips, you’re well on your way to becoming a Pickle Chip master. Don’t be afraid to experiment with different flavors and ingredients to make the recipe your own. Share your creations with friends and family, and enjoy the joy of homemade snacking. Happy cooking!