What’s the perfect snack to serve at your next family gathering? These easy cheese sticks with mozzarella are a quick and delicious homemade option that’s sure to become a weeknight dinner favorite. Made with melted mozzarella and a simple breading process, they’re incredibly easy to make. Save this idea for a stress-free family favorite recipe to enjoy anytime.
Easy Cheese Sticks with Mozzarella
Introduction
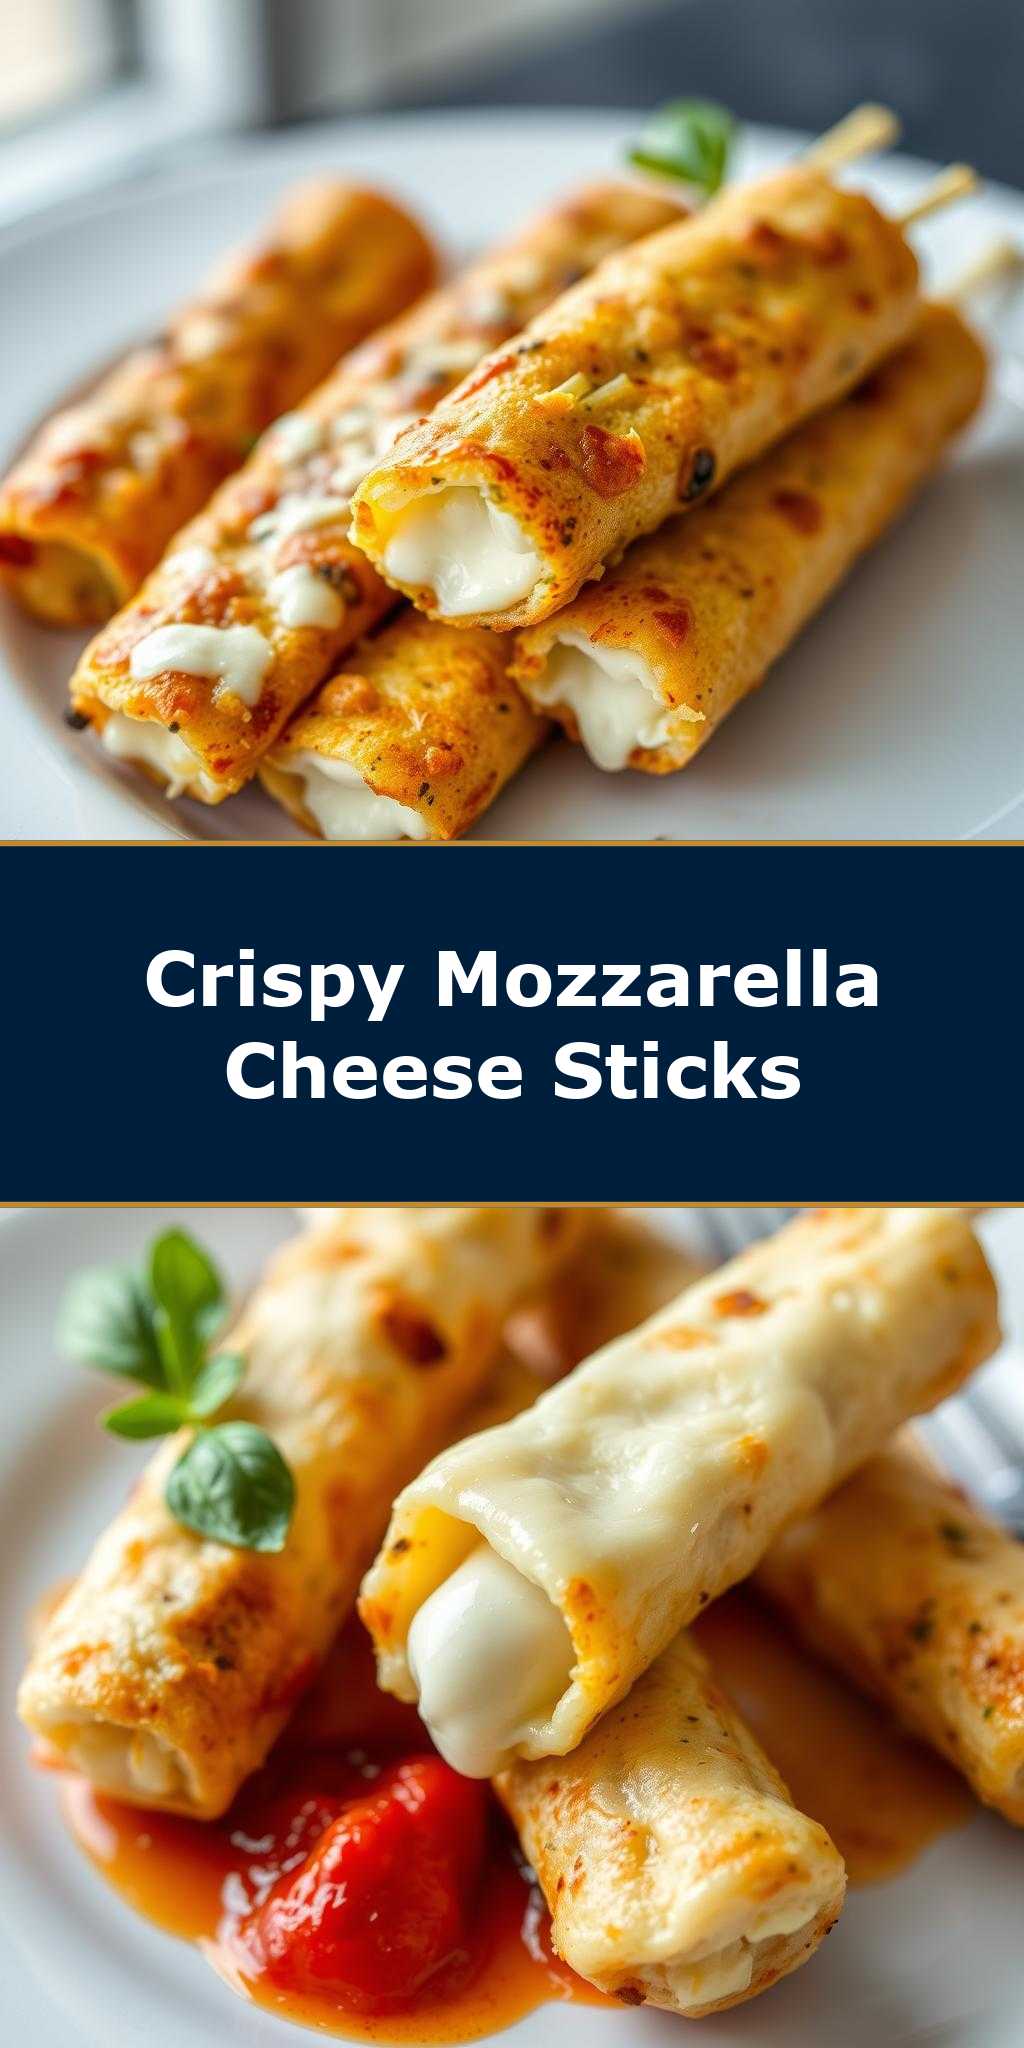
Indulge in the creamy, stringy delight of easy cheese sticks made with mozzarella, perfect for a quick snack, party appetizer, or lunchbox treat. What makes these cheese sticks truly special is their simplicity, requiring just a few everyday ingredients and minimal preparation time. The combination of melted mozzarella cheese, crunchy breadcrumbs, and a hint of spice creates a flavor balance that is both comforting and exciting. Whether you’re a cheese aficionado or just looking for a creative way to use up leftover mozzarella, these easy cheese sticks are sure to become a favorite.
Why This Works
- The flavor balance in these cheese sticks is achieved by combining the richness of mozzarella with a light, crispy coating, making each bite a delightful surprise.
- The ease of preparation is unparalleled; with just a few minutes of prep time, you can have a batch of cheese sticks ready to bake or fry.
- Despite the simplicity, the results are impressive, making these cheese sticks perfect for entertaining or as a special treat for the family.
Key Ingredients
The main ingredients for these easy cheese sticks include mozzarella cheese, which can be substituted with other melting cheeses like cheddar or Monterey Jack for a different flavor profile. You’ll also need breadcrumbs for the coating, which can be plain or seasoned for extra flavor, and a bit of olive oil for brushing. Optional ingredients include chopped herbs or spices to add an extra layer of flavor to your cheese sticks.
Instructions
- Step 1: Begin by preheating your oven to 400°F (200°C) or heating about 1/2 inch of oil in a frying pan over medium heat. While that’s heating up, cut your mozzarella cheese into stick shapes. You can also use string cheese for an even quicker option.
- Step 2: Prepare your breadcrumb coating. In a shallow dish, mix together your breadcrumbs and any desired seasonings or herbs. In another dish, beat an egg for egg wash. This step helps the breadcrumbs adhere to the cheese.
- Step 3: Dip each cheese stick into the egg wash, coating it completely, then roll it in the breadcrumb mixture to coat. Place the coated cheese sticks on a baking sheet lined with parchment paper if baking, or proceed to fry them in batches until golden brown.
- Step 4: If baking, drizzle the tops with a little olive oil and bake for about 5-7 minutes, or until the cheese is melted and the breadcrumbs are golden. If frying, drain the cheese sticks on paper towels. Serve hot and enjoy!
Handy Tips
- For an extra crispy coating, you can chill the coated cheese sticks in the refrigerator for about 30 minutes before baking or frying.
- Experiment with different seasonings in your breadcrumb mix, such as dried oregano, basil, or a sprinkle of paprika, to give your cheese sticks a unique flavor.
- To avoid the cheese from melting too much and losing its stick shape, don’t overheat the oil or overbake them.
Heat Control
If you decide to fry your cheese sticks, it’s crucial to maintain the right temperature. Ideally, the oil should be at 350°F (175°C) for the perfect fry. If baking, ensure your oven is preheated correctly to achieve the right melt and crispiness. Signs of doneness include a golden brown color on the breadcrumbs and melted cheese that’s still holding its shape.
Crunch Factor
Achieving the right crunch factor is key to these cheese sticks. For baking, a light drizzle of olive oil before baking helps crisp up the breadcrumbs. For frying, the right oil temperature ensures the breadcrumbs fry to a perfect golden crunch without burning. The cheese should be melted and slightly stringy but still retain some firmness.
Pro Kitchen Tricks
- For easier cleanup, line your baking sheet with parchment paper or a silicone mat before placing the coated cheese sticks on it.
- Use panko breadcrumbs for an extra light and crunchy coating.
- Keep your cheese sticks warm in a low-temperature oven (around 200°F or 90°C) while cooking batches to ensure everything is served hot and melted.
Storage Tips
- Leftover cheese sticks can be stored in an airtight container in the refrigerator for up to 3 days. Reheat them in the oven at 350°F (175°C) for a few minutes until warmed through.
- For longer storage, you can freeze the coated but unbaked cheese sticks on a baking sheet, then transfer them to a freezer-safe bag or container for up to 2 months. Bake frozen sticks for an additional couple of minutes.
Gift Packaging Ideas

These easy cheese sticks make a wonderful gift, especially when packaged with love. Consider placing them in a decorative tin or jar, wrapped in parchment paper and twine for a rustic look. You can also pair them with a side of marinara sauce or a homemade dip for a complete gift. For a more personalized touch, add a handwritten note with the recipe and baking/frying instructions.
Flavor Variations
- Try adding different spices to your breadcrumb mix, such as garlic powder, onion powder, or smoked paprika, for unique flavor twists.
- Experiment with various cheeses, like mixing mozzarella with parmesan or using feta for a salty kick.
- For a vegan version, use vegan mozzarella alternatives and adjust the breadcrumb seasoning accordingly.
Troubleshooting
- If your cheese sticks are too greasy, it might be due to the oil being too hot or using too much oil. Adjust the heat and use a thermometer for precision.
- For cheese sticks that don’t hold their shape, ensure you’re not overcooking them and that the cheese is of good melting quality.
- If the breadcrumbs aren’t sticking well, check that your egg wash is effective and that you’re not over-or under-coating the cheese sticks.
FAQs
- Can I freeze it? Yes, you can freeze the coated cheese sticks before baking for up to 2 months. Simply bake them frozen for an additional couple of minutes.
- Is it gluten-free? Depending on the type of breadcrumbs used, these cheese sticks can be gluten-free. Opt for gluten-free breadcrumbs for a gluten-free version.
- Can I double the recipe? Absolutely, these cheese sticks are easy to make in large batches. Just ensure you have enough oil if frying or baking space if baking.
Conclusion
Making easy cheese sticks with mozzarella is a fun and rewarding process that yields delicious results with minimal effort. Whether you’re cooking for one or a crowd, these cheese sticks are sure to please. Feel free to experiment with different flavors and ingredients to make the recipe your own, and don’t hesitate to share your creations with friends and family. With their perfect balance of crunch and melt, these easy cheese sticks are sure to become a staple in your kitchen.