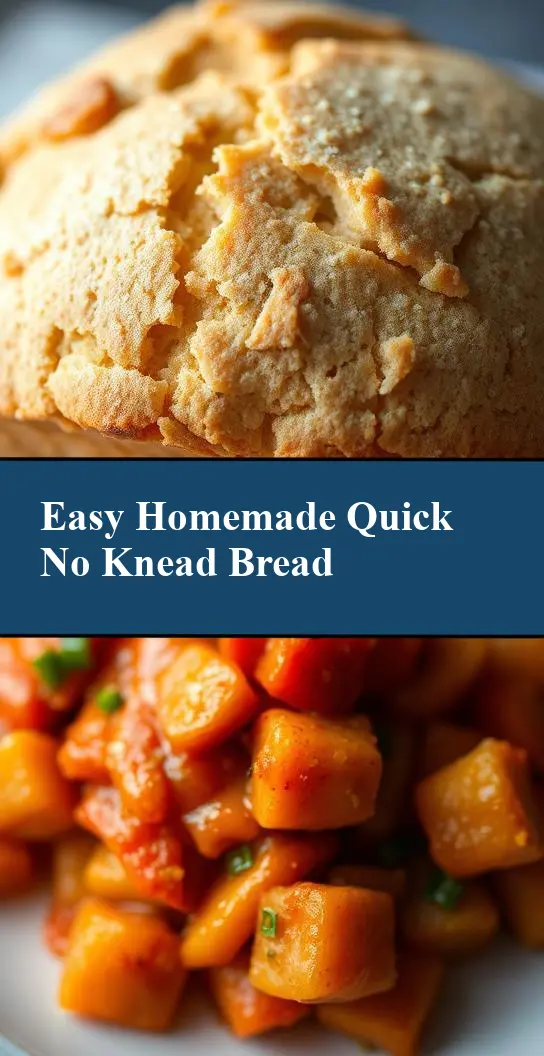
Craving homemade bread without the hassle? This quick and easy no-knead bread recipe is a weeknight dinner game changer, made with simple ingredients and minimal effort, save for later and enjoy with your family.
Quick And Easy No-Knead Bread
Introduction
Welcome to the world of effortless baking with our Quick And Easy No-Knead Bread recipe. Imagine the aroma of freshly baked bread wafting from your oven, without the need for hours of kneading or complex preparation. This recipe is a game-changer for anyone who loves bread but thinks they don’t have the time or skill to make it from scratch. Using everyday ingredients, you can create a delicious, crusty loaf that’s perfect for snacking, sandwiches, or serving alongside your favorite meals. The beauty of this recipe lies in its simplicity and flexibility, allowing you to get creative with flavors and ingredients to make each loaf uniquely yours.
Why This Works
- Flavor balance and ingredient accessibility: This recipe strikes the perfect balance between simplicity and flavor, using ingredients that are easily found in most kitchens.
- Ease of preparation: The no-knead method eliminates the need for lengthy kneading sessions, making it accessible to bakers of all levels.
- Impressive results with minimal effort: Despite the minimal effort required, the end result is a beautifully crusty and deliciously soft bread that will impress anyone.
Key Ingredients
To make our Quick And Easy No-Knead Bread, you’ll need a few basic ingredients. These include 1 1/2 cups of warm water, 2 teaspoons of active dry yeast, 3 tablespoons of olive oil, 1 teaspoon of salt, and 3 1/2 cups of all-purpose flour. For practical substitutions, you can use bread flour if you prefer a chewier texture, or whole wheat flour for a nuttier flavor. Always ensure your yeast is fresh for the best results, as expired yeast can lead to bread that doesn’t rise properly.
Instructions
- Step 1: Begin by activating your yeast. In a large mixing bowl, combine the warm water and yeast. Let it sit for about 5 minutes, until the mixture becomes frothy and bubbly, indicating the yeast is active.
- Step 2: Add the olive oil, salt, and 2 cups of flour to the bowl. Mix until a shaggy dough forms. Gradually add the remaining 1 1/2 cups of flour, one cup at a time, until the dough starts to come together in a sticky ball.
- Step 3: Place the dough in a lightly oiled bowl, cover it with plastic wrap or a damp towel, and let it rise in a warm, draft-free place for 24 hours. This long rising time allows for the development of a complex flavor and a tender crumb.
- Step 4: After the rising time, preheat your oven to 450°F (230°C) with a Dutch oven or a heavy-bottomed pot with a lid inside. Once the oven is preheated, remove the pot from the oven and carefully place the dough into it. Cover the pot with the lid and bake for 30 minutes. Then, remove the lid and continue baking for an additional 15-20 minutes, until the bread is golden brown and sounds hollow when tapped on the bottom.
Handy Tips
- Use a digital thermometer to ensure your water is at the right temperature for yeast activation, between 100°F and 110°F.
- Don’t overmix the dough, as this can lead to a dense bread.
- For a crisper crust, bake the bread for an additional 5-10 minutes without the lid.
Heat Control
Maintaining the right oven temperature is crucial for achieving the perfect crust and crumb. Ensure your oven is preheated to 450°F (230°C) before baking. The initial 30 minutes with the lid on allows for steam to build up, contributing to the bread’s rise and crust formation. The final 15-20 minutes without the lid enables the crust to brown and crisp up.
Crunch Factor
The crunch factor in this bread comes from the baking process, particularly the final stages without the lid. To achieve a crunchier crust, make sure the bread is baked until it’s golden brown and sounds hollow when tapped. For a softer crust, you can reduce the baking time without the lid or brush the bread with water or egg wash before baking.
Pro Kitchen Tricks
- Use a baking stone in your oven to enhance the crust’s crispiness.
- Score the bread before baking to control where it splits and to create a more rustic look.
- For easier cleanup, line your pot with parchment paper before adding the dough.
Storage Tips
- Store cooled bread in an airtight container at room temperature for up to 3 days.
- Freeze the bread for up to 2 months. To freeze, cool the bread completely, then wrap it tightly in plastic wrap or aluminum foil and place it in a freezer bag.
- To reheat, thaw the frozen bread overnight at room temperature, then bake it in a preheated oven at 350°F (175°C) for about 10-15 minutes, until warmed through.
Gift Packaging Ideas
This bread makes a wonderful gift, especially when packaged thoughtfully. Consider wrapping the cooled bread in a rustic paper bag, tying it with twine, and adding a handwritten note with baking and storage instructions. For a more luxurious gift, place the bread in a wicker basket lined with a tea towel, accompanied by artisanal cheeses, jams, or spreads.
Flavor Variations
- 🌟 Garlic and Rosemary: Mix minced garlic and chopped rosemary into the dough before the rising time for a savory, herby flavor.
- 🌟 Olive and Sun-dried Tomato: Add pitted and sliced olives along with sun-dried tomatoes to the dough for a Mediterranean twist.
- 🌟 Cheese and Herbs: Incorporate grated cheese and chopped fresh herbs like parsley or dill into the dough for an extra burst of flavor.
Troubleshooting
- Texture problems: If your bread turns out too dense, it might be due to overmixing the dough. If it’s too crumbly, the dough might have been too dry.
- Ingredient replacements: Always substitute ingredients with caution. For example, using a different type of flour can significantly affect the bread’s texture and flavor.
- Over/undercooking signs: An undercooked bread will sound dull when tapped on the bottom, while an overcooked bread will be excessively dark and hard.
FAQs
- Can I freeze it? Yes, you can freeze the bread for up to 2 months. It’s best to freeze it after it has cooled completely.
- Is it gluten-free? No, this recipe uses all-purpose flour and is not gluten-free. However, you can experiment with gluten-free flours, though the results may vary.
- Can I double the recipe? Yes, you can double the recipe, but be sure to use a larger pot for baking to accommodate the larger dough.
Conclusion
Making Quick And Easy No-Knead Bread is a journey that combines simplicity with the joy of creating something delicious from scratch. This recipe is not just about making bread; it’s about experimenting with flavors, sharing with loved ones, and enjoying the process. Whether you’re a seasoned baker or a beginner, this no-knead bread recipe is sure to become a staple in your kitchen. So go ahead, get creative, and happy baking!