Need a quick dessert fix that’s also healthy? Try these easy homemade Rice Krispie treats made with marshmallows and whole grain cereal for a family favorite snack, save for later
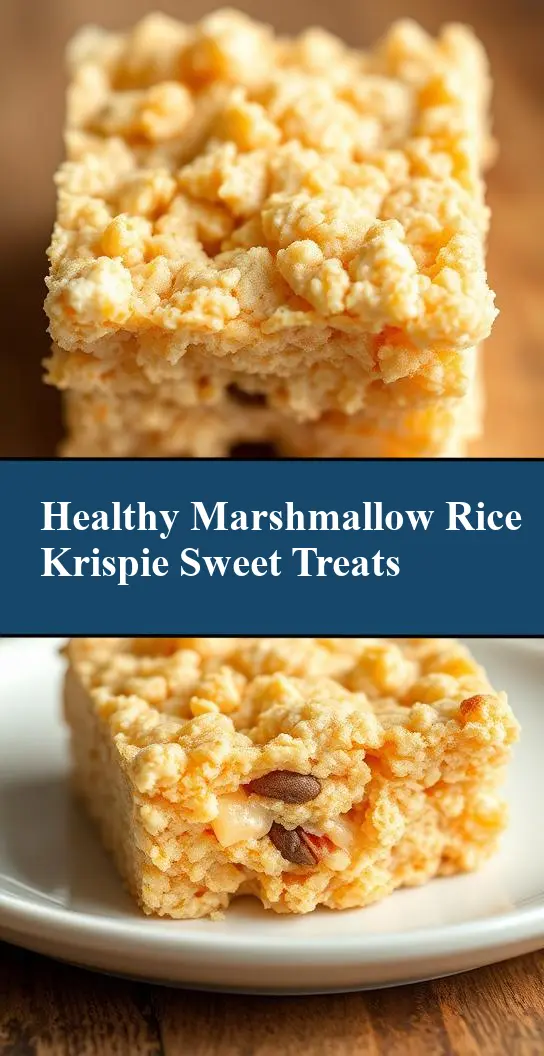
Healthy Rice Krispie Treats
Introduction
Who doesn’t love the classic Rice Krispie treats from their childhood? These iconic marshmallow-based snacks are easy to make, fun to eat, and versatile enough to be customized with your favorite flavors and ingredients. In this recipe, we’ll show you how to make healthier Rice Krispie treats using everyday ingredients, without sacrificing any of the flavor or fun. With a few simple substitutions and creative twists, you can enjoy these tasty treats guilt-free, knowing you’re providing your family with a better-for-you snack option.
Why This Works
- Flavor balance and ingredient accessibility: We’ve chosen ingredients that are not only easy to find but also provide a great balance of flavors and textures, making these treats enjoyable for both kids and adults.
- Ease of preparation: This recipe is incredibly simple, requiring just a few minutes of prep time and no cooking skills whatsoever. It’s perfect for busy parents, kids, or anyone looking for a quick snack solution.
- Impressive results with minimal effort: Despite the ease of preparation, these healthy Rice Krispie treats are impressive enough to serve at parties, potlucks, or as a special treat for your loved ones. The best part? They look and taste like you spent hours in the kitchen!
Key Ingredients
The main ingredients in our healthy Rice Krispie treats include whole grain cereals like brown rice cereal or oats, natural marshmallows or marshmallow alternatives, and a touch of honey or maple syrup for sweetness. You can also customize your treats with add-ins like dried fruits, nuts, or seeds for extra flavor and nutrition. Some practical substitutions include using coconut oil instead of butter, choosing unsweetened cereals, and opting for dark chocolate chips for a sweet and indulgent treat.
Instructions
- Step 1: Begin by preparing your ingredients. Measure out 2 cups of whole grain cereal, 1 cup of natural marshmallows, and 1/4 cup of honey or maple syrup. You can also chop up any add-ins you like, such as nuts or dried fruits.
- Step 2: In a large pot or saucepan, melt the marshmallows over low heat, stirring constantly. Once the marshmallows are melted and smooth, remove the pot from the heat and stir in the honey or maple syrup until well combined.
- Step 3: Add the whole grain cereal to the pot and stir until the cereal is evenly coated with the marshmallow mixture. If using add-ins, fold them into the cereal mixture at this stage.
- Step 4: Press the cereal mixture into a greased 9×13 inch baking dish. Let the treats cool and harden for about 30 minutes before cutting into bars. You can also customize your treats with creative toppings or decorations, such as sprinkles, shredded coconut, or melted chocolate.
Handy Tips
- To prevent the treats from becoming too sticky or hard, make sure to not overheat the marshmallows and to press the cereal mixture into the baking dish evenly.
- Experiment with different add-ins and toppings to create unique flavor combinations and textures. Some ideas include dried cranberries and white chocolate chips, or peanut butter and banana slices.
- If you find that your treats are too crumbly, try adding a little more honey or marshmallow mixture to hold them together. Conversely, if they’re too sticky, you can try adding a little more cereal or oats.
Heat Control
When melting the marshmallows, it’s essential to use low heat and stir constantly to prevent burning or scorching. You can also use a double boiler or a microwave-safe bowl in 30-second increments, stirring between each interval, to melt the marshmallows safely and evenly.
Crunch Factor
The crunch factor in our healthy Rice Krispie treats comes from the whole grain cereal and any add-ins you choose, such as nuts or seeds. To achieve the perfect crunch, make sure to not overmix the cereal mixture, and press the treats into the baking dish evenly. You can also try adding some crunchy toppings, such as chopped nuts or shredded coconut, to give your treats an extra texture boost.
Pro Kitchen Tricks
- To make your treats more visually appealing, try using a cookie cutter to cut out fun shapes from the cereal mixture before it hardens.
- Experiment with different types of milk or non-dairy alternatives, such as almond milk or coconut milk, to create unique flavor profiles and textures.
- For an extra-special treat, try dipping the tops of the Rice Krispie treats in melted chocolate or caramel sauce for a sweet and indulgent twist.
Storage Tips
- Store your healthy Rice Krispie treats in an airtight container at room temperature for up to 3 days.
- For longer storage, you can wrap the treats individually in plastic wrap or aluminum foil and freeze for up to 2 months. Simply thaw at room temperature or in the fridge when you’re ready to serve.
- When reheating frozen treats, you can try microwaving them for 10-15 seconds or until soft and pliable. Be careful not to overheat, as this can cause the treats to become too sticky or hard.
Gift Packaging Ideas
If you’re looking to give your healthy Rice Krispie treats as a gift, try packaging them in cute containers or bags with a personalized note or label. Some ideas include using mason jars, cellophane bags, or decorative tins, and adding a ribbon or gift tag for a touch of elegance. You can also include a few extra treats, such as homemade granola or trail mix, to make the gift even more special.
Flavor Variations
- 🌟 Different spices: Try adding a pinch of cinnamon, nutmeg, or cardamom to give your treats a unique and aromatic flavor.
- 🌟 Creative toppings: Experiment with different toppings, such as shredded coconut, chopped nuts, or dried fruits, to add texture and flavor to your treats.
- 🌟 Ingredient swaps: Substitute different types of cereal, such as oats or puffed rice, or try using different types of milk or non-dairy alternatives to create unique flavor profiles and textures.
Troubleshooting
- Texture problems: If your treats are too sticky or hard, try adjusting the amount of honey or marshmallow mixture, or adding more cereal or oats to achieve the perfect texture.
- Ingredient replacements: If you’re missing an ingredient or want to try a substitution, don’t be afraid to experiment and find a replacement that works for you. Some ideas include using coconut oil instead of butter, or choosing unsweetened cereals for a healthier option.
- Over/undercooking signs: If you’re unsure whether your treats are cooked to perfection, try checking for a few signs, such as a lightly golden color, a firm texture, and a sweet but not too sticky flavor.
FAQs
- Can I freeze it? Yes, you can freeze your healthy Rice Krispie treats for up to 2 months. Simply wrap them individually in plastic wrap or aluminum foil and store in a freezer-safe bag or container.
- Is it gluten-free? Depending on the type of cereal you use, these treats can be gluten-free. Look for certified gluten-free cereals or oats to ensure that your treats are safe for those with gluten intolerance or sensitivity.
- Can I double the recipe? Yes, you can easily double or triple the recipe to make a larger batch of treats. Simply multiply the ingredients accordingly and adjust the cooking time as needed.
Conclusion
With these healthy Rice Krispie treats, you can enjoy a classic childhood snack with a grown-up twist. By using whole grain cereals, natural marshmallows, and a touch of honey or maple syrup, you can create a delicious and better-for-you treat that’s perfect for kids and adults alike. Don’t be afraid to experiment with different flavors and ingredients, and have fun making these treats your own. Whether you’re a busy parent, a health-conscious foodie, or just a lover of all things sweet and crunchy, these healthy Rice Krispie treats are sure to become a new favorite in your household.