Are you craving a rich dessert? Try these easy homemade Chocolate Peanut Butter Fudge Bars made with melted chocolate and creamy peanut butter for a quick family favorite – Save for later
Chocolate Peanut Butter Fudge Bars
Introduction
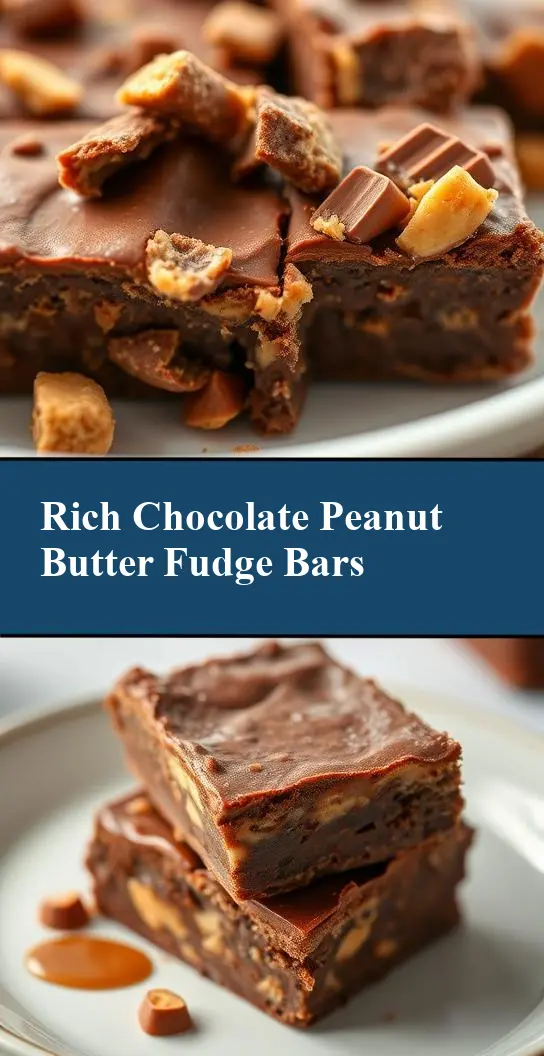
Indulge in the rich flavors of chocolate and peanut butter with our incredibly easy-to-make Chocolate Peanut Butter Fudge Bars. This recipe is a masterclass in simplicity, requiring only a handful of everyday ingredients that you might already have in your pantry. The beauty of these fudge bars lies not only in their decadent taste but also in their versatility and the minimal effort required to prepare them. Whether you’re a seasoned baker or a beginner in the kitchen, this recipe is sure to impress with its perfect balance of creamy peanut butter and velvety chocolate. So, let’s dive into the world of these irresistible treats and explore what makes them so special.
Why This Works
- Flavor balance and ingredient accessibility: The combination of peanut butter and chocolate creates a flavor profile that is both familiar and indulgent, making it a hit with anyone who tries it. The ingredients are easily accessible, meaning you can whip up a batch at a moment’s notice.
- Ease of preparation: The simplicity of this recipe is part of its charm. With a straightforward method that involves minimal cooking and no baking, it’s perfect for those looking for a quick dessert or snack.
- Impressive results with minimal effort: Despite the ease of preparation, the end result is nothing short of impressive. The layers of peanut butter and chocolate create a visually appealing dessert that’s sure to be the star of any gathering.
Key Ingredients
The magic of these Chocolate Peanut Butter Fudge Bars begins with the selection of high-quality ingredients. You’ll need a combination of creamy peanut butter, rich chocolate (both milk and dark work beautifully), a base of graham cracker crumbs for added texture, and a touch of sweetness from sugar and honey. For those looking for substitutions, almond butter can replace peanut butter for a different nutty flavor, and coconut sugar can be used in place of regular sugar for a slightly healthier twist. The versatility of these ingredients allows you to experiment and find your perfect combination.
Instructions
- Step 1: Begin by preparing your crust. In a medium bowl, mix together the graham cracker crumbs, sugar, and a pinch of salt. Add in the melted butter and stir until the mixture is evenly moistened. Press this mixture into the bottom of a lined or greased 8-inch square baking dish.
- Step 2: Next, prepare the peanut butter layer. In a large bowl, beat the peanut butter and butter together until smooth and creamy. Gradually add in the powdered sugar, beating well after each addition. Stir in the vanilla extract for added depth of flavor.
- Step 3: Spread the peanut butter mixture evenly over the prepared crust. Chill in the refrigerator for about 30 minutes to set.
- Step 4: For the final touch, melt the chocolate chips in a double boiler or in the microwave in 30-second increments, stirring between each interval until smooth. Pour the melted chocolate over the peanut butter layer and refrigerate until the chocolate is set, about 30 minutes to an hour. Cut into bars and serve.
Handy Tips
- For a smoother peanut butter layer, make sure to use creamy peanut butter and beat it well with the butter and powdered sugar.
- Don’t overmix the graham cracker crust mixture, as this can make it dense and difficult to press into the baking dish.
- Experiment with different types of chocolate for the top layer. Dark chocolate adds a deeper, richer flavor, while milk chocolate keeps things sweet and light.
Heat Control
When melting the chocolate, it’s crucial to control the heat to avoid burning the chocolate. If using a microwave, stir the chocolate every 30 seconds and check its consistency. For a double boiler, ensure that the bottom of the bowl isn’t touching the simmering water, as this can cause the chocolate to seize up or burn.
Crunch Factor
The crunch factor in these bars comes from the graham cracker crust. To achieve the perfect crunch, don’t overbake or overpress the crust mixture. A light press into the baking dish is all you need. If you prefer a chewier bar, you can slightly underbake the crust or add some chopped nuts to the peanut butter mixture for added texture.
Pro Kitchen Tricks
- Use high-quality chocolate for the best flavor. While it might be tempting to use chocolate chips, chopping a bar of chocolate can give a more refined taste and texture.
- Line your baking dish with parchment paper for easy removal of the bars once they’re set. This also makes cleanup a breeze.
- For an extra professional finish, melt a small amount of chocolate and use it to decorate the tops of the bars. Drizzle patterns or sprinkle with sea salt for a beautiful and delicious touch.
Storage Tips
- Store the Chocolate Peanut Butter Fudge Bars in an airtight container in the refrigerator for up to a week. Let them come to room temperature before serving for the best taste and texture.
- These bars can be frozen for up to 2 months. Simply cut them, place them in a single layer in a freezer-safe bag or container, and thaw at room temperature when you’re ready to serve.
- When transporting or gifting, consider placing the bars in a decorative tin or box lined with parchment paper to keep them fresh and add a personal touch.
Gift Packaging Ideas
These Chocolate Peanut Butter Fudge Bars are perfect for gifting. Wrap each bar individually in plastic wrap or aluminum foil and place them in a decorative tin or jar. Add a ribbon around the lid and a gift tag with a personal message for a thoughtful and delicious gift. For a more rustic look, use parchment paper and twine to wrap each bar, then place them in a wooden crate or a paper bag with a handmade label.
Flavor Variations
- 🌟 Different spices: Add a pinch of salt or a teaspoon of cinnamon to the peanut butter mixture for a unique twist.
- 🌟 Creative toppings: Sprinkle chopped nuts, shredded coconut, or even candy pieces over the melted chocolate before it sets for added texture and flavor.
- 🌟 Ingredient swaps: Replace the peanut butter with almond butter or cashew butter for a different nutty flavor. You can also use different types of milk chocolate or add a layer of caramel for an extra-decadent treat.
Troubleshooting
- Texture problems: If the peanut butter layer is too soft, refrigerate the bars for a longer time. If the chocolate is too hard, let the bars sit at room temperature for about 10 minutes before serving.
- Ingredient replacements: Always choose replacements that have similar consistencies and flavors to the original ingredients. For example, if replacing peanut butter with another nut butter, ensure it’s creamy and not natural, which can separate.
- Over/undercooking signs: Since these bars don’t require baking, the primary concern is the setting time. If the chocolate doesn’t set properly, it might be due to the temperature in your refrigerator or the quality of the chocolate. Experiment with different setting times or chocolate types.
FAQs
- Can I freeze it? Yes, these bars can be frozen for up to 2 months. Simply thaw at room temperature when you’re ready to serve.
- Is it gluten-free? The recipe as stated is gluten-free, provided that the chocolate and peanut butter used are gluten-free. Always check the labels of your ingredients.
- Can I double the recipe? Absolutely. Just ensure you have a large enough baking dish to accommodate the increased quantity. A 9×13 inch dish would be perfect for a doubled recipe.
Conclusion
With these Chocolate Peanut Butter Fudge Bars, you’re not just making a dessert; you’re creating an experience. The combination of textures and flavors is sure to delight both kids and adults alike. Whether you’re looking for a quick dessert to satisfy your sweet tooth, a gift for a friend, or a treat to bring to a party, these bars are the perfect solution. So, go ahead, get creative, and indulge in the chocolatey, peanut-buttery goodness that these fudge bars have to offer. Share your creations, experiment with new flavors, and most importantly, enjoy the process of making something truly special.