What makes the perfect dessert? Rich vanilla and earl grey tea infused in a homemade easy crème brûlée made with creamy eggs and sugar, perfect for a weeknight dinner treat, save for later
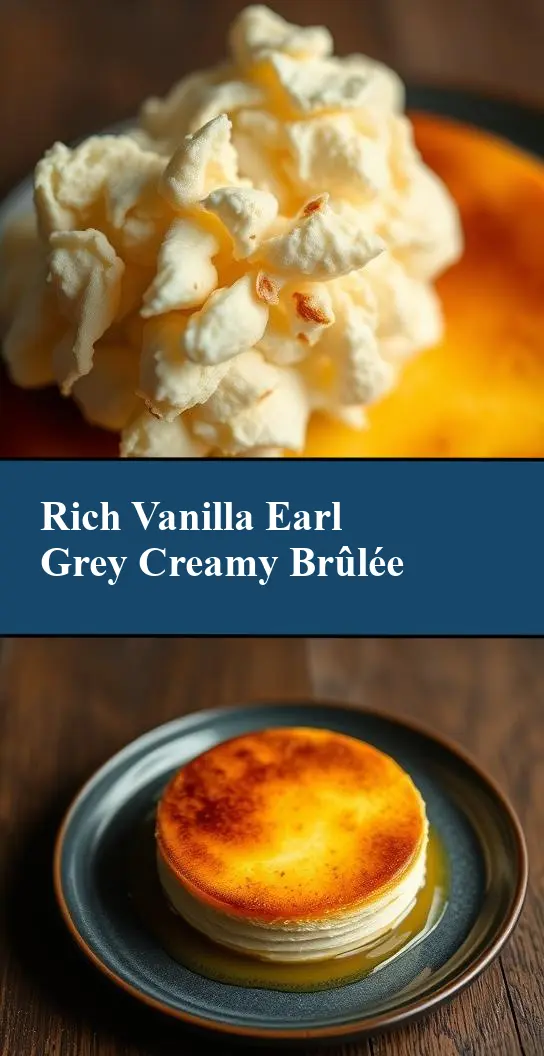
Vanilla Earl Grey Crème Brûlée
Introduction
Imagine sinking your spoon into a rich, creamy, and velvety dessert, feeling the satisfying crunch of a caramelized sugar crust giving way to the deep, aromatic flavors of vanilla and Earl Grey tea. This Vanilla Earl Grey Crème Brûlée is not just a dessert; it’s an experience that combines the simplicity of everyday ingredients with the elegance of a high-end restaurant treat. What makes this recipe truly special is its accessibility – with just a few ingredients and some basic kitchen tools, you can create a dessert that’s sure to impress your friends and family. The best part? It’s incredibly easy to make, requiring minimal effort for a dish that looks and tastes like a masterpiece.
Why This Works
- Flavor balance and ingredient accessibility: The combination of vanilla and Earl Grey tea provides a unique and sophisticated flavor profile that’s both intriguing and comforting. The ingredients are easily found in most grocery stores, making this dessert accessible to anyone.
- Ease of preparation: Despite its elegant appearance, this crème brûlée is surprisingly simple to prepare. The steps are straightforward, and the ingredients are easy to work with, even for beginners.
- Impressive results with minimal effort: The caramelized sugar on top adds a textural element and a touch of drama, making this dessert perfect for special occasions or dinner parties. The fact that it can be prepared ahead of time and requires minimal last-minute effort makes it a practical choice for entertaining.
Key Ingredients
The main ingredients in this Vanilla Earl Grey Crème Brûlée include heavy cream, granulated sugar, large egg yolks, vanilla extract, and Earl Grey tea. The heavy cream provides the richness and creaminess, while the granulated sugar adds sweetness and is essential for the caramelized topping. Egg yolks are the backbone of the crème brûlée, giving it structure and richness. Vanilla extract enhances the flavor, and Earl Grey tea, with its bergamot notes, adds a unique and refreshing twist. For practical substitutions, you can use whole milk or a combination of milk and cream if heavy cream is not available, though the result might be slightly less rich. Additionally, if you prefer a different tea flavor, you can experiment with other herbal teas, though Earl Grey’s citrus notes are particularly well-suited to this dessert.
Instructions
- Step 1: Begin by preheating your oven to 300°F (150°C). In a medium saucepan, whisk together the heavy cream, granulated sugar, and salt. Heat the mixture over medium heat, stirring occasionally, until the sugar has dissolved and the mixture is hot but not boiling.
- Step 2: Remove the cream mixture from the heat and add in the tea bags. Let it steep for 10-15 minutes, or until the mixture has cooled to room temperature. This step is crucial for infusing the cream with the Earl Grey flavor. After steeping, remove the tea bags and whisk in the vanilla extract.
- Step 3: In a small bowl, whisk together the egg yolks. Gradually add the warm cream mixture to the egg yolks, whisking constantly to prevent the eggs from scrambling. This tempering process ensures that the eggs incorporate smoothly into the cream, resulting in a silky texture.
- Step 4: Pour the mixture into 4-6 ramekins or small baking dishes. Place the ramekins in a large baking dish and add hot water to come halfway up the sides of the ramekins. Bake for 25-30 minutes, or until the edges are set and the centers are still slightly jiggly. Remove the ramekins from the water bath and let them cool to room temperature. Cover and refrigerate for at least 2 hours or overnight. Just before serving, sprinkle a thin layer of granulated sugar over the top of each chilled crème brûlée. Caramelize the sugar with a kitchen torch or under the broiler, watching carefully to avoid burning.
Handy Tips
- Helpful kitchen advice: To ensure that your crème brûlée sets properly, it’s crucial not to overbake. The centers should still be slightly jiggly when you remove them from the oven. Also, when caramelizing the sugar, move the flame or broiler slowly and steadily to achieve an even, golden-brown crust.
- Substitutions: If you’re looking for a non-dairy version, you can experiment with coconut cream or almond milk, though you may need to adjust the sweetener and stabilizers. For a different flavor twist, consider using other types of tea or extracts like almond or coffee.
- What to avoid: Avoid over-whisking the egg yolks, as this can incorporate too much air and result in a crème brûlée that’s too light or even curdled. Also, be careful not to burn the caramelized sugar, as this can give your dessert a bitter flavor.
Heat Control
Heat control is crucial in two stages of this recipe: when heating the cream mixture and when caramelizing the sugar. For the cream, it’s essential to heat it until it’s hot but not boiling, to prevent the eggs from scrambling when you temper them. For caramelizing the sugar, the ideal temperature is between 300°F to 350°F (150°C to 175°C), and the timing will depend on your method – either a few minutes under the broiler or a steady sweep with a kitchen torch.
Crunch Factor
The crunch factor in this dessert comes from the caramelized sugar on top. To achieve the perfect crunch, it’s essential to sprinkle a thin, even layer of sugar over the chilled crème brûlée and then caramelize it carefully. The sugar should be golden brown and crackle when you break it with your spoon, giving way to the creamy dessert beneath. The texture contrast between the crunchy sugar and the smooth crème brûlée is what makes this dessert truly special.
Pro Kitchen Tricks
- Expert tips for better results: One trick to achieving a smooth crème brûlée is to ensure that your ingredients are at room temperature before you start mixing. This helps in incorporating air and prevents the mixture from breaking or becoming too dense.
- Shortcuts: If you’re short on time, you can speed up the cooling process of the cream mixture by placing the saucepan in an ice bath and stirring occasionally until it cools down.
- Cleanup hacks: To make cleanup easier, especially when dealing with the caramelized sugar, have a bowl of cold water ready to soak your utensils and any dishes with stuck-on sugar. This will prevent the sugar from hardening and make washing up much simpler.
Storage Tips
- Leftover storage: Crème brûlée can be made ahead and stored in the refrigerator for up to 3 days. It’s best to caramelize the sugar just before serving to ensure the texture remains crisp.
- Reheating tips: Since crème brûlée is served chilled, there’s no need to reheat it. However, if you’ve refrigerated it for an extended period, you might want to let it sit at room temperature for about 30 minutes before serving to allow the flavors to meld together again.
- Shelf life and best containers: For the best results, store crème brûlée in airtight containers in the refrigerator. Glass ramekins with plastic wrap or aluminum foil work well, as they can be chilled and served directly from the container.
Gift Packaging Ideas
If you’re considering gifting this Vanilla Earl Grey Crème Brûlée, presentation is key. Individual servings in decorative ramekins or small glass jars can be wrapped in ribbon or twine and accompanied by a packet of shortbread cookies or a few tea bags for a complete dessert experience. For a more rustic look, you can place the chilled crème brûlée in mason jars, top with a layer of caramelized sugar, and seal with a decorative lid. Adding a handwritten note with serving instructions and a personal message makes the gift even more special.
Flavor Variations
- 🌟 Different spices: Consider adding a pinch of cinnamon, nutmeg, or cardamom to the cream mixture for a unique twist on the traditional flavor.
- 🌟 Creative toppings: Instead of caramelized sugar, you could top your crème brûlée with fresh fruits, nuts, or even a drizzle of chocolate or caramel sauce for added texture and flavor.
- 🌟 Ingredient swaps: For a boozy twist, you could soak the tea bags in a liquor of your choice (like Grand Marnier or rum) before steeping them in the cream. Alternatively, using different types of milk or cream can alter the richness and flavor profile of the dessert.
Troubleshooting
- Texture problems: If your crème brûlée turns out too dense, it might be due to overcooking. If it’s too runny, it could be undercooked or the eggs might not have been tempered correctly.
- Ingredient replacements: If you’re looking to replace the Earl Grey tea, consider other teas with distinct flavors like English Breakfast for a stronger tea taste or Jasmine for a floral note.
- Over/undercooking signs: The crème brûlée is done when the edges are set, and the centers are still slightly jiggly. If the whole thing is set and firm, it’s overcooked. Conversely, if it’s still very jiggly throughout, it’s undercooked.
FAQs
- Can I freeze it? Yes, you can freeze crème brûlée, but it’s best to do so before caramelizing the sugar. Thaw frozen crème brûlée in the refrigerator overnight and caramelize the sugar just before serving.
- Is it gluten-free? Yes, this Vanilla Earl Grey Crème Brûlée recipe is naturally gluten-free, making it a great option for those with gluten intolerance or sensitivity.
- Can I double the recipe? Yes, you can easily double or triple this recipe if you’re serving a larger crowd. Just ensure that you have enough ramekins and adjust the baking time slightly if necessary.
Conclusion
This Vanilla Earl Grey Crème Brûlée is a testament to the magic that happens when simple, high-quality ingredients come together in perfect harmony. With its creamy texture, aromatic flavors, and the satisfying crunch of caramelized sugar, it’s a dessert that’s sure to delight both you and your guests. Whether you’re a seasoned chef or a beginner in the kitchen, this recipe is a great way to explore the world of desserts and to experiment with new flavors and techniques. So, don’t be afraid to get creative, to try new things, and most importantly, to enjoy the process of cooking and sharing delicious food with the people you love.