What’s the secret to perfectly cooked chicken legs every time? This oven baked chicken legs recipe is a game changer for weeknight dinner, requiring just a few simple ingredients like olive oil and your favorite spices. The easy homemade method yields fall-off-the-bone tender results with minimal effort. Save this idea for a quick family favorite meal solution.
Oven Baked Chicken Legs Recipe
Introduction
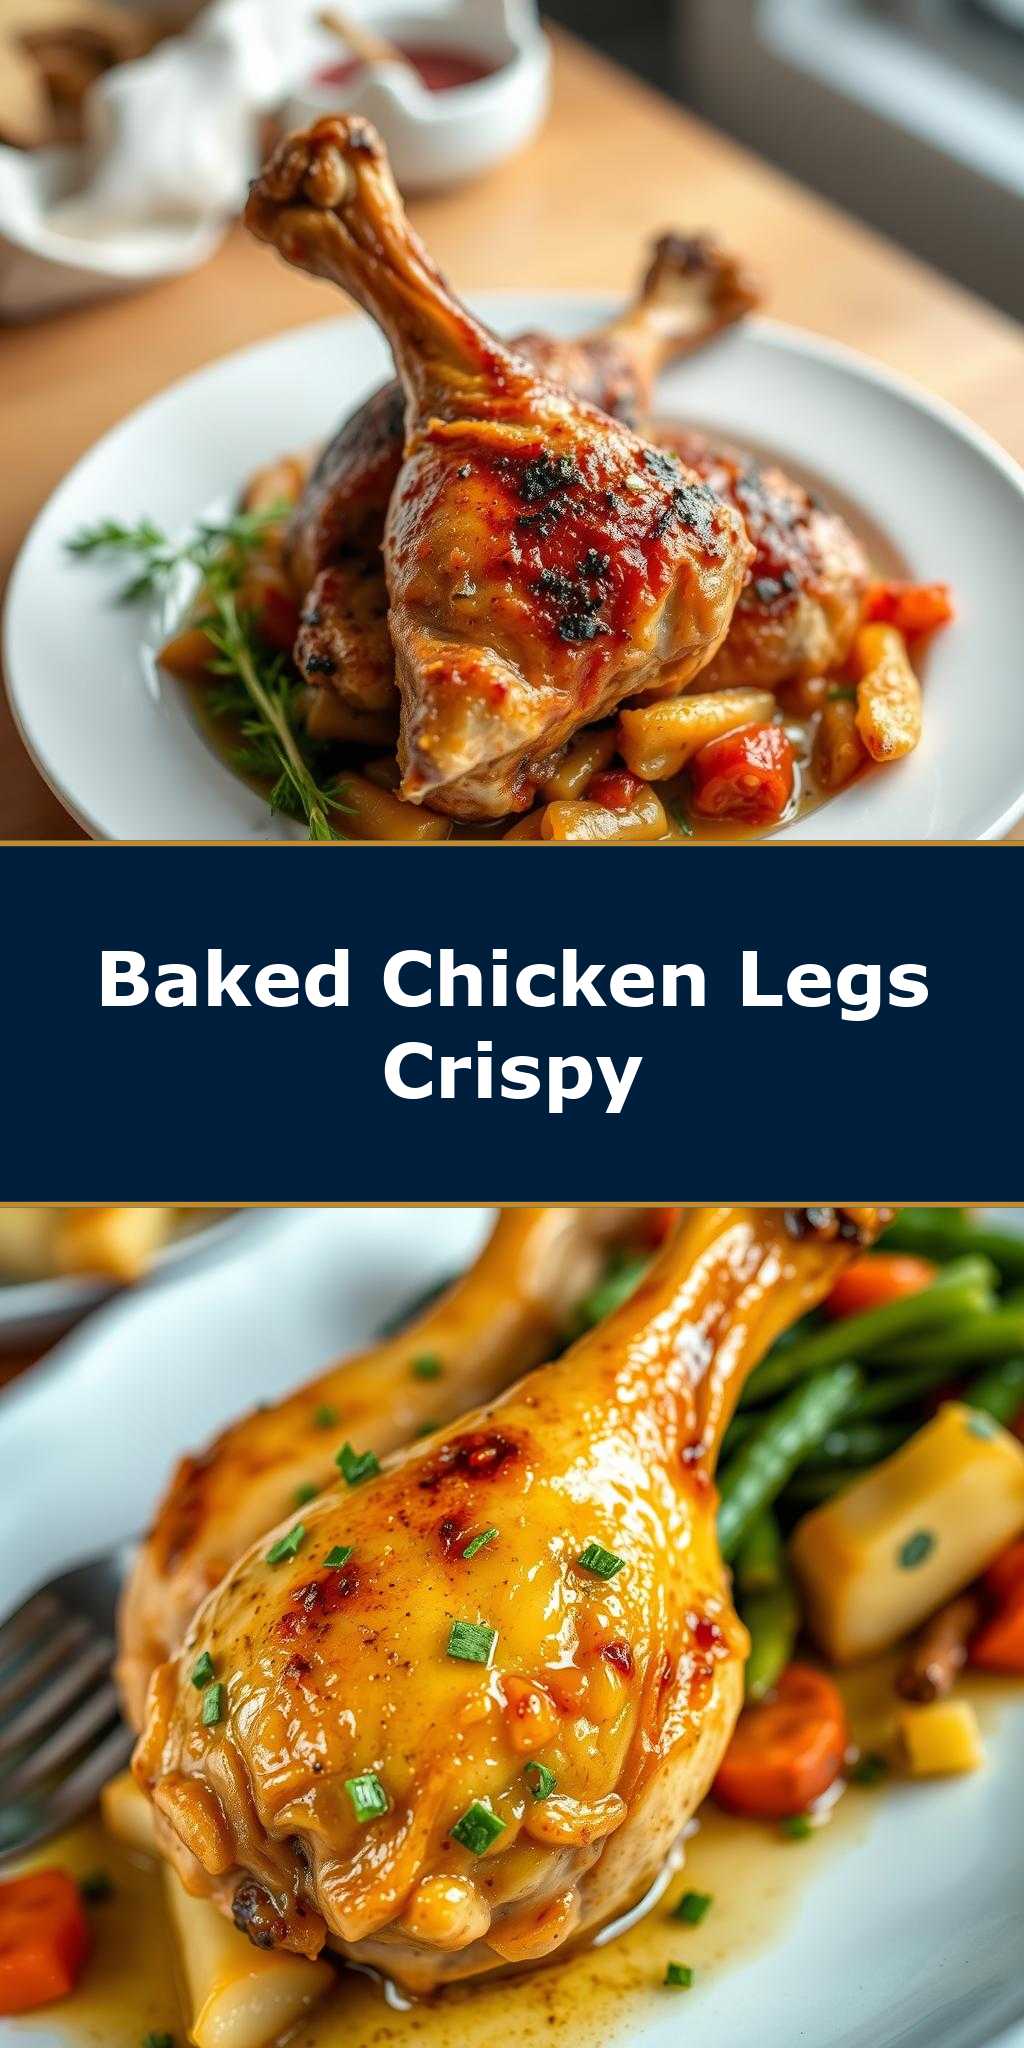
Imagine a dish that combines the ease of preparation, the depth of flavor, and the versatility of everyday ingredients, all coming together in a recipe that’s as perfect for a weeknight dinner as it is for a special occasion. Our Oven Baked Chicken Legs Recipe is just that—a culinary gem that elevates one of the most common proteins, the chicken leg, into a mouthwatering masterpiece. With its crispy exterior giving way to tender, juicy meat, this dish is sure to become a staple in your household. The beauty of this recipe lies not only in its simplicity but also in its ability to be customized with your favorite herbs and spices, making it a blank canvas for your culinary creativity.
Why This Works
- Flavor balance and ingredient accessibility: The combination of olive oil, garlic, and your choice of herbs creates a balanced flavor profile that complements the chicken perfectly, while using ingredients that are likely already in your pantry.
- Ease of preparation: With a preparation time of just 10 minutes, this recipe is quick to get in the oven, making it ideal for busy days when you need a delicious meal without the fuss.
- Impressive results with minimal effort: The end result is a dish that looks and tastes like it was prepared in a professional kitchen, all with minimal effort and time, perfect for impressing family and friends.
Key Ingredients
The foundation of our Oven Baked Chicken Legs Recipe is built around a few key ingredients: chicken legs, olive oil, garlic, salt, pepper, and your choice of herbs (such as thyme, rosemary, or oregano). For those looking to make substitutions, you can easily swap out olive oil for avocado oil or coconut oil for a different flavor profile. Additionally, if you’re looking to spice things up, you can add a pinch of red pepper flakes or a squeeze of fresh lemon juice to the marinade. The versatility of this recipe allows you to tailor it to your taste preferences, making it a versatile addition to your culinary repertoire.
Instructions
- Step 1: Begin by preheating your oven to 425°F (220°C). While the oven is heating up, prepare your chicken legs by rinsing them under cold water, then patting them dry with paper towels to remove excess moisture.
- Step 2: In a large bowl, whisk together olive oil, minced garlic, salt, pepper, and your chosen herbs. Add the chicken legs to the bowl, tossing them to coat evenly with the marinade. Let them sit for at least 5 minutes to allow the flavors to penetrate the meat.
- Step 3: Line a baking sheet with aluminum foil or parchment paper, and arrange the marinated chicken legs on it in a single layer, leaving a little space between each leg to ensure even cooking. Bake in the preheated oven for 20-25 minutes, or until the chicken is cooked through and the skin is crispy and golden brown.
- Step 4: Once the chicken is done, remove it from the oven and let it rest for a few minutes. Serve hot, garnished with fresh herbs if desired, and accompanied by your favorite sides, such as mashed potatoes, roasted vegetables, or a fresh salad.
Handy Tips
- Avoid overcrowding the baking sheet, as this can prevent the chicken from cooking evenly and achieving that perfect crispiness on the outside.
- For an extra crispy skin, you can broil the chicken for an additional 2-3 minutes after baking. Keep a close eye on it to prevent burning.
- Consider using a meat thermometer to ensure the chicken is cooked to a safe internal temperature of 165°F (74°C).
Heat Control
The ideal temperature for baking chicken legs is 425°F (220°C), which allows for a nice balance between cooking the meat through and crisping the skin. The cooking time can vary depending on the size of your chicken legs and your personal preference for doneness. A good rule of thumb is to bake them for 20-25 minutes, then check for doneness. Signs of doneness include the chicken reaching an internal temperature of 165°F (74°C), the juices running clear when cut, and the skin being crispy and golden brown.
Crunch Factor
Achieving the perfect crunch on the outside while maintaining juiciness on the inside is key to this recipe. To enhance the crunch factor, make sure to pat the chicken dry before applying the marinade, and don’t overcrowd the baking sheet. If you prefer an extra crispy exterior, a short broil after baking can make all the difference. The contrast between the tender meat and the crunchy skin is what makes this dish so satisfying.
Pro Kitchen Tricks
- For easier cleanup, line your baking sheet with aluminum foil or parchment paper before adding the chicken. This will prevent stuck-on food and make post-meal cleanup a breeze.
- To add an extra layer of flavor, consider marinating the chicken legs for a few hours or overnight in the refrigerator. This will allow the flavors to penetrate deeper into the meat, resulting in more complex and satisfying taste experience.
- Experiment with different seasoning blends to find your favorite. From classic herbs like thyme and rosemary to spicy blends featuring cumin and chili powder, the possibilities are endless.
Storage Tips
- Leftover chicken legs can be stored in an airtight container in the refrigerator for up to 3 days. Reheat them in the oven or microwave until warmed through.
- For longer storage, consider freezing the cooked chicken legs. Place them in a freezer-safe bag or container and store in the freezer for up to 2 months. Reheat from frozen in the oven or microwave.
- When reheating, make sure the chicken reaches an internal temperature of 165°F (74°C) to ensure food safety.
Gift Packaging Ideas
While oven-baked chicken legs might not be the first thing that comes to mind when thinking of gifts, they can actually make a thoughtful and practical present, especially for new parents, students, or anyone who appreciates a home-cooked meal. Consider packaging cooled chicken legs in decorative containers or bags, accompanied by a side of mashed potatoes, a salad, or a loaf of fresh bread. Add a personal touch with a handwritten note or a small bouquet of fresh herbs.
Flavor Variations
- Different spices: Try using smoked paprika for a smoky flavor, ground cumin for a Mexican-inspired taste, or garam masala for an Indian twist.
- Creative toppings: Once the chicken is cooked, top it with your favorite sauces or condiments, such as BBQ sauce, honey mustard, or a dollop of sour cream.
- Ingredient swaps: Substitute chicken legs with thighs or a combination of both for a varied texture and flavor profile.
Troubleshooting
- Texture problems: If the chicken turns out too dry, it might have been overcooked. Try reducing the cooking time or temperature in future attempts. Conversely, if the skin doesn’t crisp up, it could be due to overcrowding the baking sheet or not patting the chicken dry enough before baking.
- Ingredient replacements: If you’re missing a specific herb or spice, don’t be afraid to substitute with something similar. The key is to find a balance of flavors that you enjoy.
- Over/undercooking signs: Always check the internal temperature of the chicken to ensure it’s cooked through. Signs of undercooking include pinkish meat and juices that are not clear, while overcooking can result in dry, tough meat.
FAQs
- Can I freeze it? Yes, you can freeze cooked chicken legs for up to 2 months. Simply place them in a freezer-safe bag or container and reheat from frozen when needed.
- Is it gluten-free? This recipe is naturally gluten-free, making it a great option for those with gluten intolerance or sensitivity.
- Can I double the recipe? Absolutely! Simply multiply all the ingredients by two and adjust the cooking time slightly if necessary, depending on the size of your chicken legs and your oven’s performance.
Conclusion
Our Oven Baked Chicken Legs Recipe is more than just a meal; it’s an experience. With its simplicity, versatility, and the promise of a delicious outcome, it’s the perfect recipe for anyone looking to elevate their culinary game without breaking a sweat. Whether you’re a seasoned chef or a beginner in the kitchen, this recipe is sure to become a favorite. So go ahead, experiment with different flavors, share it with friends and family, and enjoy the process of creating something truly special. Happy cooking!