What makes the perfect weeknight dinner? A hearty bowl of homemade classic chili, loaded with ground beef and beans, that’s ready in no time thanks to this quick and easy recipe. Save this idea for a family favorite meal that’s sure to become a staple in your household, perfect for a cozy night in as a weeknight dinner option. Try it soon.
Quick and Flavorful Classic Chili Recipe
Introduction
Imagine a warm, comforting bowl of chili that’s not only delicious but also incredibly easy to make. This quick and flavorful classic chili recipe is a staple for any occasion, utilizing everyday ingredients to create a dish that’s both hearty and tantalizing. The beauty of this recipe lies in its simplicity and the room it leaves for creativity, allowing you to add your personal touch with various toppings or sides. Whether you’re a seasoned chef or a beginner in the kitchen, this chili recipe is sure to become a favorite, perfect for cozy nights in, gatherings with friends, or as a satisfying meal after a long day.
Why This Works
- Flavor balance and ingredient accessibility: This recipe strikes a perfect balance between spices, meats, and vegetables, making it accessible to a wide range of tastes. The ingredients are common and easily found in most grocery stores, adding to its appeal.
- Ease of preparation: The steps are straightforward, and the preparation time is minimal, making it an ideal choice for those with busy schedules or who are new to cooking.
- Impressive results with minimal effort: Despite its simplicity, the end result is a rich, flavorful chili that looks and tastes like it was cooked by a pro, sure to impress family and friends.
Key Ingredients
The foundation of this classic chili includes ground beef, onions, garlic, bell peppers, tomatoes, beans, and a blend of spices. For the ground beef, you can opt for leaner options like 90% lean if you’re watching your fat intake. Onions and garlic provide a depth of flavor, while bell peppers add a touch of sweetness and crunch. Canned tomatoes and beans are convenient and packed with nutrients. The spice blend typically includes chili powder, cumin, and sometimes a pinch of cayenne pepper for those who like a little heat. Feel free to substitute ingredients based on your dietary preferences or what’s available in your pantry; for instance, ground turkey or vegetarian options like mushrooms can replace the beef.
Instructions
- Step 1: Begin by prepping your ingredients. Chop the onions, mince the garlic, and slice the bell peppers. This step is crucial as it ensures all ingredients cook evenly and at the right pace.
- Step 2: In a large pot, heat a couple of tablespoons of olive oil over medium heat. Add the chopped onions and cook until they’re translucent, then add the minced garlic and cook for another minute, being careful not to burn it. Next, add the sliced bell peppers and cook until they start to soften.
- Step 3: Add the ground beef to the pot, breaking it up with a spoon as it cooks. Once the beef is browned, add the chili powder, cumin, and any other spices you’re using, stirring well to combine. Let the spices cook for a minute to allow their flavors to meld into the meat mixture.
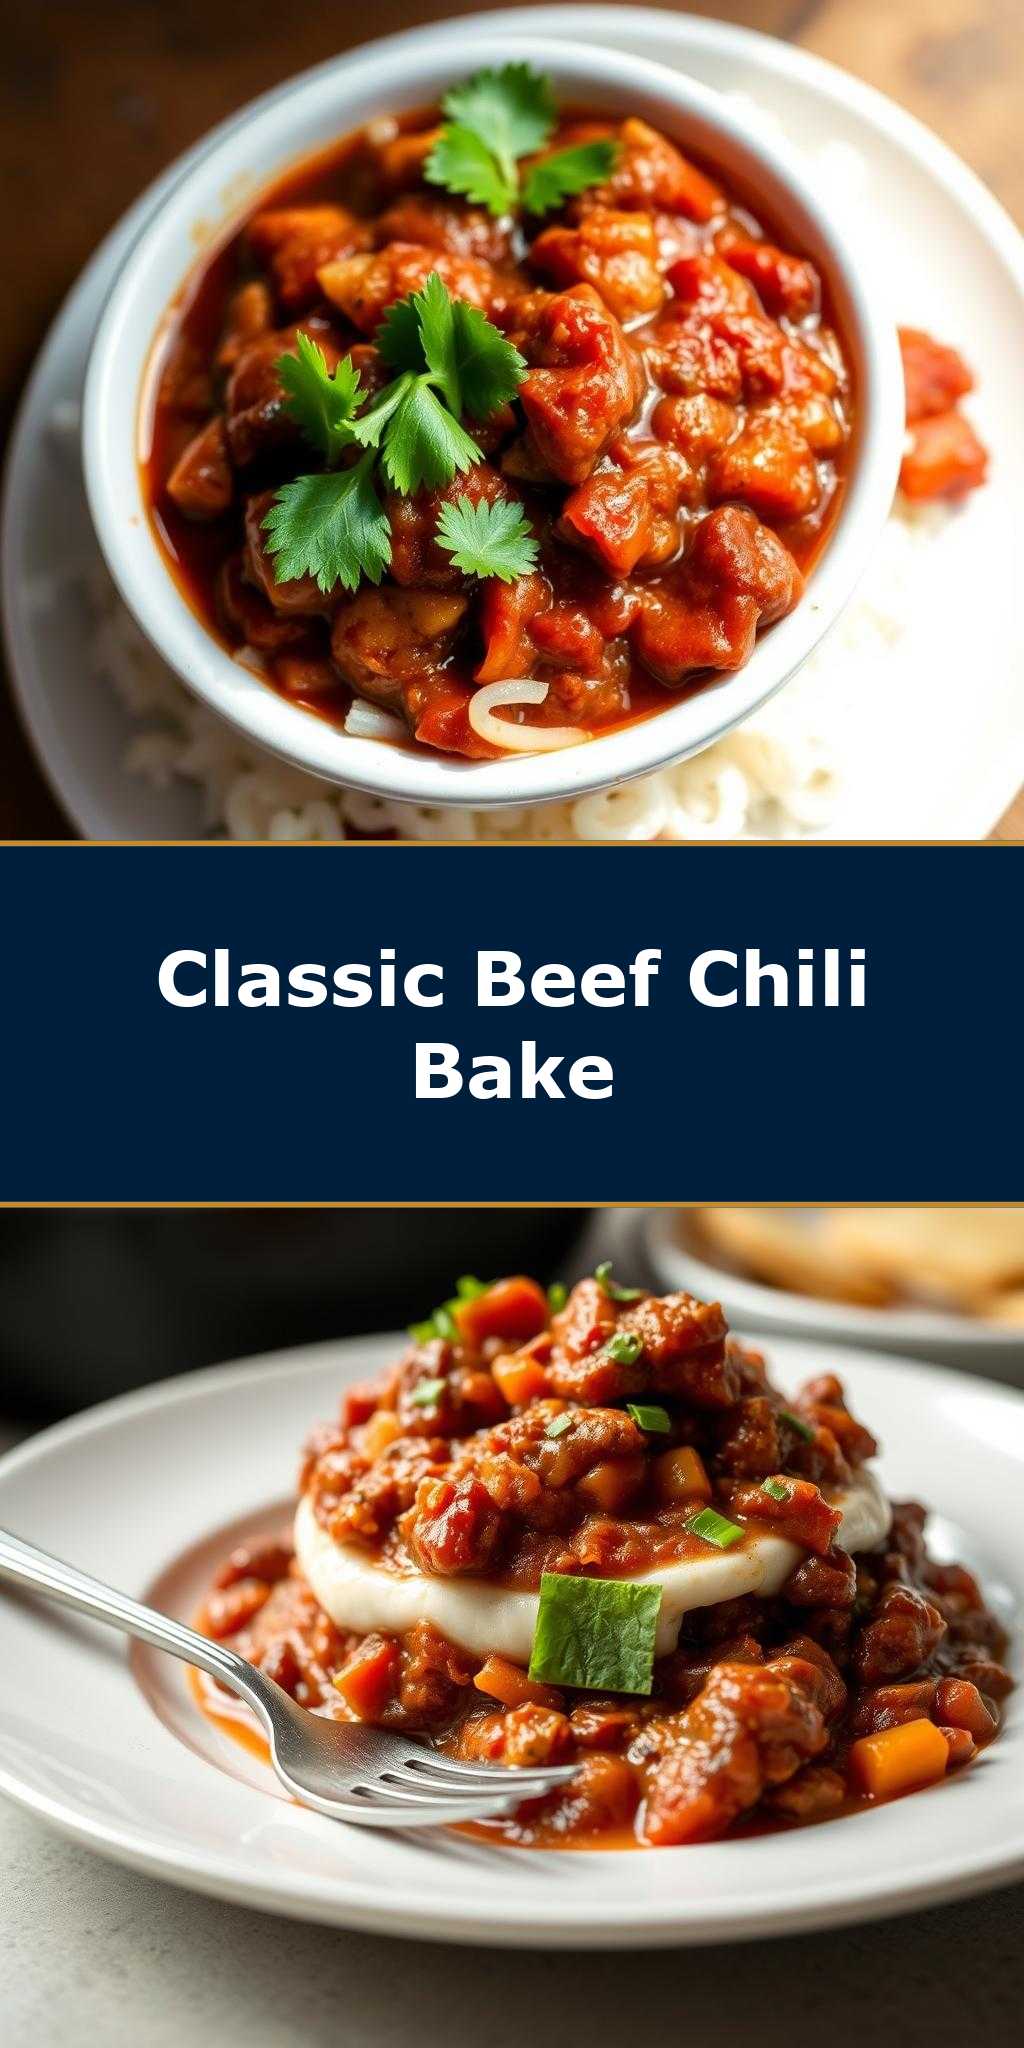
- Step 4: Add the canned tomatoes, beans, and any other desired ingredients to the pot. Stir well, then reduce the heat to low and let the chili simmer for at least 20 minutes, allowing all the flavors to come together. Season with salt and pepper to taste. Serve hot, garnished with chopped fresh cilantro, scallions, or a dollop of sour cream, and accompanied by your choice of sides such as cornbread, crusty bread, or over rice.
Handy Tips
- For a deeper flavor, use a mix of ground meats or add a bit of smoked paprika. If you prefer a vegetarian or vegan version, mushrooms, especially meaty ones like portobello, can mimic the texture of ground meat and absorb all the flavors beautifully.
- Avoid overcooking, as it can make the chili dry and the flavors dull. It’s better to cook it just until the flavors have melded together and the meat is fully cooked.
- Consider making a double batch and freezing some for later. Chili is one of those dishes that tastes even better the next day and freezes incredibly well.
Heat Control
When cooking the chili, it’s essential to control the heat to prevent burning or overcooking. Start with medium heat for the initial browning of the meat and onions, then reduce it to low once you’ve added all the ingredients and the chili is simmering. Ideal cooking time can vary depending on your stovetop and the quantity of chili, but a good rule of thumb is to simmer it for at least 20 minutes. Signs of doneness include the flavors being fully melded together, the meat being fully cooked, and the chili having thickened slightly.
Crunch Factor
Achieving the right texture in your chili, including a bit of crunch, can elevate the dish. This can be done by not overcooking the bell peppers or by adding some crunchy toppings like chopped fresh onions, crispy bacon bits, or a sprinkle of crispy tortilla strips right before serving.
Pro Kitchen Tricks
- Use high-quality ingredients when possible, especially the spices, as they make a significant difference in the depth of flavor.
- Acidity, like a squeeze of fresh lime juice, can brighten the flavors of the chili. Add it just before serving for the best effect.
- For a shortcut, consider using pre-chopped onions or bell peppers, which can save you a bit of time on prep work.
Storage Tips
- Leftover chili can be stored in the refrigerator for up to 3 days or frozen for up to 3 months. When reheating, do so gently over low heat, adding a bit of water if the chili has thickened too much.
- The best containers for storing chili are airtight, such as glass or plastic containers with tight-fitting lids. For freezing, consider portioning the chili into freezer-safe bags or containers for easy thawing and reheating of individual servings.
- Label and date your leftovers or frozen portions so you can easily keep track of how long they’ve been stored.
Gift Packaging Ideas
If you’re considering gifting your homemade chili, it can be packaged in decorative jars or containers and topped with a ribbon or gift tag. Include some crusty bread, cornbread mix, or a bag of toppings like shredded cheese, sour cream, and diced onions to make it a complete gift. For a more personal touch, add a handwritten recipe card or a note with serving suggestions.
Flavor Variations
- Different spices: Experiment with various chili powder blends, add some ground coriander for a Middle Eastern twist, or use chipotle peppers for a smoky heat.
- Creative toppings: Offer a variety of toppings like diced avocado, sliced jalapeños, Greek yogurt, or crushed tortilla chips to let everyone customize their bowl.
- Ingredient swaps: Try using ground pork, lamb, or a combination of meats for a unique flavor profile. You can also substitute different types of beans or add some diced potatoes for extra heartiness.
Troubleshooting
- Texture problems: If your chili becomes too thick, add a bit of water or broth. If it’s too thin, simmer it uncovered for a bit to reduce the liquid.
- Ingredient replacements: If you’re missing an ingredient, look for substitutes that offer similar flavors or textures. For example, if you don’t have kidney beans, black beans or pinto beans can work well.
- Over/undercooking signs: Keep an eye on the chili’s consistency and flavor. If it’s undercooked, the flavors might not have melded together, and the meat might not be fully cooked. Overcooking can result in a dry, flavorless chili.
FAQs
- Can I freeze it? Yes, chili freezes incredibly well. Portion it into airtight containers or freezer bags and store it in the freezer for up to 3 months.
- Is it gluten-free? This recipe is naturally gluten-free, making it a great option for those with gluten intolerance. Just be sure to check the ingredients of your spices and beans to confirm they are gluten-free.
- Can I double the recipe? Absolutely. Doubling the recipe is a great way to meal prep or feed a larger crowd. Just keep an eye on the cooking time, as larger quantities may take a bit longer to simmer.
Conclusion
This quick and flavorful classic chili recipe is a versatile and delicious addition to any meal repertoire. Its ease of preparation, rich flavor, and flexibility in ingredients make it perfect for a wide range of tastes and dietary needs. Feel encouraged to experiment with different spices, toppings, and ingredients to make it your own. Whether you’re cooking for one or a crowd, this chili is sure to please. So go ahead, give it a try, and enjoy the warmth and comfort a good bowl of chili can bring to your table.