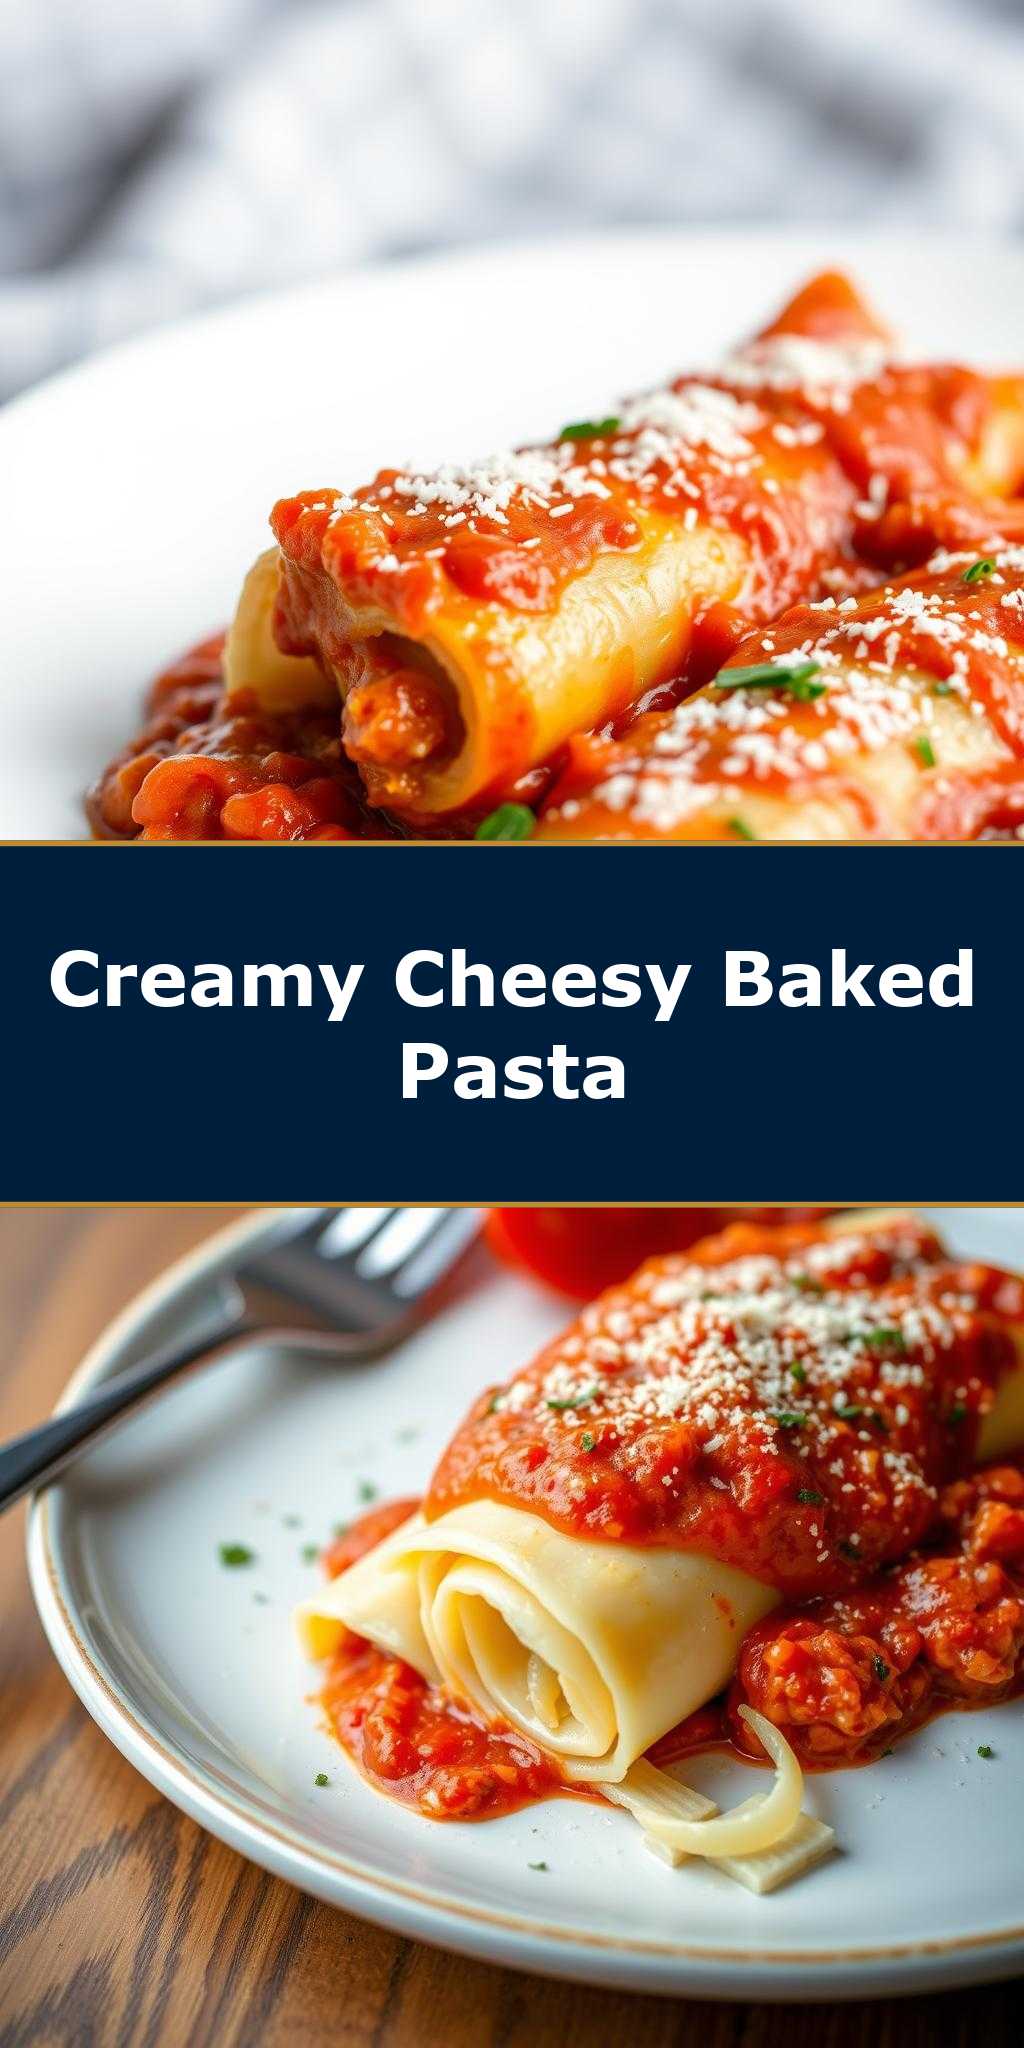
What makes a classic Italian dish truly unforgettable? For me, it’s all about the creamy ricotta filling in this homemade manicotti recipe, made easy with simple weeknight dinner solutions like pre-made pasta and a quick baked finish, featuring tender ground beef and rich parmesan cheese. Save this idea for a family favorite meal to enjoy later.
Manicotti Recipe
Introduction
Imagine a dish that combines the simplicity of everyday ingredients with the complexity of rich, satisfying flavors, all wrapped up in a creative and visually stunning package. Welcome to the world of Manicotti, a classic Italian dish that embodies the perfect blend of ease, flavor, and creativity. This recipe for Manicotti is designed to guide you through the process of creating a truly impressive meal with minimal effort, using ingredients that are readily available in most kitchens. Whether you’re a seasoned chef or a culinary newbie, this Manicotti recipe is sure to delight your taste buds and leave you wanting more.
Why This Works
- Flavor balance and ingredient accessibility: The key to a great Manicotti dish lies in its ability to balance a variety of flavors, from the richness of cheese and meat to the brightness of fresh herbs. This recipe achieves that balance while using ingredients that are easy to find and work with.
- Ease of preparation: One of the best things about this Manicotti recipe is how straightforward it is to prepare. With a few simple steps, you can have a delicious, restaurant-quality meal on the table in no time.
- Impressive results with minimal effort: Despite its ease of preparation, this Manicotti recipe yields impressive results that are sure to wow your family and friends. The combination of tender pasta, rich sauce, and melted cheese is a crowd-pleaser, and the presentation is sure to impress.
Key Ingredients
The main ingredients in this Manicotti recipe include manicotti pasta tubes, ground beef or sausage, onion, garlic, tomato sauce, ricotta cheese, mozzarella cheese, parmesan cheese, and fresh basil. For a vegetarian option, you can substitute the ground beef with sautéed spinach, mushrooms, or bell peppers. Practical substitutions can also be made for the cheese, such as using low-fat ricotta or a dairy-free alternative for those with dietary restrictions. The beauty of this recipe lies in its flexibility, allowing you to customize it to your tastes and preferences.
Instructions
- Step 1: Begin by preheating your oven to 375°F (190°C). While the oven is heating up, cook the manicotti pasta tubes according to the package instructions until they are al dente. Drain and set aside.
- Step 2: In a large skillet, cook the ground beef or sausage over medium heat until it is browned, breaking it up into small pieces as it cooks. Add the onion and garlic and cook until the onion is translucent. Then, add the tomato sauce and bring the mixture to a simmer. Let it cook for a few minutes until the sauce has thickened slightly.
- Step 3: In a large bowl, combine the ricotta cheese, mozzarella cheese, and parmesan cheese. Mix well to combine. Add the cooked pasta tubes to the cheese mixture and toss until the pasta is well coated.
- Step 4: To assemble the Manicotti, spread a layer of the meat sauce in the bottom of a 9×13 inch baking dish. Arrange 4 cooked pasta tubes on top of the sauce. Spoon the cheese mixture into the pasta tubes, dividing it evenly among the four tubes. Top with the remaining meat sauce and sprinkle with mozzarella cheese. Cover the dish with aluminum foil and bake for 25 minutes. Remove the foil and continue baking for an additional 10-15 minutes, or until the cheese is melted and bubbly.
Handy Tips
- To avoid overcooking the pasta, make sure to check it frequently while it’s cooking and drain it as soon as it reaches the al dente stage.
- For an extra creamy cheese filling, try adding an egg to the ricotta cheese mixture before filling the pasta tubes.
- If you’re short on time, you can use pre-made tomato sauce instead of making your own. Just be sure to choose a high-quality sauce that is low in sodium and added sugars.
Heat Control
When it comes to cooking the Manicotti, heat control is crucial. The ideal temperature for baking the dish is 375°F (190°C), and the cooking time will depend on the size of your pasta tubes and the thickness of the cheese layer. As a general rule, you can expect the Manicotti to be done when the cheese is melted and bubbly, and the sauce is hot and simmering. To check for doneness, remove the foil from the dish and look for a golden brown crust on top of the cheese. You can also insert a toothpick into one of the pasta tubes to check that the cheese is melted and the pasta is heated through.
Crunch Factor
The texture of the Manicotti is an important aspect of its appeal, with the crunch of the melted cheese and the tender pasta tubes providing a satisfying contrast. To achieve the perfect crunch, be sure to not overbake the dish. You want the cheese to be melted and bubbly, but still slightly firm to the touch. If you prefer a crisper top on your Manicotti, you can try broiling the dish for an additional 2-3 minutes after removing the foil. Just be sure to keep an eye on it to avoid burning the cheese.
Pro Kitchen Tricks
- To make the dish more efficient to prepare, try cooking the pasta and meat sauce ahead of time and storing them in the refrigerator until you’re ready to assemble the Manicotti.
- For a shortcut on the cheese filling, you can use a pre-made ricotta cheese mixture or even a dairy-free alternative.
- To cleanup as you go, be sure to wash and dry your utensils and equipment as soon as you’re finished using them. This will prevent any stubborn cheese or sauce stains from forming.
Storage Tips
- Leftover Manicotti can be stored in the refrigerator for up to 3 days or frozen for up to 2 months. To reheat, simply thaw the frozen dish overnight in the refrigerator and bake in the oven until hot and bubbly.
- The best containers for storing Manicotti are airtight, shallow dishes with lids, such as glass or plastic containers. You can also use aluminum foil or plastic wrap to cover the dish and prevent drying out.
Gift Packaging Ideas
If you’re looking to give your Manicotti as a gift, there are several creative ways to package it. One idea is to bake the dish in a decorative ceramic or glass baking dish, which can be wrapped in a colorful towel or piece of cloth and presented as a gift. You could also try packaging the Manicotti in individual portions, such as ramekins or small ceramic dishes, and wrapping each one in plastic wrap or aluminum foil. Whatever method you choose, be sure to include a card or gift tag with the recipe and any reheating instructions, so the recipient can enjoy their gift to the fullest.
Flavor Variations
- Different spices: To give your Manicotti a unique flavor twist, try adding different spices to the meat sauce or cheese filling. Some options might include dried basil, oregano, or thyme, or even a pinch of red pepper flakes for some heat.
- Creative toppings: In addition to the traditional melted mozzarella cheese, there are many other creative toppings you can use to add flavor and texture to your Manicotti. Some ideas might include diced tomatoes, chopped fresh parsley or basil, or even a sprinkle of grated parmesan cheese.
- Ingredient swaps: If you’re looking to mix things up and try something new, there are many ingredient swaps you can make in the Manicotti recipe. For example, you could try using ground turkey or pork instead of beef, or substituting the ricotta cheese! with a dairy-free alternative.
Troubleshooting
- Texture problems: If your Manicotti is turning out too dry or too soggy, there are several things you can try to fix the texture. For a dry dish, try adding a little more tomato sauce or cheese to the filling. For a soggy dish, try baking it for a few more minutes to evaporate some of the excess moisture.
- Ingredient replacements: If you’re missing an ingredient or want to try something new, there are many substitutions you can make in the Manicotti recipe. For example, you could try using different types of cheese, such as goat cheese or feta, or substituting the ground beef with cooked sausage or mushrooms.
- Over/undercooking signs: To avoid overcooking or undercooking your Manicotti, be sure to check it frequently while it’s baking. A perfectly cooked dish will be hot and bubbly, with a golden brown crust on top of the cheese. If the dish is undercooked, the cheese may not be melted and the pasta may still be hard. If it’s overcooked, the cheese may be browned or dried out, and the pasta may be mushy.
FAQs
- Can I freeze it? Yes, you can freeze the Manicotti for up to 2 months. Simply assemble the dish and place it in a freezer-safe container or bag. To reheat, thaw the frozen dish overnight in the refrigerator and bake in the oven until hot and bubbly.
- Is it gluten-free? The Manicotti recipe contains gluten in the form of the pasta tubes. However, you can easily make a gluten-free version by substituting the traditional pasta with gluten-free pasta tubes made from rice, corn, or quinoa.
- Can I double the recipe? Yes, you can easily double the Manicotti recipe to feed a larger crowd. Simply multiply all of the ingredients by two and assemble the dish in a larger baking dish. You may need to adjust the cooking time slightly, so be sure to check the dish frequently to avoid overcooking.
Conclusion
In conclusion, this Manicotti recipe is a delicious and impressive dish that is sure to become a staple in your kitchen. With its rich flavors, tender pasta, and creamy cheese filling, it’s the perfect meal for a special occasion or a cozy night in with the family. Whether you’re a seasoned chef or a culinary newbie, this recipe is easy to follow and requires minimal effort, making it a great option for anyone looking to try something new. So why not give it a try and see what you think? With its endless possibilities for customization and creativity, the Manicotti recipe is sure to become a favorite in your household.