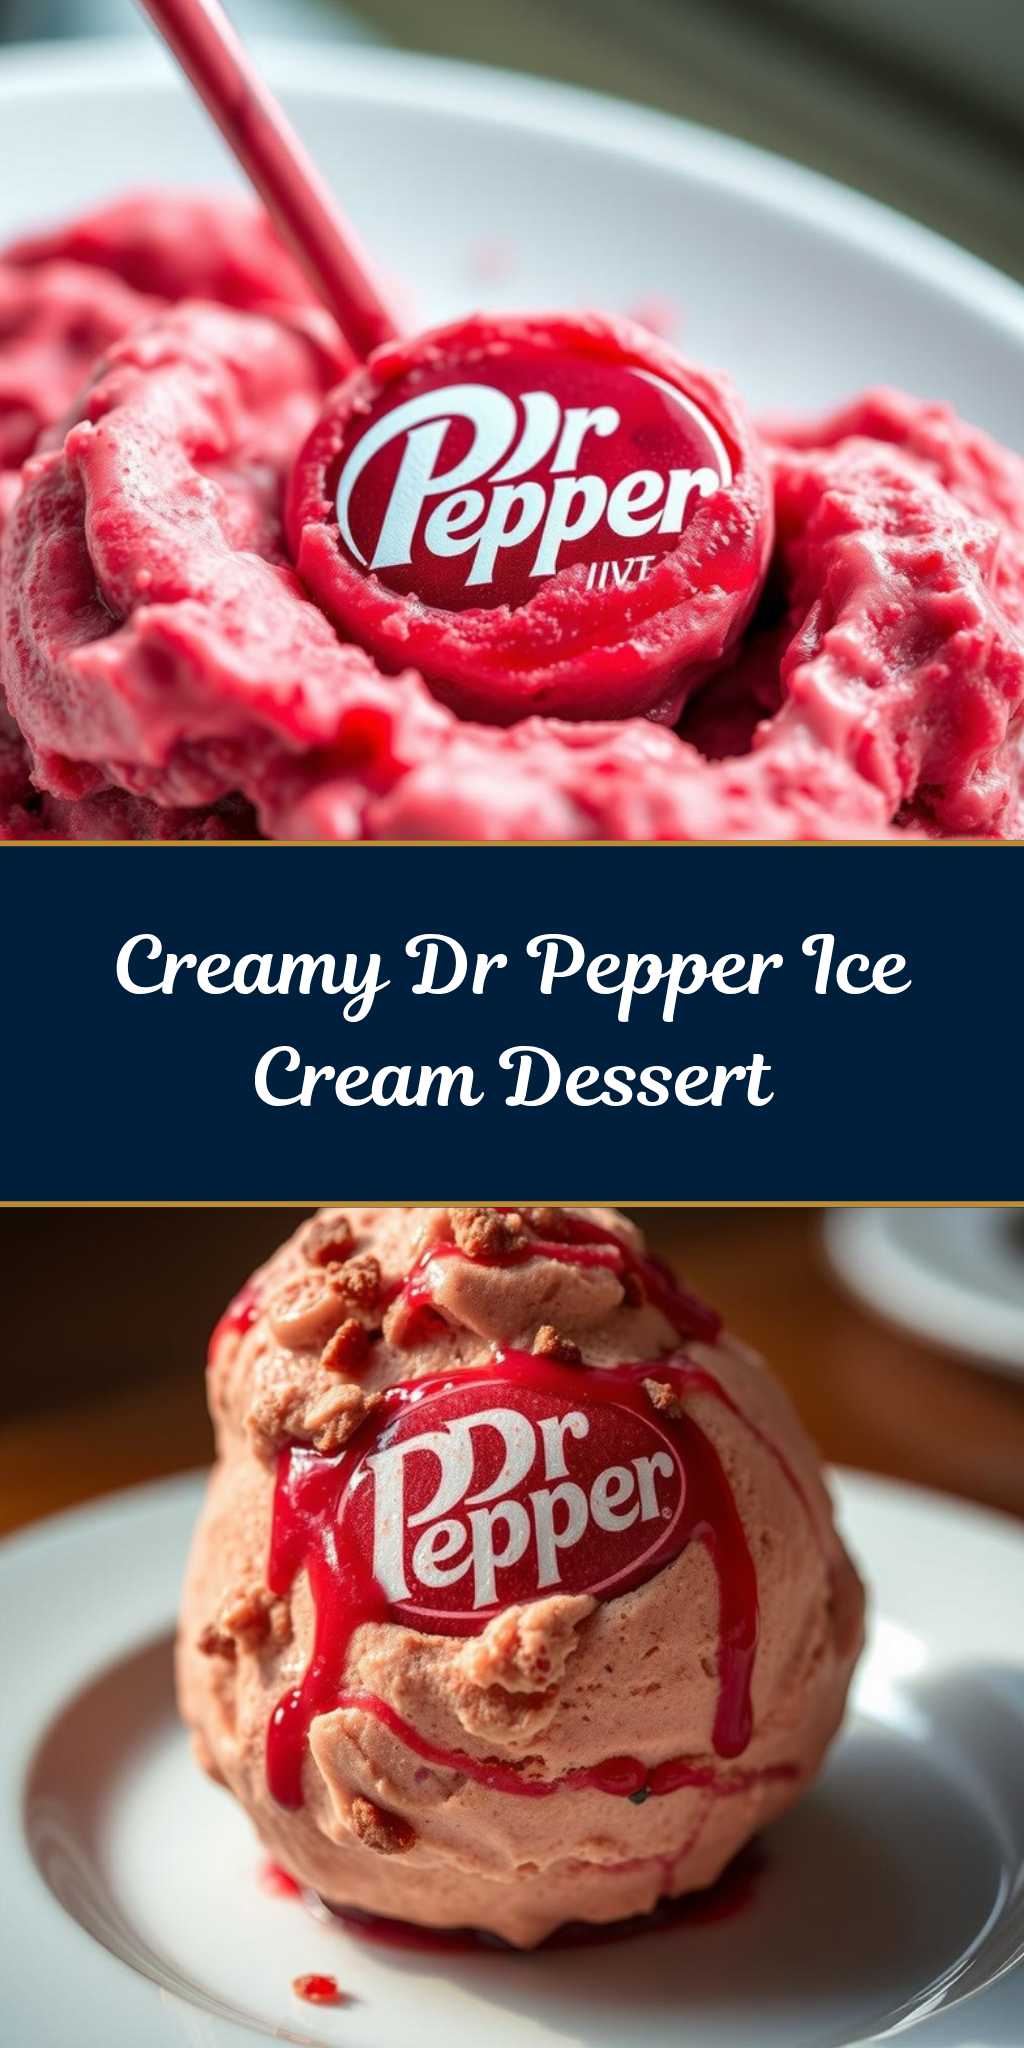
Can you resist a scoop of creamy Dr. Pepper Ice Cream made with just a few ingredients and a quick cooking method for a homemade family favorite treat? Save for later and indulge in this easy dessert tonight
Dr. Pepper Ice Cream
Introduction
Imagine the rich, unique flavor of Dr. Pepper transformed into a creamy, dreamy ice cream that’s as easy to make as it is impressive to serve. This creative dessert is perfect for anyone looking to elevate their ice cream game with a twist of familiarity. By utilizing everyday ingredients and a straightforward process, you can craft a truly one-of-a-kind dessert that will leave friends and family in awe. The blend of Dr. Pepper’s distinctive flavor profile with the velvety smoothness of ice cream results in a treat that’s both nostalgic and innovative, making it an ideal choice for special occasions or simply a hot summer day.
Why This Works
- Flavor balance and ingredient accessibility: The recipe balances the strong, distinctive taste of Dr. Pepper with creamy elements, ensuring a well-rounded flavor experience. Moreover, the ingredients are easily accessible, making it simple for anyone to try.
- Ease of preparation: Despite its unique flavor, this ice cream is surprisingly easy to prepare. It requires minimal cooking and can be made with basic kitchen equipment, making it accessible to cooks of all skill levels.
- Impressive results with minimal effort: The combination of Dr. Pepper with traditional ice cream ingredients yields a product that is both familiar and excitingly new, perfect for impressing dinner guests without requiring hours of labor in the kitchen.
Key Ingredients
The main ingredients in this recipe include heavy cream, whole milk, granulated sugar, and of course, Dr. Pepper. The heavy cream and whole milk provide the richness and creaminess needed for a high-quality ice cream, while the granulated sugar adds sweetness to balance out the flavor of the Dr. Pepper. You can also consider adding a pinch of salt to enhance the flavors. For those looking for substitutions, you can experiment with different types of milk or alternative sweeteners, though keep in mind that the flavor and texture may vary slightly. Dr. Pepper is the star of the show, so it’s best to use the original formula for the most authentic taste, but you can also play around with other cola flavors for different variations.
Instructions
- Step 1: Begin by preparing your ingredients. Measure out 2 cups of heavy cream, 1 cup of whole milk, 1/2 cup of granulated sugar, and 1/4 cup of Dr. Pepper. It’s essential to use room temperature ingredients for the best results.
- Step 2: In a medium saucepan, combine the heavy cream, whole milk, and granulated sugar. Heat the mixture over medium heat, stirring occasionally, until the sugar has dissolved and the mixture is hot but not boiling. Remove from heat and let it cool slightly.
- Step 3: Stir in the Dr. Pepper. The mixture will start to foam slightly due to the carbonation in the soda. Let it sit for about 10 minutes to allow the flavors to meld together and the foam to settle. Then, cover the mixture and refrigerate it until chilled, ideally overnight or for at least 2 hours.
- Step 4: Once the mixture is chilled, pour it into an ice cream maker and churn according to the manufacturer’s instructions. If you don’t have an ice cream maker, you can also place the mixture in a 9×13 inch baking dish and freeze it in the freezer, stirring every 30 minutes until the desired consistency is reached, which can take about 2 to 3 hours.
Handy Tips
- For a creamier ice cream, make sure not to over-churn the mixture. Stop the ice cream maker when the mixture has reached a soft-serve consistency.
- Experiment with different mix-ins like nuts, chocolate chips, or even candy pieces to add texture and variety to your Dr. Pepper ice cream.
- Avoid using diet or zero-calorie versions of Dr. Pepper, as they can affect the flavor and texture of the ice cream. The real sugar in regular Dr. Pepper helps in achieving the right balance of flavors.
Heat Control
When heating the cream and sugar mixture, it’s crucial not to let it boil. The ideal temperature is just below boiling point, around 170°F to 180°F. This ensures that the sugar dissolves properly and the mixture doesn’t curdle. Always remove the mixture from the heat source as soon as it reaches the desired temperature to prevent overheating.
Crunch Factor
This ice cream recipe yields a smooth and creamy texture. However, if you’re looking to add a crunch factor, consider mixing in some chopped nuts, cookie crumbs, or even crushed candy pieces towards the end of the churning process. This adds a delightful textural contrast to the smooth ice cream.
Pro Kitchen Tricks
- For an ultra-smooth ice cream, age the mixture in the refrigerator for 24 hours before churning. This allows the flavors to mature and the mixture to stabilize, resulting in a smoother final product.
- Use an ice bath to cool down the mixture quickly after heating. This step can help prevent the growth of unwanted ice crystals and ensure a smoother ice cream.
- Don’t overmix the ice cream once it’s churned. Overmixing can introduce air and make the ice cream icy instead of creamy.
Storage Tips
- Store the churned ice cream in an airtight container in the freezer to prevent ice crystals from forming and to keep other freezer odors out.
- If you’re planning to store the ice cream for more than a few days, consider pressing plastic wrap or parchment paper directly onto the surface of the ice cream to prevent freezer burn.
- For the best flavor and texture, consume the ice cream within a week of making it. However, it can be safely stored for up to 3 months in the freezer.
Gift Packaging Ideas
Dr. Pepper ice cream makes a unique and thoughtful gift, especially for fans of the soda. Consider packaging it in decorative ice cream containers or jars with custom labels that highlight the special ingredient. You can also add a few mix-ins like nuts or chocolate chips on top and wrap the container in a ribbon or gift bag for a more personalized touch. For a more rustic look, use mason jars with a scoop and a few cones on the side, perfect for a summer gathering or BBQ.
Flavor Variations
- Different spices: Try adding a pinch of cinnamon, nutmeg, or cardamom to give your Dr. Pepper ice cream a unique twist.
- Creative toppings: Offer a variety of toppings like whipped cream, caramel sauce, chopped nuts, or even crushed cookies to let everyone customize their ice cream experience.
- Ingredient swaps: Experiment with other types of soda, like cola or root beer, for different flavor profiles. You can also substitute the heavy cream with coconut cream for a dairy-free version.
Troubleshooting
- Texture problems: If your ice cream turns out too icy, it might be due to over-churning or not aging the mixture long enough. For a too-soft ice cream, it could be under-churning or using too much liquid.
- Ingredient replacements: Always consider the flavor and texture impact when substituting ingredients. For example, using a different type of milk can affect the creaminess of the ice cream.
- Over/undercooking signs: Be careful not to overheat the mixture, as it can cause the dairy to curdle. Underheating might not fully dissolve the sugar, affecting the texture and flavor.
FAQs
- Can I freeze it? Yes, the ice cream can be frozen. In fact, it needs to be frozen to set. Simply pour the churned ice cream into an airtight container and place it in the freezer.
- Is it gluten-free? Yes, this recipe is gluten-free, making it suitable for those with gluten intolerance or sensitivity, provided that the Dr. Pepper used is gluten-free.
- Can I double the recipe? Yes, you can easily double or triple this recipe if you’re serving a larger crowd. Just ensure you have enough room in your ice cream maker or baking dish if you’re using the freezer method.
Conclusion
Making Dr. Pepper ice cream is a fun and creative project that combines the familiarity of a beloved soda with the richness of ice cream. With its unique flavor and surprisingly easy preparation method, it’s an ideal dessert for special occasions or just a cool treat on a warm day. Feel free to experiment with different mix-ins and toppings to make it your own, and don’t hesitate to share your creations with friends and family. The joy of cooking and sharing meals is about exploration and enjoyment, so don’t be afraid to try new things and make this recipe your own. Happy churning!