What if your favorite holiday drink could be transformed into a creamy dessert? This homemade eggnog ice cream recipe is a game changer for easy weeknight treats, made with rich eggnog and a hint of nutmeg. Save this idea for a family favorite dessert to enjoy all season long.
Homemade Eggnog Ice Cream Recipe
Introduction
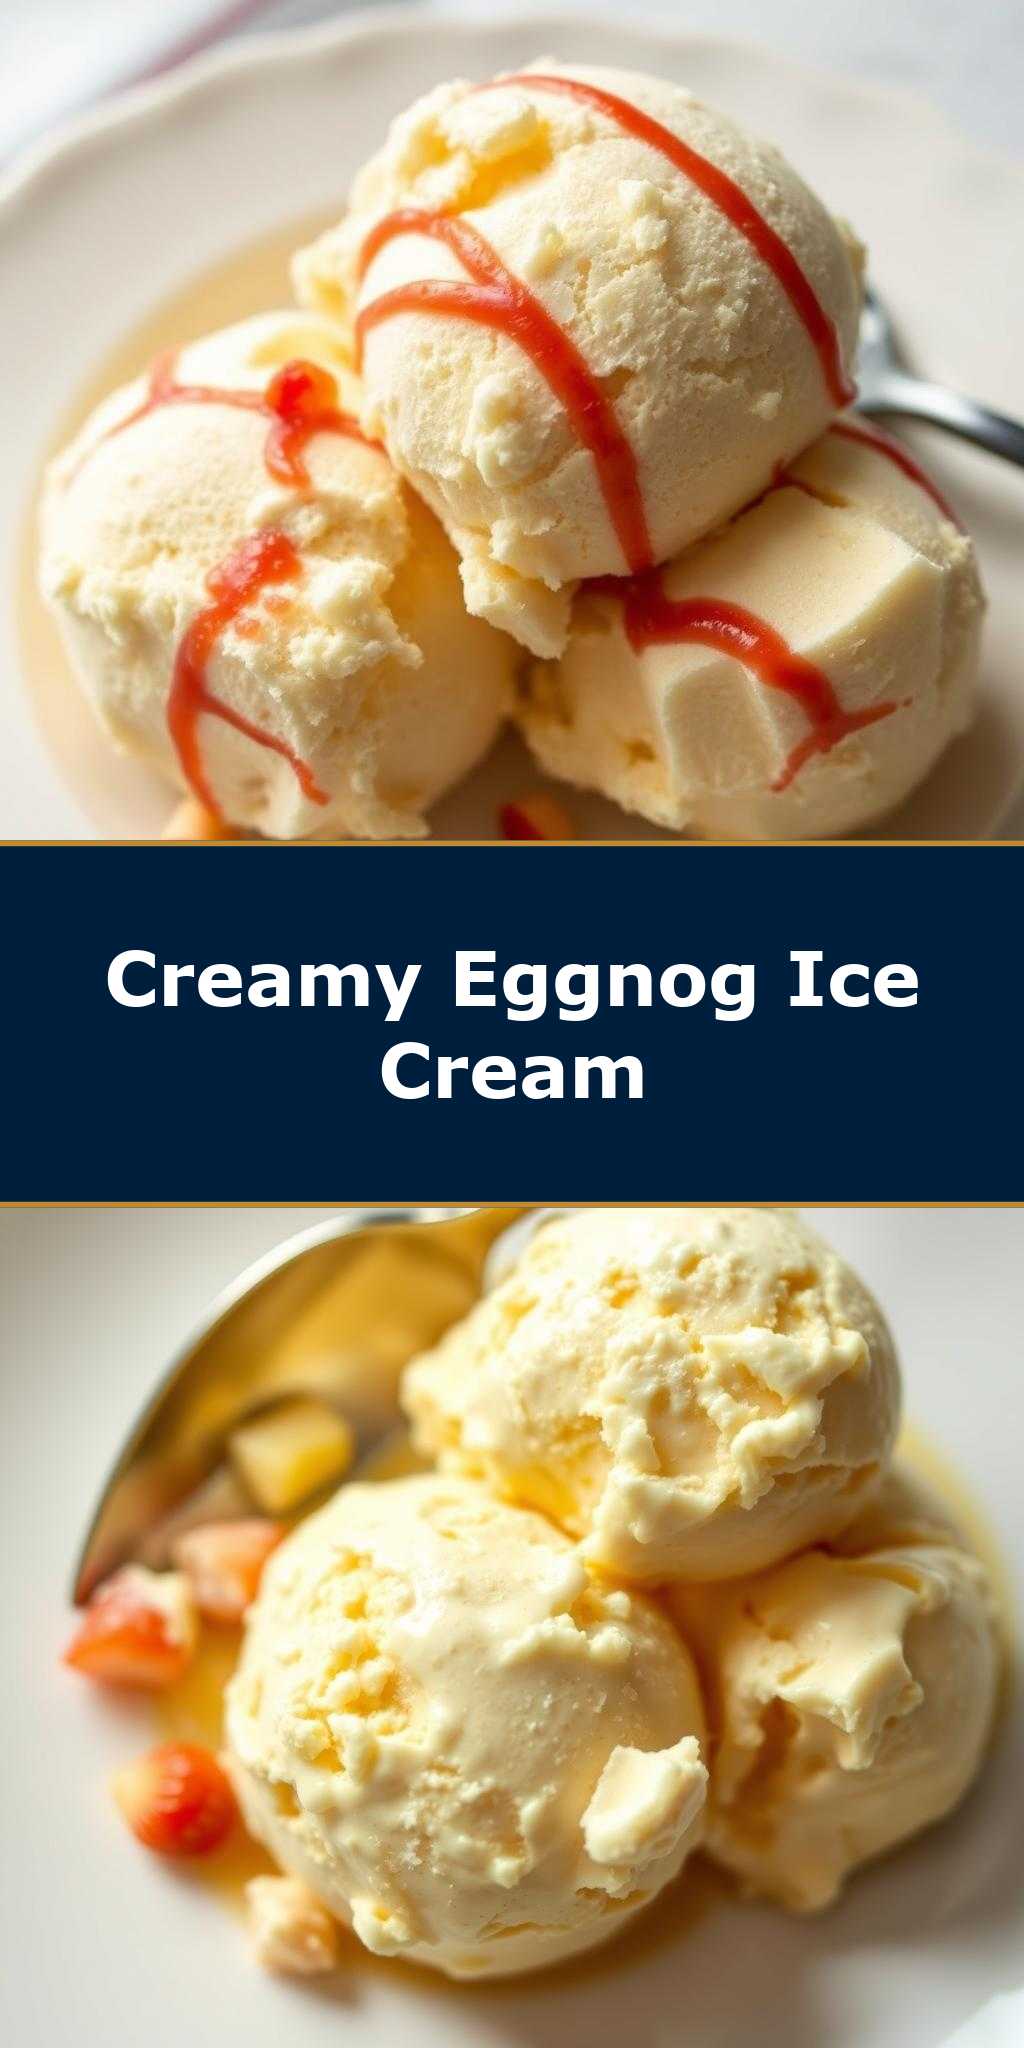
Indulge in the rich, creamy delight of homemade eggnog ice cream, a perfect treat for the holiday season. This recipe combines the ease of everyday ingredients with the creativity of a unique flavor profile, making it an ideal dessert for both novice and experienced cooks. With its velvety texture and distinctive taste, this eggnog ice cream is sure to become a new family favorite. The best part? It’s surprisingly easy to make, requiring minimal effort for impressive results.
Why This Works
- Flavor balance and ingredient accessibility: The combination of eggnog, cream, and sugar creates a perfectly balanced flavor profile that is both familiar and exciting. All the ingredients are easily found in most supermarkets, making this recipe accessible to anyone.
- Ease of preparation: The steps involved in making this ice cream are straightforward and simple, requiring no special equipment beyond an ice cream maker, which can be substituted with a blender and freezer for a slightly different texture.
- Impressive results with minimal effort: Despite its simplicity, the end result is a sophisticated dessert that will impress both family and friends, perfect for holiday gatherings or special occasions.
Key Ingredients
The main ingredients in this recipe include eggnog, heavy cream, granulated sugar, and a touch of nutmeg for added depth. For those looking for substitutions, almond milk or soy milk can replace heavy cream for a non-dairy version, and honey or maple syrup can be used instead of sugar for a slightly different flavor profile. Nutmeg can be substituted with cinnamon or cardamom for a unique twist.
Instructions
- Step 1: Begin by combining the eggnog, heavy cream, and granulated sugar in a large bowl. Whisk until the sugar is fully dissolved, ensuring a smooth base for your ice cream.
- Step 2: Cover the bowl with plastic wrap and refrigerate the mixture for at least 2 hours or overnight to allow the flavors to meld and the mixture to chill.
- Step 3: Once the mixture is chilled, remove it from the refrigerator and add a pinch of nutmeg. Stir well to combine. If using an ice cream maker, follow the manufacturer’s instructions to churn the ice cream. If not, pour the mixture into a 9×13 inch baking dish and freeze, stirring every 30 minutes until the desired consistency is reached, which should take about 2-3 hours.
- Step 4: Once the ice cream is ready, scoop it into cones, bowls, or molds. You can garnish with additional nutmeg or whipped cream for a festive touch. Serve immediately and enjoy!
Handy Tips
- For a creamier ice cream, make sure the mixture is well chilled before churning. This will help in incorporating less air and resulting in a denser ice cream.
- Avoid over-churning, as this can lead to an icy texture. If using the freezer method, be patient and stir occasionally to prevent ice crystals from forming.
- Consider adding a splash of rum or brandy for an adult version of eggnog ice cream, perfect for holiday parties.
Heat Control
This recipe does not require direct heat; however, if you’re making a custard-based ice cream, it’s crucial to heat the mixture gently to prevent the eggs from scrambling. Always stir constantly and remove from heat once the mixture thickens slightly, then let it cool before proceeding.
Crunch Factor
To add a crunch factor to your eggnog ice cream, consider mixing in some chopped nuts like walnuts or pecans during the last few minutes of churning. If using the freezer method, fold in the nuts once the ice cream has reached a soft-serve consistency. This adds a delightful textural element to the smooth ice cream.
Pro Kitchen Tricks
- For an ultra-smooth ice cream, age the mixture in the refrigerator for 24 hours before churning. This allows the flavors to mature and the mixture to stabilize, resulting in a smoother final product.
- Use high-quality ingredients, as they will significantly impact the flavor and texture of your ice cream. Fresh nutmeg, for instance, provides a more vibrant flavor than pre-ground nutmeg.
- Experiment with different mix-ins like candy canes, chocolate chips, or dried fruit to create unique and interesting flavor combinations.
Storage Tips
- Store your homemade eggnog ice cream in an airtight container in the freezer to preserve freshness. It’s best consumed within a week for optimal flavor and texture.
- For leftovers, press plastic wrap or wax paper directly onto the surface of the ice cream before covering the container. This prevents ice crystals from forming and keeps the ice cream fresh for longer.
- When reheating or serving, let the ice cream sit at room temperature for a few minutes to soften slightly. This makes it easier to scoop and serve.
Gift Packaging Ideas
This homemade eggnog ice cream makes a wonderful gift, especially during the holiday season. Consider packaging it in decorative quart-sized ice cream containers or jars, topped with a ribbon and a sprinkle of nutmeg. You can also include a bag of homemade cookies or a candy cane on the side for a complete gift set. For a more rustic look, use mason jars and wrap them in a festive holiday towel or cloth.
Flavor Variations
- Different spices: Try adding a pinch of ground cinnamon, cardamom, or ginger to the mixture for a unique twist on the traditional eggnog flavor.
- Creative toppings: Offer a variety of toppings such as caramel sauce, whipped cream, chopped nuts, or even crushed candy canes to let everyone customize their ice cream.
- Ingredient swaps: Replace eggnog with almond milk or coconut cream for a dairy-free version, or use different types of sugar like brown sugar or honey for a deeper flavor.
Troubleshooting
- Texture problems: If your ice cream turns out too icy, it may be due to over-churning or not aging the mixture long enough. Try adding a little more cream or sugar to balance it out.
- Ingredient replacements: If you’re out of a particular ingredient, don’t be afraid to substitute. Just remember, substitutions can affect the final flavor and texture, so it’s always a good idea to taste as you go and adjust accordingly.
- Over/undercooking signs: Since this recipe doesn’t involve cooking, focus on the churning or freezing time. Under-churned ice cream will be too soft, while over-churned ice cream becomes too hard or icy.
FAQs
- Can I freeze it? Yes, this ice cream can be frozen for up to 3 months. Simply store it in an airtight container and let it sit at room temperature for a few minutes to soften before serving.
- Is it gluten-free? Yes, this recipe is naturally gluten-free, making it a great option for those with dietary restrictions.
- Can I double the recipe? Absolutely! Just keep in mind that you may need to adjust the churning or freezing time slightly, depending on the volume of the mixture.
Conclusion
Making homemade eggnog ice cream is a fun and rewarding process that yields a deliciously unique dessert perfect for any time of the year, but especially during the holidays. With its rich flavor and creamy texture, it’s sure to become a new favorite. Don’t be afraid to experiment with different ingredients and mix-ins to make the recipe your own, and consider sharing it with friends and family as a thoughtful gift. Happy cooking, and enjoy the joy of creating something special in your own kitchen!