Craving a sweet treat that’s easy to make and fun to eat? These peanut butter balls are a quick homemade favorite made with creamy peanut butter and rolled in powdered sugar. Save for later and indulge in this family favorite dessert tonight.
Peanut Butter Balls
Introduction
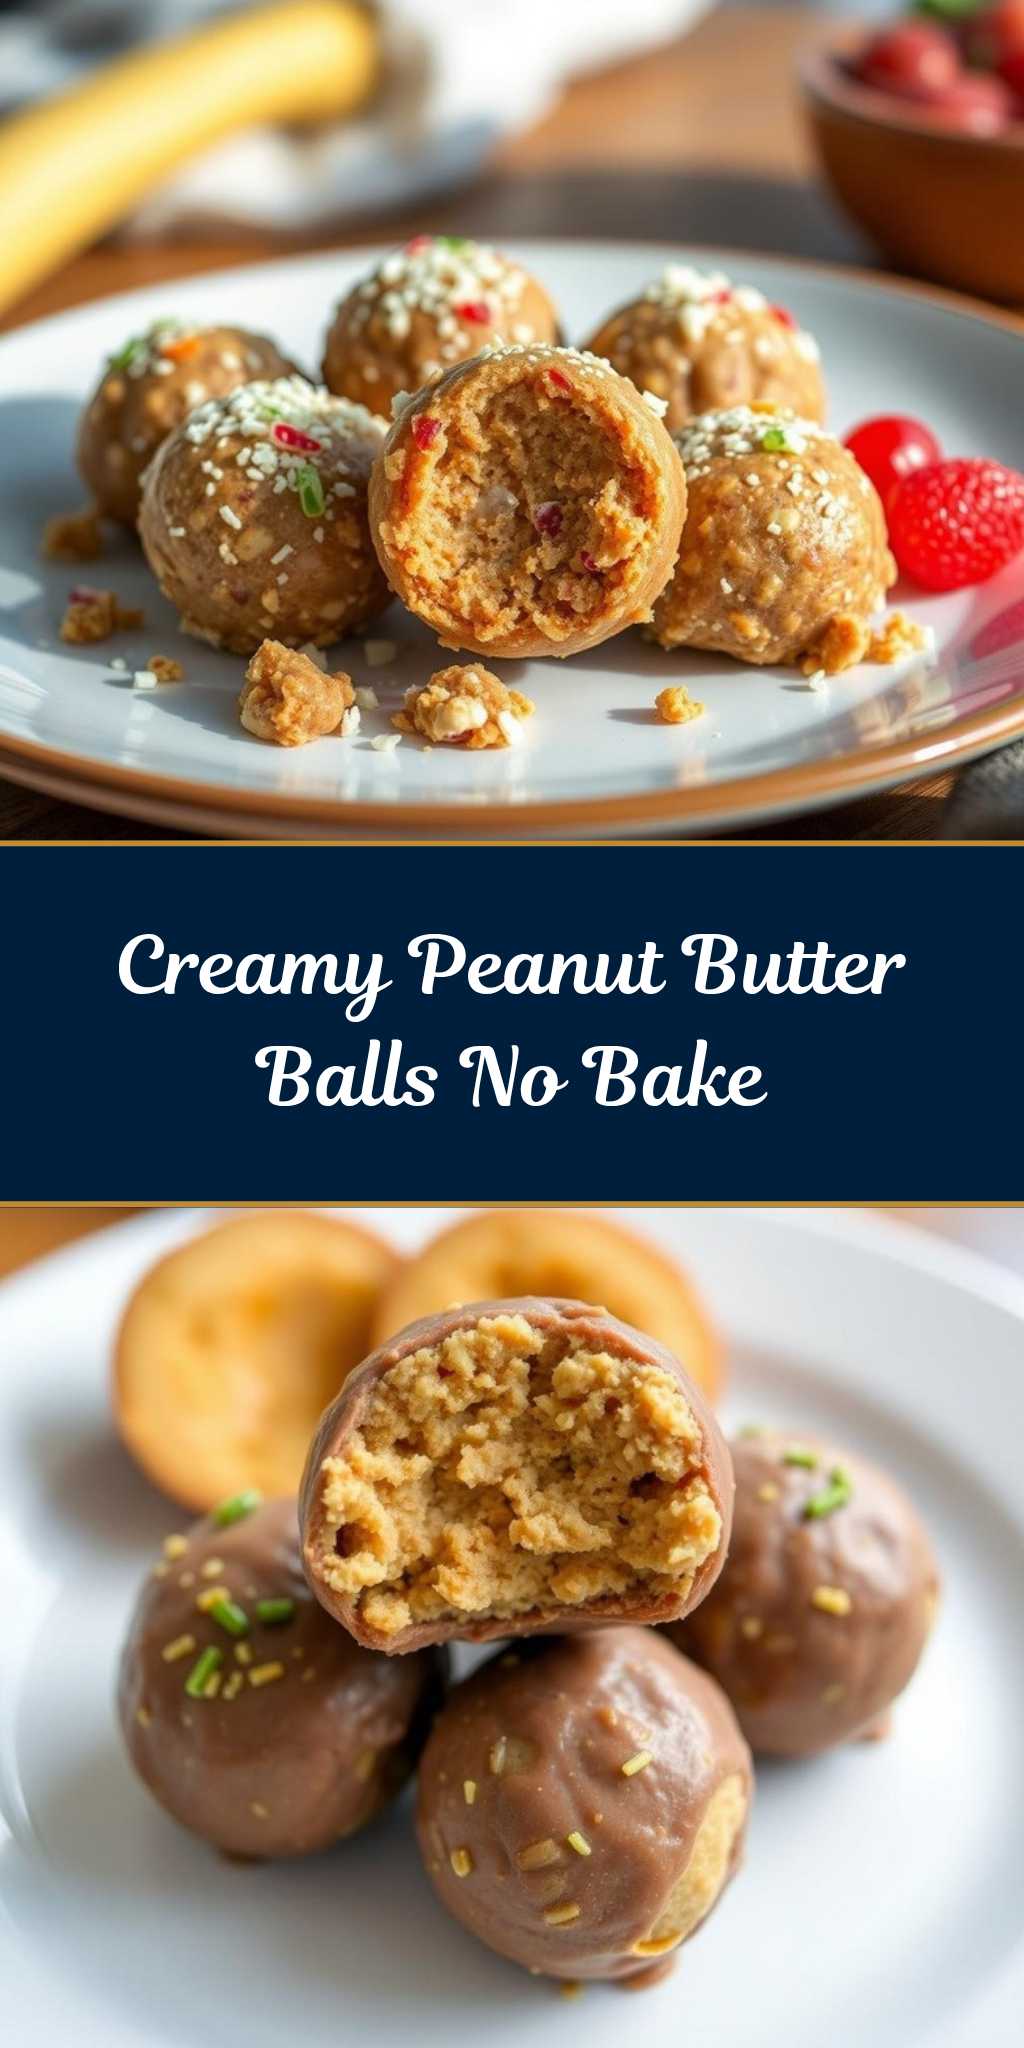
Imagine a treat that’s both creamy and crunchy, sweet and savory, all in one delightful bite. Welcome to the world of Peanut Butter Balls, a no-bake wonder that combines the richness of peanut butter with the simplicity of everyday ingredients. These bite-sized morsels are perfect for snacking, gift-giving, or as a sweet addition to any party. The best part? They’re incredibly easy to make, requiring minimal effort for maximum flavor and creativity. Whether you’re a fan of peanut butter, looking for a fun project with the kids, or simply seeking a delicious dessert without the fuss, Peanut Butter Balls are the perfect treat for you.
Why This Works
- Flavor balance and ingredient accessibility: The combination of peanut butter, oats, and chocolate creates a harmonious balance of flavors that’s hard to resist. Plus, these ingredients are easily found in most kitchens, making it a convenient treat to whip up.
- Ease of preparation: With no baking required, Peanut Butter Balls are a breeze to prepare. Simply mix, shape, and chill – it’s that easy.
- Impressive results with minimal effort: Despite the simplicity of the recipe, the end result is impressive and sure to delight both kids and adults. The perfect treat for potlucks, parties, or as a homemade gift.
Key Ingredients
The magic of Peanut Butter Balls lies in their simple yet effective ingredients. You’ll need creamy peanut butter, rolled oats, powdered sugar, and chocolate chips or melted chocolate for coating. For those looking for substitutions, almond butter or cashew butter can replace peanut butter for a different flavor profile. If you’re looking to reduce sugar, you can also experiment with less powdered sugar or natural sweeteners like honey, though keep in mind this might affect the texture slightly.
Instructions
- Step 1: Begin by preparing your workstation. Lay out a piece of parchment paper or a silicone mat where you’ll shape your peanut butter balls. In a large mixing bowl, combine the peanut butter, oats, and powdered sugar. Mix until you get a smooth, consistent dough. If the dough is too sticky, you can add a bit more oats. If it’s too dry, a little more peanut butter will do the trick.
- Step 2: With your dough ready, it’s time to shape your peanut butter balls. Use a small cookie scoop or your hands to form the dough into balls, about 1 inch in diameter. Place each ball onto your prepared parchment paper or silicone mat. Once all the dough is shaped, refrigerate the balls for at least 30 minutes to firm up.
- Step 3: Melt your chocolate chips in a double boiler or in the microwave in 30-second increments, stirring between each interval until smooth. Remove the peanut butter balls from the refrigerator and dip each one into the melted chocolate, using a fork or dipping tool to fully coat the ball. Tap off any excess chocolate by gently tapping the fork or tool against the side of the bowl. Place the chocolate-covered peanut butter balls back onto the parchment paper or silicone mat.
- Step 4: For the final touches, refrigerate the chocolate-covered peanut butter balls for another 30 minutes to allow the chocolate to set. Once set, your Peanut Butter Balls are ready to serve. You can store them in an airtight container in the refrigerator for up to a week. For a decorative touch, consider drizzling with melted chocolate in a different color or sprinkling with chopped nuts before the chocolate sets.
Handy Tips
- One of the most helpful tips for making Peanut Butter Balls is to ensure your peanut butter is at room temperature. This will make mixing much easier and result in a smoother dough. Also, don’t overmix the dough, as this can lead to tough peanut butter balls.
Heat Control
Since Peanut Butter Balls are a no-bake treat, heat control is primarily relevant when melting the chocolate. The ideal temperature for melting chocolate is between 105°F and 115°F (40°C to 46°C). If using a microwave, be cautious not to overheat, as this can cause the chocolate to seize up and become unusable. If you notice the chocolate starting to smell burnt or turning grainy, it’s best to start over with a new batch of chocolate.
Crunch Factor
The crunch factor in Peanut Butter Balls comes from the oats in the dough and the hardened chocolate exterior. To achieve the perfect crunch, make sure your oats are fresh and not stale, as stale oats can absorb more moisture and affect the texture. Additionally, chilling the peanut butter balls before and after coating them in chocolate is crucial for maintaining their shape and achieving a satisfying crunch when you bite into them.
Pro Kitchen Tricks
- To make your Peanut Butter Balls more visually appealing, consider using high-quality chocolate with a high cocoa content for a deeper flavor and better texture. For an extra crunchy exterior, you can also roll the peanut butter balls in chopped nuts or sprinkles before the chocolate hardens.
Storage Tips
- Peanut Butter Balls can be stored in an airtight container in the refrigerator for up to a week. For longer storage, consider freezing them. Place the balls in a single layer in a freezer-safe bag or container and store in the freezer for up to 3 months. To thaw, simply leave them at room temperature for a few hours or refrigerate overnight.
Gift Packaging Ideas
Peanut Butter Balls make wonderful gifts, especially during holidays or as a thoughtful gesture. Consider packaging them in decorative jars, gift tins, or even small cellophane bags tied with a ribbon. For a more personalized touch, you can include a handwritten note or a small gift card. If you’re gifting them during Christmas, for example, you could sprinkle some holiday-themed sprinkles on top of the chocolate before it sets for a festive look.
Flavor Variations
- Different spices: Adding a pinch of salt or a teaspoon of cinnamon can give your Peanut Butter Balls a unique twist. For those who like a bit of heat, a pinch of cayenne pepper can add an interesting dimension.
- Creative toppings: Besides the traditional chocolate coating, you can experiment with different toppings like melted white chocolate, caramel sauce, or even a sprinkle of sea salt for added texture and flavor.
- Ingredient swaps: For a nut-free version, sunflower seed butter can replace peanut butter. Coconut flakes can add a nice tropical flavor when mixed into the dough or used as a topping.
Troubleshooting
- Texture problems: If your peanut butter balls are too sticky, add a bit more oats. If they’re too dry, add a little more peanut butter. Remember, the dough should be smooth and easy to shape.
- Ingredient replacements: Always consider the flavor and texture profile when substituting ingredients. For example, if replacing peanut butter with another nut butter, ensure it’s creamy and not natural, as the oil separation can affect the dough’s consistency.
- Over/undercooking signs: Since these are no-bake, the primary concern is the chocolate coating. If the chocolate is too hot, it can cause the peanut butter to melt, resulting in an uneven coating. If it’s too cool, it might not coat smoothly. The ideal chocolate should be warm and fluid but not hot.
FAQs
- Can I freeze it? Yes, Peanut Butter Balls can be frozen for up to 3 months. Simply thaw at room temperature or refrigerate overnight when you’re ready to serve.
- Is it gluten-free? The recipe as described is gluten-free, making it a great option for those with gluten intolerance. However, always ensure that your ingredients, especially the oats and chocolate, are processed in a gluten-free environment to avoid cross-contamination.
- Can I double the recipe? Absolutely! Simply double all the ingredients and follow the same instructions. Keep in mind that you might need to work in batches when coating the peanut butter balls in chocolate to prevent them from sticking together.
Conclusion
Making Peanut Butter Balls is a journey of discovery, from the initial mixing of the dough to the final coating of chocolate. It’s a treat that’s both familiar and exciting, perfect for any occasion. Whether you’re a seasoned baker looking for a no-bake treat or a beginner in the kitchen, Peanut Butter Balls are sure to delight. So go ahead, get creative, and enjoy the process of making something truly special. Share your creations, experiment with new flavors, and most importantly, have fun with it. Happy cooking, and we look forward to seeing your Peanut Butter Ball creations!