Can you resist a creamy easy homemade dessert like walking banana pudding made with vanilla wafers and fresh bananas? Save for later and indulge in this quick family favorite treat tonight
Walking Banana Pudding
Introduction
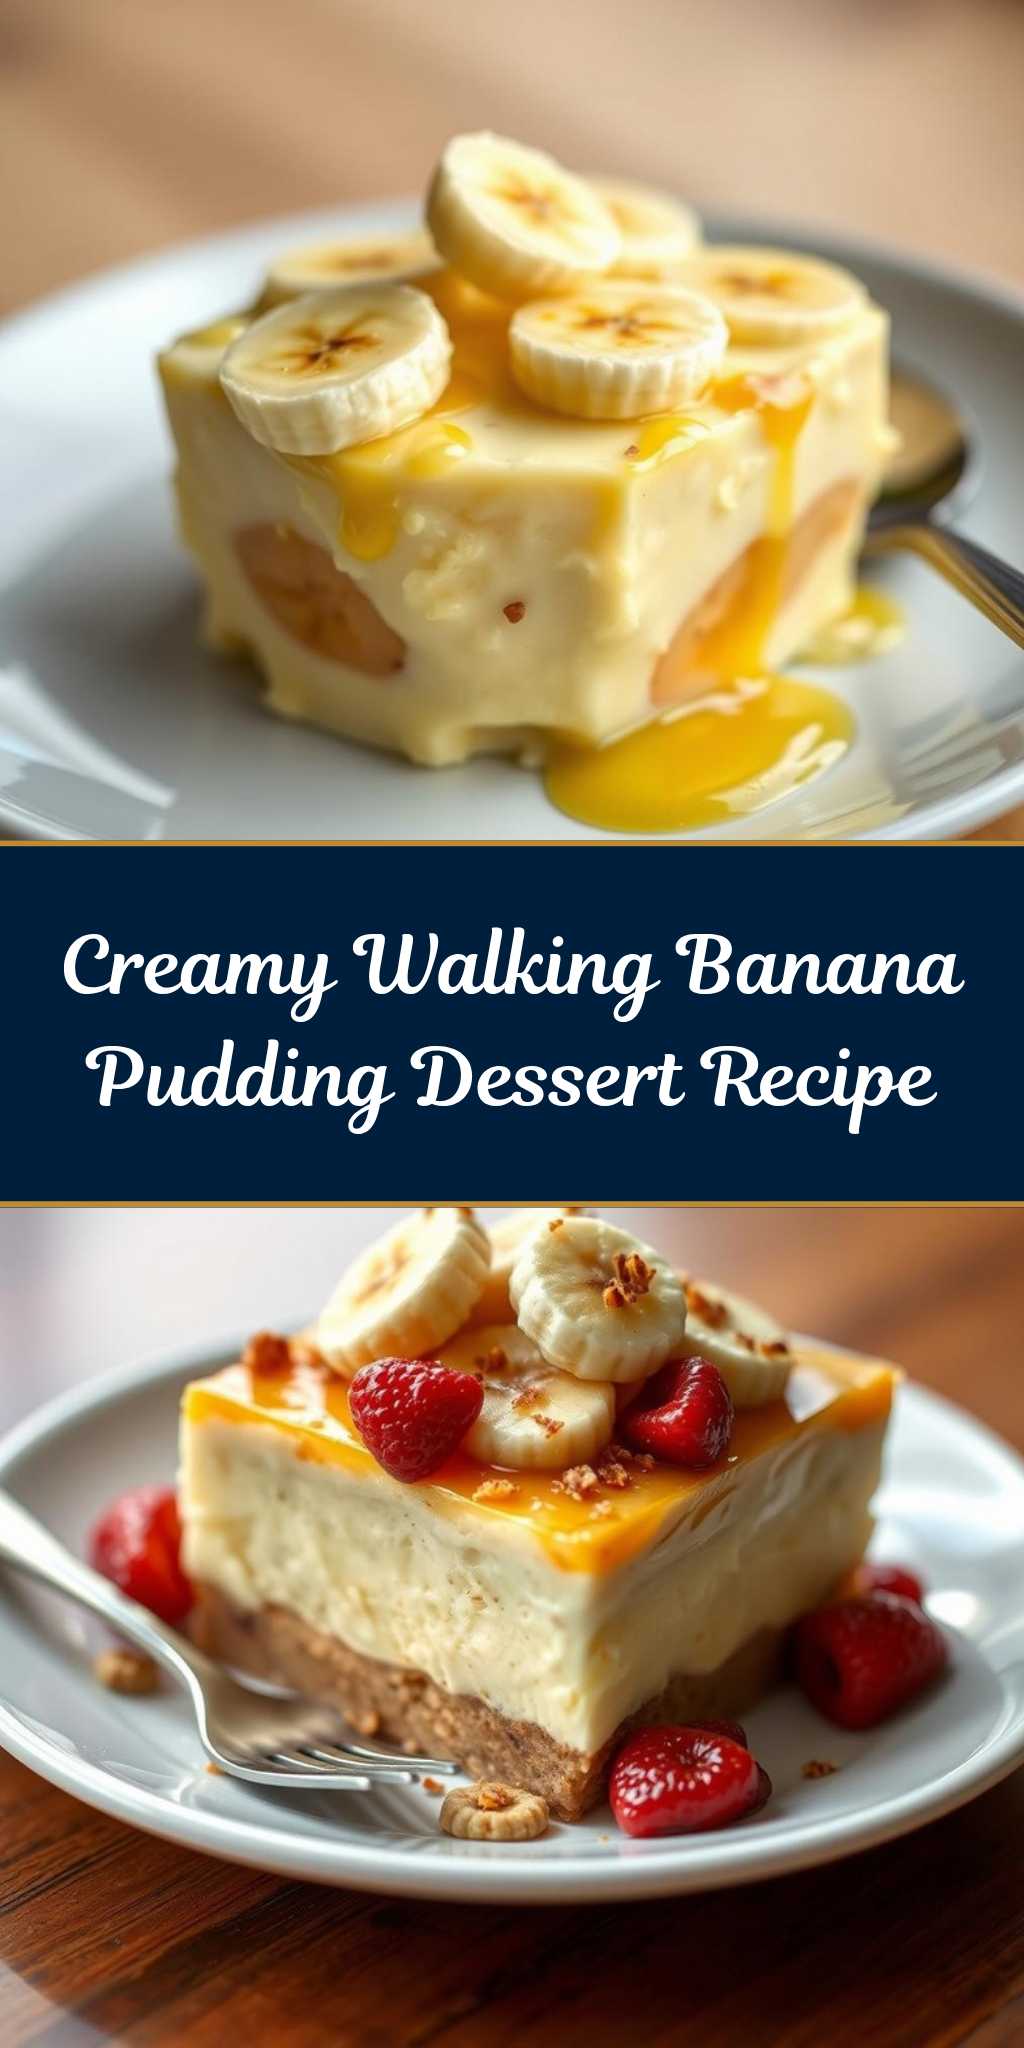
Imagine a dessert so divine, it’s like taking a stroll through a tropical paradise with each bite. Welcome to the world of Walking Banana Pudding, a creative twist on the classic banana pudding that’s as easy to make as it is impressive to serve. Using everyday ingredients, this recipe transforms simple elements into a masterpiece of flavors and textures that will leave you and your guests wanting more. The beauty of this dessert lies in its accessibility and the joy it brings to both the maker and the taster, making it perfect for family gatherings, potlucks, or even a cozy night in.
Why This Works
- Flavor balance and ingredient accessibility: The combination of ripe bananas, creamy pudding, and the crunch of cookies or wafers creates a delightful harmony of flavors and textures that anyone can achieve with minimal shopping.
- Ease of preparation: This recipe simplifies the process of making a show-stopping dessert, requiring no advanced culinary skills, just a bit of patience and love.
- Impressive results with minimal effort: Despite its simplicity, the Walking Banana Pudding presents beautifully, making it a perfect choice for those looking to impress without exerting too much effort in the kitchen.
Key Ingredients
The magic of Walking Banana Pudding starts with its key ingredients: ripe bananas for natural sweetness, vanilla pudding for creaminess, vanilla wafers or cookies for crunch, and whipped cream for a luxurious finish. For those looking for substitutions, almond milk or coconut cream can replace traditional milk for a dairy-free version, and gluten-free cookies can cater to dietary restrictions. The flexibility of these ingredients allows for creativity and adaptation, making the recipe accessible to a wide range of tastes and dietary needs.
Instructions
- Step 1: Begin by preparing your ingredients. Slice the bananas into coins, crush the vanilla wafers or cookies for the crunch factor, and whip the heavy cream until it forms stiff peaks. If using a package of vanilla pudding, follow the instructions for mixing, usually requiring milk and a bit of sugar.
- Step 2: In a large bowl, mix the prepared pudding according to the package or your homemade recipe. Fold in the whipped cream to give the pudding an extra creamy texture. Set aside in the refrigerator to chill.
- Step 3: Layer the dessert in individual serving cups or a large serving dish. Start with a layer of pudding, followed by a layer of sliced bananas, and then a sprinkle of crushed cookies. Repeat this process until all ingredients are used, ending with a layer of pudding on top.
- Step 4: Finish the dessert by topping it with additional whipped cream and a sprinkle of crushed cookies or wafers. Refrigerate for at least 30 minutes to allow the flavors to meld together before serving.
Handy Tips
- For a more intense banana flavor, use very ripe bananas. If bananas are not ripe, you can speed up the ripening process by placing them in a paper bag.
- Avoid over-mixing the pudding and whipped cream, as this can result in a too-stiff or separated texture.
- Experiment with different types of cookies or wafers for the crunch layer to find your favorite combination.
Heat Control
This recipe does not require cooking, making it perfect for warm weather or for those who prefer no-bake desserts. However, if you’re making your pudding from scratch, be mindful of the temperature when heating the milk, aiming for a gentle simmer to avoid scorching.
Crunch Factor
The crunch factor in Walking Banana Pudding comes from the vanilla wafers or cookies. To achieve the perfect crunch, make sure to crush the cookies just before assembling the dessert to prevent them from becoming soggy. You can also toast the cookies lightly in a oven at 350°F for a few minutes to enhance their crunch and flavor.
Pro Kitchen Tricks
- To prevent the bananas from browning, sprinkle them with a bit of lemon juice after slicing.
- For an extra creamy pudding, chill it in the refrigerator for a few hours before assembling the dessert.
- Use a variety of cookie types to create a colorful and textured crunch layer, adding visual appeal to the dessert.
Storage Tips
- Store any leftovers in the refrigerator, covered with plastic wrap or aluminum foil, for up to 24 hours.
- Avoid freezing as the texture of the whipped cream and pudding may change upon thawing.
- Best served fresh, but components like the pudding and whipped cream can be prepared ahead of time and stored separately in the refrigerator until assembly.
Gift Packaging Ideas
Walking Banana Pudding makes a delightful gift, especially when packaged in cute mason jars or transparent cups. Top the dessert with a sprinkle of cookies and a dollop of whipped cream, then tie a ribbon around the jar for a charming touch. You can also include a handwritten note with the recipe or a personal message, making it a thoughtful and edible gift for friends and family.
Flavor Variations
- Try adding different spices like cinnamon or nutmeg to the pudding for a unique twist.
- Experiment with creative toppings such as caramel sauce, chopped nuts, or shaved chocolate.
- Swap the vanilla pudding with other flavors like chocolate or caramel for a completely different dessert experience.
Troubleshooting
- Texture problems: If the pudding turns out too thick, thin it with a bit of milk. If too thin, refrigerate for a few hours to set.
- Ingredient replacements: Always read labels to ensure replacements fit dietary needs, such as gluten-free or dairy-free alternatives.
- Over/undercooking signs: Since this is a no-bake recipe, focus on the texture of the components. Pudding should be set but still creamy, and whipped cream should be stiff but not over-beaten.
FAQs
- Can I freeze it? It’s not recommended to freeze Walking Banana Pudding due to the potential change in texture of the whipped cream and pudding.
- Is it gluten-free? It can be made gluten-free by using gluten-free cookies or wafers and ensuring the pudding mix is gluten-free.
- Can I double the recipe? Yes, simply double all the ingredients. Keep in mind that you may need to adjust the chilling time slightly for larger quantities.
Conclusion
Walking Banana Pudding is more than just a dessert; it’s an experience that combines nostalgia with creativity, simplicity with elegance. Whether you’re a seasoned baker or a novice in the kitchen, this recipe invites you to experiment, to play, and to enjoy the process of creating something truly special. So, take a walk on the sweet side with Walking Banana Pudding, and discover the joy of making and sharing delicious memories with those around you.