Can you resist the charm of Apple Cheesecake Tacos made with tender apples and a homemade cheesecake filling in a quick and easy dessert recipe perfect for a weeknight dinner treat, save for later
Apple Cheesecake Tacos
Introduction
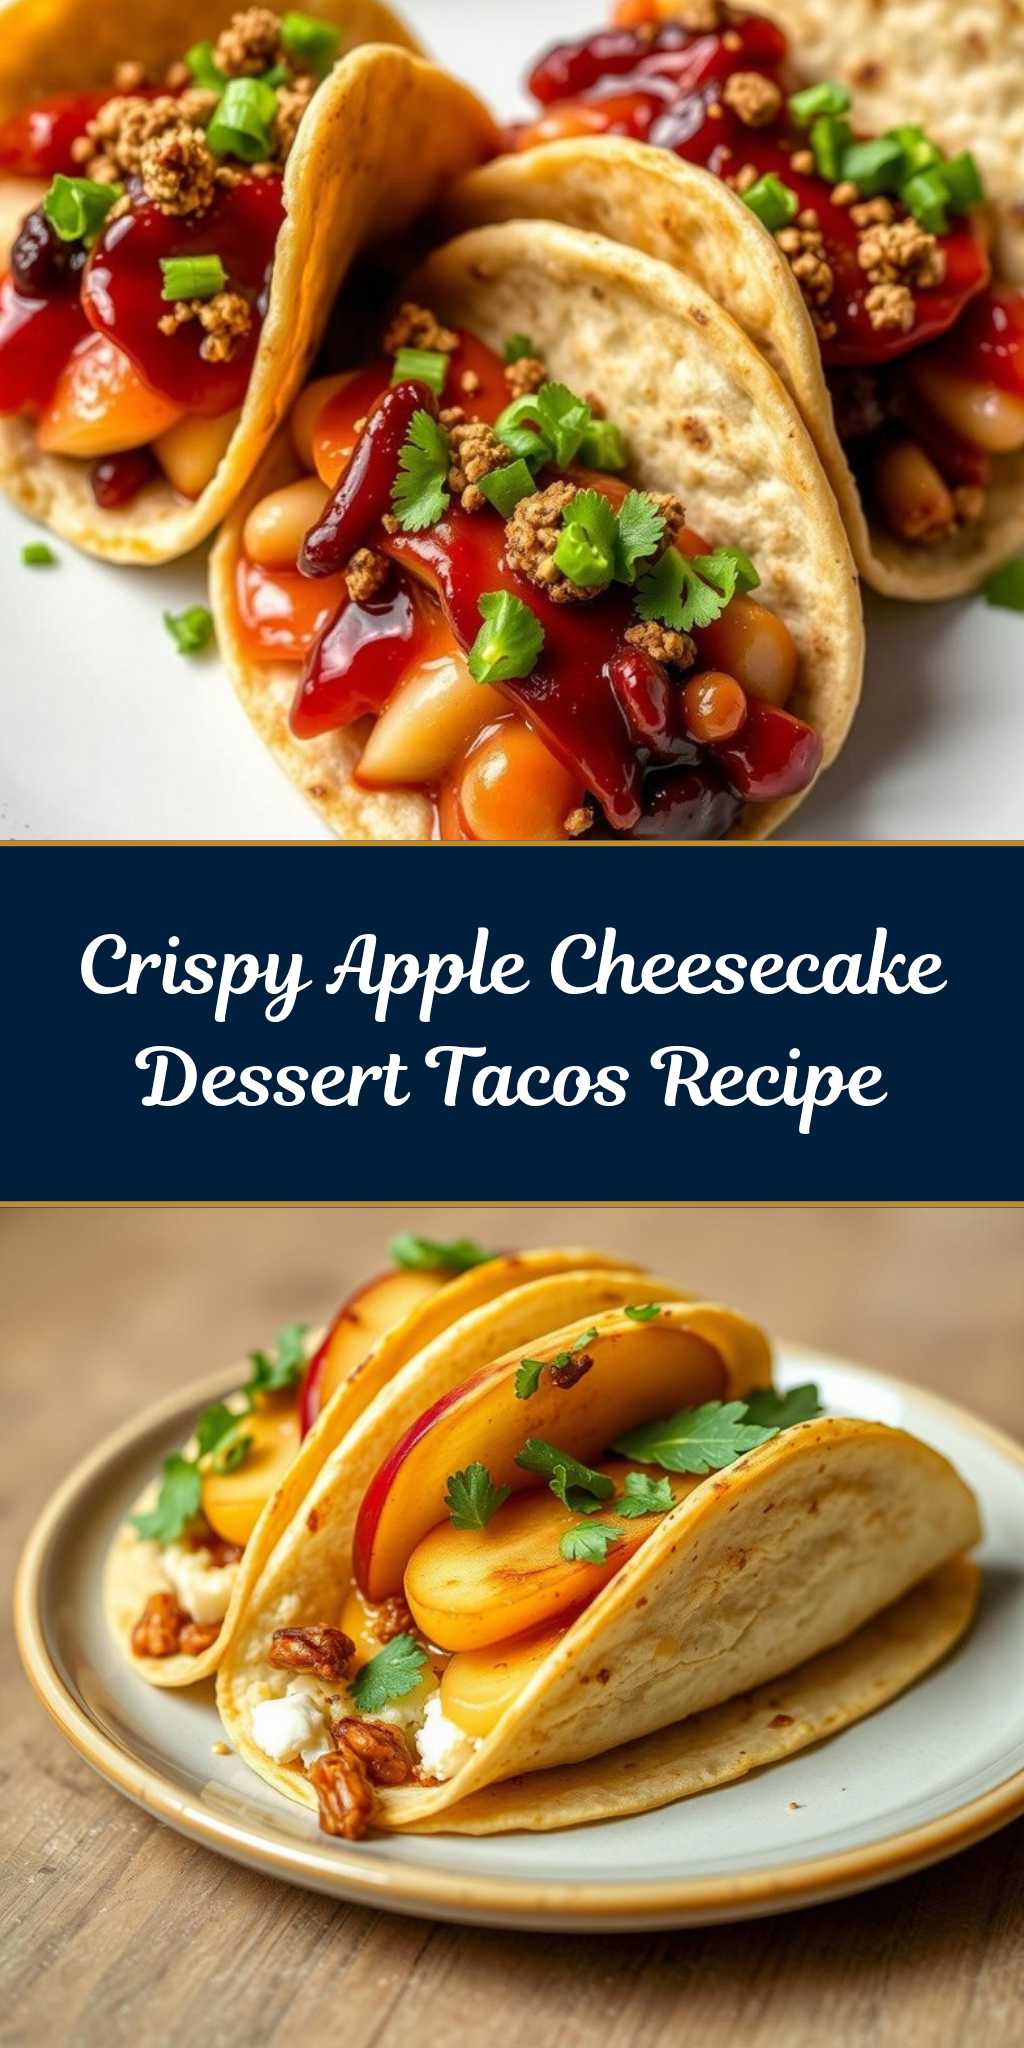
Imagine a dessert that combines the warmth of apples, the richness of cheesecake, and the fun of eating a taco. Welcome to the world of Apple Cheesecake Tacos, a creative and surprisingly easy-to-make treat that will impress your friends and family with its unique flavor and presentation. Using everyday ingredients and requiring minimal effort, this recipe is perfect for anyone looking to add a little excitement to their dessert repertoire. The combination of tender apples, creamy cheesecake, and crunchy taco shells creates a delightful harmony of textures and flavors that will leave you wanting more.
Why This Works
- Flavor balance and ingredient accessibility: The sweetness of the apples and cheesecake is perfectly balanced by the slight crunch and savory taste of the taco shells, all made with easily accessible ingredients.
- Ease of preparation: This recipe simplifies the process of making cheesecake and incorporates it into a fun, taco form, reducing the complexity and time required for traditional cheesecake recipes.
- Impressive results with minimal effort: Despite its simplicity, the Apple Cheesecake Tacos offer an impressive presentation that’s sure to be a hit at any gathering, making it an ideal choice for those looking to wow their guests without spending hours in the kitchen.
Key Ingredients
The main ingredients for this recipe include ripe apples (Granny Smith works well for their tartness), a package of taco shells, cream cheese, sugar, eggs, and vanilla extract for the cheesecake filling, and any desired toppings such as whipped cream, caramel sauce, or chopped nuts. For practical substitutions, you can use other types of apples if Granny Smith is not available, and consider using gluten-free taco shells for those with dietary restrictions. The cheesecake mixture can also be made lighter by substituting some of the cream cheese with Greek yogurt.
Instructions
- Step 1: Begin by preheating your oven to 375°F (190°C). Peel, core, and chop the apples into small pieces. In a pan, cook the apples with a little butter and cinnamon until they’re tender, then set aside to cool.
- Step 2: In a large mixing bowl, beat the cream cheese until smooth. Add the sugar, eggs one at a time, and vanilla extract, mixing well after each addition. The mixture should be smooth and creamy.
- Step 3: Layer the cheesecake filling into the taco shells. You can do this by spooning a small amount of the cheesecake! mixture into each shell, followed by a few pieces of the cooked apple. Repeat this process until all ingredients are used up, ending with a layer of cheesecake on top.
- Step 4: Place the filled taco shells on a baking sheet lined with parchment paper and bake for about 15-20 minutes, or until the cheesecake is set and the taco shells are lightly toasted. Remove from the oven and let cool slightly before serving.
Handy Tips
- To prevent the taco shells from becoming too crispy, you can cover them with foil for the first 10 minutes of baking. Also, don’t overfill the shells, as the cheesecake will expand a bit during baking.
Heat Control
For this recipe, it’s crucial to monitor the heat and baking time to ensure the taco shells don’t become too brittle and the cheesecake is cooked through but not overcooked. Ideal doneness can be checked by gently shaking the baking sheet; if the cheesecake filling doesn’t jiggle excessively, it’s ready.
Crunch Factor
The crunch in this dessert comes from the taco shells. To maintain their crunch, bake them until they’re lightly toasted. If you prefer a softer shell, you can bake them for a shorter time or wrap them in a damp paper towel and microwave for a few seconds to soften.
Pro Kitchen Tricks
- For easier cleanup, line your baking sheet with parchment paper before placing the taco shells. Also, consider making the cheesecake mixture ahead of time and refrigerating it overnight to allow the flavors to meld together.
Storage Tips
- The Apple Cheesecake Tacos are best served fresh, but they can be stored in an airtight container in the refrigerator for up to 24 hours. For longer storage, consider freezing the baked tacos and reheating them in the oven or microwave when needed.
Gift Packaging Ideas
These unique desserts can be beautifully packaged in gift boxes or bags, especially if you’re considering them as a gift for friends or family. Wrap each taco individually in plastic wrap or aluminum foil and place them in a decorative box or bag. Add a personal touch with a handwritten note or a sprinkle of cinnamon on top of each taco.
Flavor Variations
- Different spices: Try adding a pinch of nutmeg or cardamom to the cheesecake mixture for a unique twist.
- Creative toppings: In addition to whipped cream and caramel sauce, consider using fresh fruits like strawberries or blueberries, or even a drizzle of honey.
- Ingredient swaps: For a dairy-free version, you can substitute the cream cheese with a vegan alternative and use non-dairy milk.
Troubleshooting
- Texture problems: If the cheesecake turns out too dense, it might be due to overmixing the batter. For the next batch, mix the ingredients just until they come together.
- Ingredient replacements: If you can’t find taco shells, consider using waffle cones or even making your own shells from flour tortillas.
- Over/undercooking signs: Keep an eye on the tacos while they’re baking. If the cheesecake starts to brown too quickly, cover the tops with foil to prevent overcooking.
FAQs
- Can I freeze it? Yes, the Apple Cheesecake Tacos can be frozen after baking. Simply place them in a single layer in a freezer-safe bag or container and store in the freezer for up to 2 months.
- Is it gluten-free? Depending on the type of taco shells used, this dessert can be gluten-free. Look for gluten-free taco shells to accommodate dietary restrictions.
- Can I double the recipe? Absolutely. Simply double all the ingredients and follow the same instructions. Keep in mind that baking time might be slightly longer for a larger batch.
Conclusion
With the Apple Cheesecake Tacos, you’re not just making a dessert; you’re creating an experience. The combination of flavors and textures, along with the fun and unique presentation, makes this recipe a standout. Whether you’re a seasoned baker or a beginner in the kitchen, this dessert is sure to impress. So, don’t be afraid to experiment, share your creations, and enjoy the process of making something truly special. Happy baking, and let the sweetness begin!