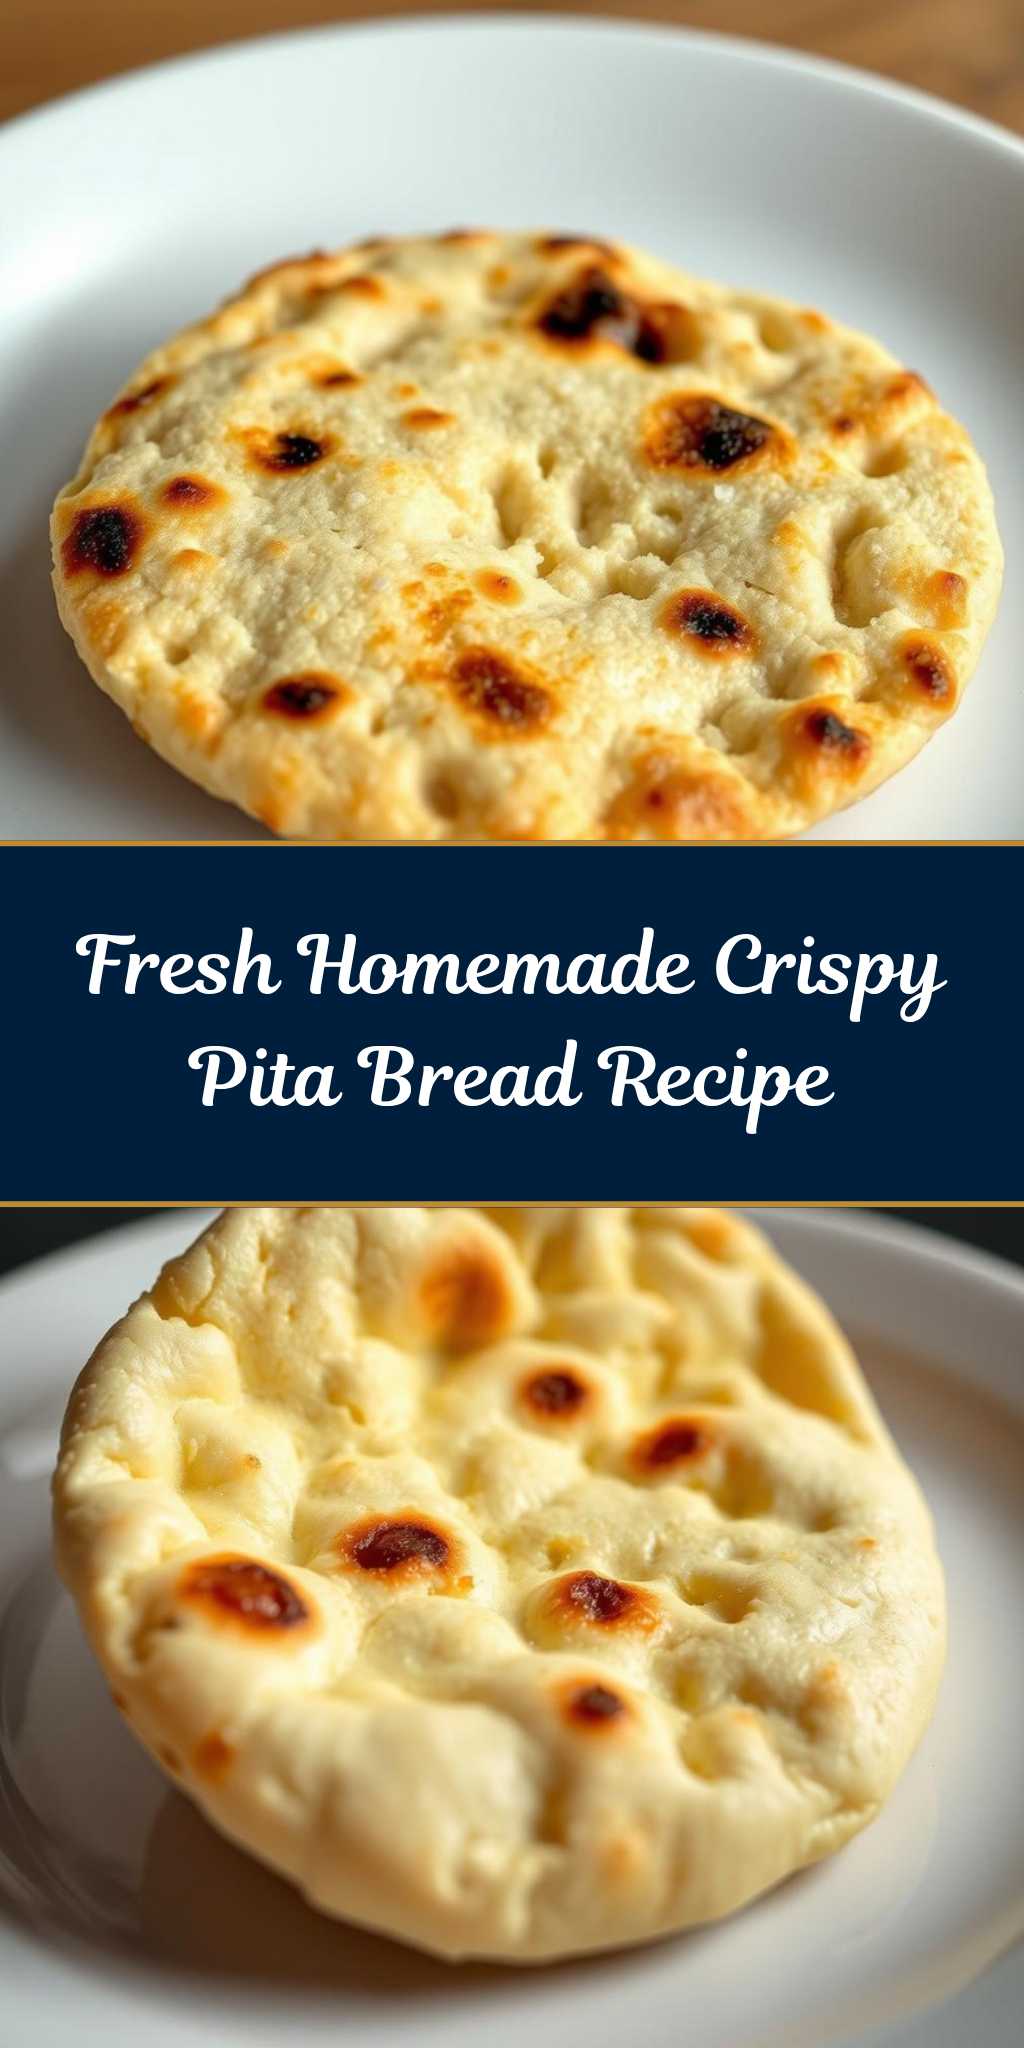
Ready for a weeknight dinner game changer. Learn to make easy homemade pita bread with simple ingredients and a quick cooking method. Perfect for a family favorite meal. Save for later and give it a try tonight
Homemade Pita Bread
Introduction
Making homemade pita bread is a journey that combines ease, flavor, and creativity, all while utilizing everyday ingredients. The process is straightforward, and the end result is a delicious, soft, and slightly puffed bread that can be used in a variety of dishes, from sandwiches and wraps to dips and salads. With this simple recipe, you’ll discover how easy it is to bring a piece of the Mediterranean into your home, all while experimenting with different flavors and textures to make your pita bread truly unique.
Why This Works
- Flavor balance and ingredient accessibility: The ingredients used in this recipe are easily found in most supermarkets, and the combination of yeast, flour, water, salt, and olive oil creates a perfect balance of flavors that enhances the natural taste of the bread.
- Ease of preparation: The steps involved in making homemade pita bread are simple and require minimal effort, making it a great project for beginners or those looking for a quick bread recipe.
- Impressive results with minimal effort: Despite the simplicity of the recipe, the end result is impressive and sure to please both family and friends, making it a great addition to any meal or gathering.
Key Ingredients
The main ingredients in this recipe include 2 cups of all-purpose flour, 1 teaspoon of salt, 1 teaspoon of sugar, 1 packet (2 1/4 teaspoons) of active dry yeast, 1 cup of warm water, and 2 tablespoons of olive oil. You can also add additional ingredients such as garlic, herbs, or spices to give your pita bread extra flavor. Practical substitutions can be made for some ingredients, such as using whole wheat flour instead of all-purpose flour for a nuttier flavor, or using different types of oil for a unique taste.
Instructions
- Step 1: Begin by activating the yeast in the warm water. In a large bowl, combine the warm water and yeast, and let it sit for 5-10 minutes until the mixture becomes frothy and bubbly.
- Step 2: Add the flour, salt, sugar, and olive oil to the bowl, and mix until a shaggy dough forms. Knead the dough on a floured surface for 5-10 minutes until it becomes smooth and elastic.
- Step 3: Place the dough in a greased bowl, cover it with a damp cloth, and let it rise in a warm place for 1-2 hours until it has doubled in size. Preheat a baking sheet or pizza stone in the oven at 450°F (230°C).
- Step 4: Punch down the dough and divide it into 4-6 equal pieces, depending on how large you want your pita breads to be. Roll out each piece into a thin circle, about 1/8 inch thick. Place the pita breads on the preheated baking sheet or pizza stone and bake for 2-3 minutes on each side, until they are puffed and lightly browned.
Handy Tips
- Make sure to use warm water when activating the yeast, as cold water can slow down the process and hot water can kill the yeast.
- Don’t overwork the dough, as this can lead to a dense and tough pita bread.
- Use a pizza stone or baking steel in the oven to achieve a crispy crust and a soft interior.
Heat Control
When baking the pita bread, it’s essential to control the heat to achieve the perfect texture and flavor. The ideal temperature is 450°F (230°C), and the baking time is 2-3 minutes on each side. You can check for doneness by looking for a puffed and lightly browned texture, and by tapping the bread to check for a hollow sound.
Crunch Factor
The crunch factor of homemade pita bread comes from the crispy crust, which is achieved by baking the bread in a hot oven. To achieve a crunchy crust, make sure to preheat the baking sheet or pizza stone before adding the pita bread, and bake the bread for the recommended time. You can also brush the bread with a little bit of water before baking to create a crispy crust.
Pro Kitchen Tricks
- Use a stand mixer with a dough hook attachment to knead the dough, as this can save time and effort.
- Let the dough rise in the refrigerator overnight, as this can help to develop the flavor and texture of the bread.
- Use a pastry brush to brush the pita bread with olive oil or water before baking, as this can help to create a crispy crust and add flavor to the bread.
Storage Tips
- Store leftover pita bread in an airtight container at room temperature for up to 3 days.
- Freeze pita bread for up to 3 months, and thaw at room temperature or in the microwave when needed.
- Reheat pita bread in the oven or microwave to restore its texture and flavor.
Gift Packaging Ideas
Homemade pita bread can be a great gift for friends and family, especially when packaged in a decorative basket or bag. You can add a personal touch by including a jar of homemade hummus or tzatziki sauce, or by wrapping the pita bread in a colorful cloth or paper. Consider adding a ribbon or a gift tag with a personal message to make the gift even more special.
Flavor Variations
- Add different spices or herbs to the dough, such as garlic, oregano, or thyme, to create a unique flavor profile.
- Use different types of flour, such as whole wheat or rye, to create a nuttier or earthier flavor.
- Top the pita bread with creative ingredients, such as feta cheese, olives, or sun-dried tomatoes, to add flavor and texture.
Troubleshooting
- If the dough is too sticky, add a little bit of flour. If the dough is too dry, add a little bit of water.
- If the pita bread is not puffing up, check the yeast and make sure it’s active and fresh.
- If the pita bread is too dense or tough, check the kneading time and make sure the dough is not overworked.
FAQs
- Can I freeze it? Yes, you can freeze homemade pita bread for up to 3 months. Simply wrap the bread tightly in plastic wrap or aluminum foil and place it in a freezer-safe bag.
- Is it gluten-free? No, this recipe uses all-purpose flour, which contains gluten. However, you can try substituting the flour with a gluten-free flour blend to make a gluten-free version.
- Can I double the recipe? Yes, you can double the recipe to make more pita bread. Simply multiply all the ingredients by two and follow the same instructions.
Conclusion
Making homemade pita bread is a fun and rewarding process that can add a new dimension to your meals and snacks. With this simple recipe, you can create delicious and authentic pita bread that’s perfect for sandwiches, wraps, and dips. Don’t be afraid to experiment with different flavors and ingredients to make the recipe your own, and enjoy the process of creating something from scratch. Happy baking!