Need a quick dessert fix? This easy strawberry cheesecake dump cake is a homemade family favorite made with fresh strawberries and a simple cake mix, perfect for a weeknight dinner. Save for later and enjoy!
Strawberry Cheesecake Dump Cake
Introduction
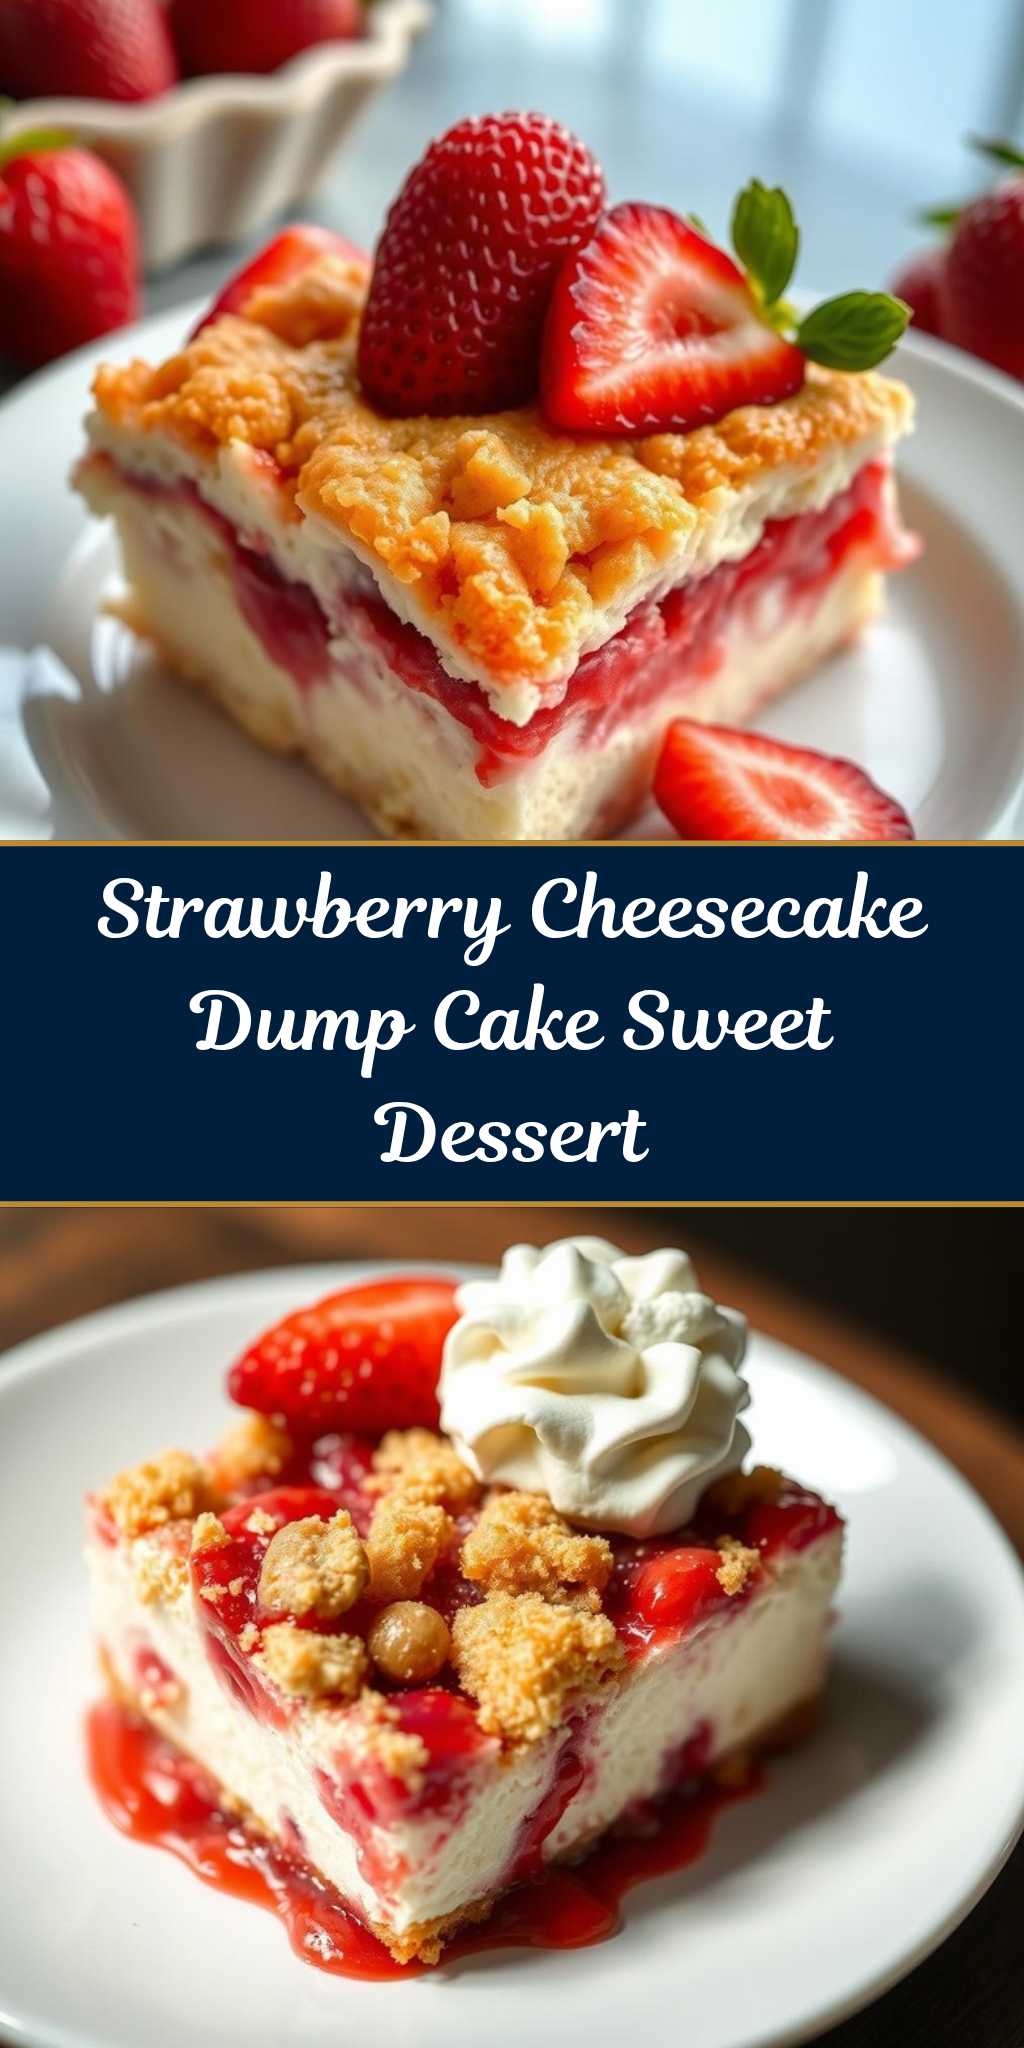
The Strawberry Cheesecake Dump Cake is a delightful dessert that combines the simplicity of a dump cake with the decadence of cheesecake and the sweetness of strawberries. This recipe is perfect for those looking for an easy yet impressive dessert to serve at gatherings or satisfy their sweet tooth. With its unique blend of flavors and textures, it’s a treat that will leave everyone wanting more. The best part? It’s incredibly easy to make, using everyday ingredients that you might already have in your pantry, making it a creative and accessible dessert option for any occasion.
Why This Works
- Flavor balance and ingredient accessibility: The combination of strawberries, cheesecake mix, and cake batter creates a harmonious balance of sweet and tangy flavors, all while using easily accessible ingredients.
- Ease of preparation: The dump cake method simplifies the preparation process, requiring minimal effort and time to mix and assemble the ingredients.
- Impressive results with minimal effort: Despite its simplicity, the Strawberry Cheesecake Dump Cake presents beautifully and tastes like a professional dessert, making it perfect for special occasions or potlucks.
Key Ingredients
The main ingredients for this recipe include a package of strawberry cheesecake mix, a box of yellow cake mix, unsalted butter, strawberries (fresh or frozen), and heavy cream or half-and-half for the cheesecake layer. For practical substitutions, you can use other types of cheesecake mixes or cake flavors to experiment with different taste combinations. Additionally, using fresh strawberries when in season will enhance the flavor and texture of the dessert.
Instructions
- Step 1: Begin by preheating your oven to 350°F (175°C). Then, chop the strawberries and set them aside. If using frozen strawberries, make sure to thaw them first and pat dry with a paper towel to remove excess moisture.
- Step 2: In a large mixing bowl, combine the strawberry cheesecake mix, heavy cream, and melted butter. Mix well until the batter is smooth and there are no lumps. This will be the cheesecake layer of your dump cake.
- Step 3: Pour half of the cake mix into a 9×13-inch baking dish. Top this layer with the cheesecake batter, spreading it evenly to cover the entire surface. Then, add the chopped strawberries on top of the cheesecake layer. Finally, cover everything with the remaining cake mix.
- Step 4: Dot the top of the cake mix with the remaining butter. This will help the cake brown nicely during baking. Place the baking dish in the oven and bake for about 40-45 minutes, or until the top is golden brown and the cake is set. Remove from the oven and let it cool for a few minutes before serving. You can serve it warm, topped with additional strawberries and whipped cream if desired.
Handy Tips
- Make sure to not overmix the cheesecake batter, as this can lead to a dense cheesecake layer. Stop mixing once the ingredients are just combined.
- Using high-quality strawberries will greatly impact the flavor of your dessert. Choose ripe, sweet strawberries for the best results.
- Avoid overbaking, as this can dry out the cake and cheesecake. Keep an eye on it during the last 10 minutes of baking, and cover the top with foil if it starts to brown too quickly.
Heat Control
The ideal temperature for baking the Strawberry Cheesecake Dump Cake is 350°F (175°C). It’s essential to maintain this temperature to ensure that the cake and cheesecake bake evenly. The baking time is approximately 40-45 minutes, but this can vary depending on your oven. Signs of doneness include a golden brown top and a set cake that doesn’t jiggle when gently shaken.
Crunch Factor
The crunch factor in this dessert comes from the butter-topped cake mix on the surface, which browns and crisps during baking. To achieve this, make sure the butter is dotted evenly across the top and that the cake is baked until the top is golden brown. The contrast between the crunchy top, the soft cheesecake, and the sweet strawberries creates a delightful texture experience.
Pro Kitchen Tricks
- For a golden glaze, brush the top of the cake with a little bit of heavy cream or beaten egg during the last 10 minutes of baking.
- Experiment with different types of cake mixes and cheesecake flavors to create unique variations of the Strawberry Cheesecake Dump Cake.
- Consider using a water bath for the cheesecake layer to prevent cracking and ensure a smooth, even bake.
Storage Tips
- Leftover Strawberry Cheesecake Dump Cake can be stored in the refrigerator for up to 3 days. Cover the baking dish with plastic wrap or aluminum foil to keep it fresh.
- For longer storage, consider freezing the cake. Wrap it tightly in plastic wrap or aluminum foil and place it in a freezer-safe bag. Frozen, it will keep for up to 2 months. Thaw frozen cake overnight in the refrigerator before serving.
- When reheating, a short time in the microwave or a few minutes in the oven at a low temperature can warm the cake without drying it out.
Gift Packaging Ideas
The Strawberry Cheesecake Dump Cake makes a wonderful gift, especially for birthdays, holidays, or as a welcome dessert for new neighbors. Consider packaging it in a decorative tin or a gift basket filled with fresh strawberries and whipped cream. You can also wrap individual slices in plastic wrap or aluminum foil and tie them with a ribbon for a more personalized gift. Adding a handwritten note with the recipe or baking instructions can make the gift even more special.
Flavor Variations
- Different spices: Try adding a pinch of cinnamon or nutmeg to the cheesecake mix for a unique twist on the classic flavor.
- Creative toppings: In addition to strawberries, consider topping your dump cake with blueberries, raspberries, or a mixture of berries for a fruit-filled dessert.
- Ingredient swaps: Substitute the yellow cake mix with a different flavor, like chocolate or lemon, to create a completely new dessert experience.
Troubleshooting
- Texture problems: If the cheesecake layer turns out too dense, it might be due to overmixing. For a lighter texture, mix the ingredients just until they come together.
- Ingredient replacements: If you can’t find strawberry cheesecake mix, consider making your own cheesecake batter from scratch or using a different flavor mix as a substitute.
- Over/undercooking signs: Keep an eye on the cake during baking. If the top starts to brown too quickly, cover it with foil. If the cake is not set after the recommended baking time, continue to bake in 5-minute increments until it’s done.
FAQs
- Can I freeze it? Yes, the Strawberry Cheesecake Dump Cake can be frozen for up to 2 months. Wrap it tightly and thaw overnight in the refrigerator when you’re ready to serve.
- Is it gluten-free? The traditional recipe uses a standard cake mix that contains gluten. However, you can experiment with gluten-free cake mixes to make a gluten-free version.
- Can I double the recipe? Yes, you can double the recipe to serve a larger crowd. Just keep in mind that you’ll need a larger baking dish and possibly a bit more baking time.
Conclusion
The Strawberry Cheesecake Dump Cake is a versatile and delicious dessert that can be adapted to suit various tastes and preferences. With its easy preparation method and impressive presentation, it’s perfect for both beginners and experienced bakers. Feel free to experiment with different flavors and ingredients to make the recipe your own, and don’t hesitate to share your creations with friends and family. Whether you’re looking for a quick dessert for a weeknight dinner or a show-stopping centerpiece for a special occasion, the Strawberry Cheesecake Dump Cake is sure to please. So go ahead, get baking, and enjoy the delightful combination of strawberries, cheesecake, and cake in every bite!