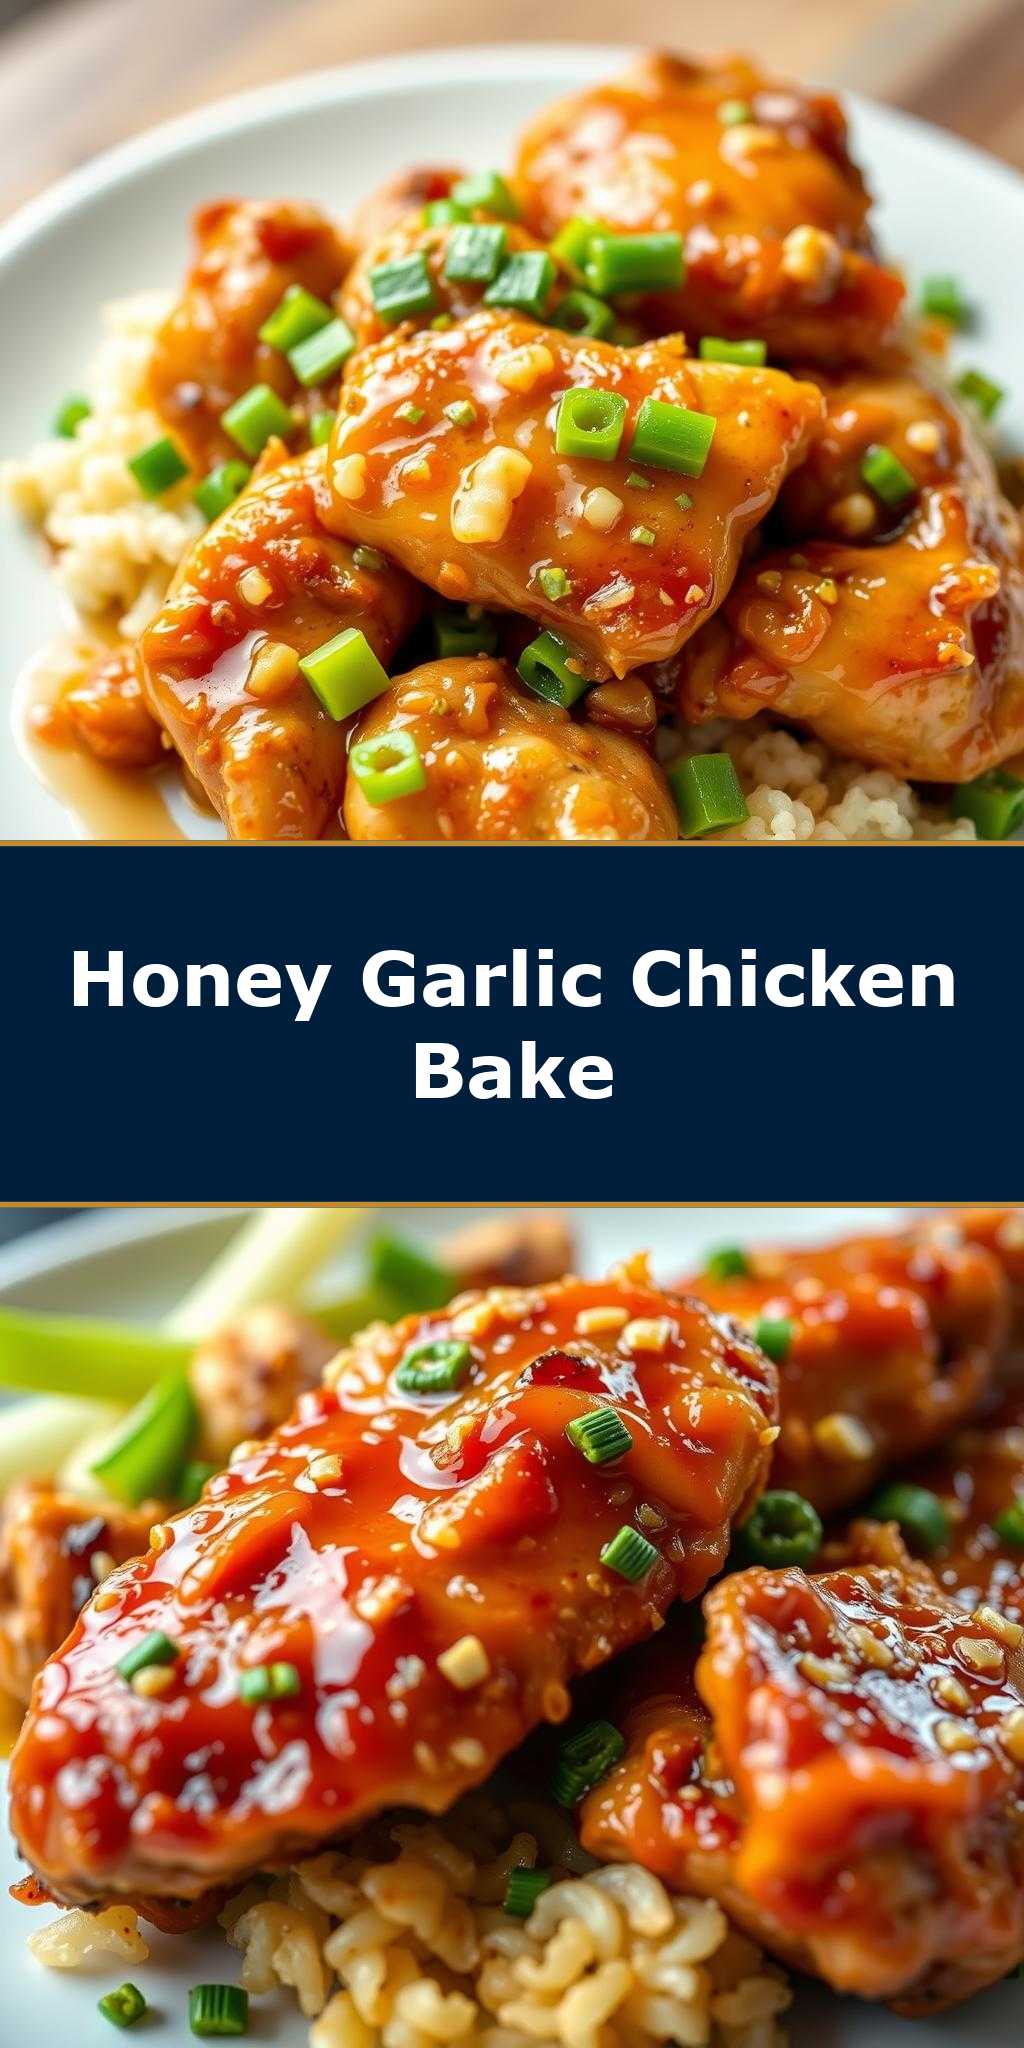
What makes the perfect weeknight dinner so satisfying? For me, it’s a quick and easy homemade dish like this honey garlic chicken recipe, loaded with caramelized garlic and a hint of sweetness from pure honey, perfect for a family favorite meal, save this idea for a delicious weeknight dinner solution, try it soon and enjoy
Honey Garlic Chicken Recipe
Introduction
This Honey Garlic Chicken Recipe is a masterpiece of simplicity and flavor, combining the richness of honey, the pungency of garlic, and the juiciness of chicken in a dish that’s as easy to make as it is impressive. With everyday ingredients and a straightforward preparation process, this recipe is perfect for a weeknight dinner or a special occasion. The beauty of this dish lies in its balance of flavors and textures, making it a versatile option for various tastes and dietary preferences. Whether you’re a seasoned chef or a beginner in the kitchen, this recipe will guide you through creating a culinary delight that’s sure to please even the pickiest of eaters.
Why This Works
- Flavor balance and ingredient accessibility: The combination of honey and garlic creates a sweet and savory flavor profile that complements the chicken perfectly, and the ingredients are easily found in most grocery stores.
- Ease of preparation: The steps involved in preparing this dish are minimal and straightforward, making it accessible to cooks of all skill levels.
- Impressive results with minimal effort: Despite its simplicity, the dish presents beautifully and tastes sophisticated, making it perfect for entertaining or special meals.
Key Ingredients
The main ingredients in this Honey Garlic Chicken Recipe include chicken breasts, garlic, honey, olive oil, salt, and pepper. For added flavor and nutrition, you can also include vegetables like bell peppers and onions. Practical substitutions can be made for those with dietary restrictions; for example, using gluten-free soy sauce for marinades or opting for vegan honey alternatives. The quality of the ingredients, especially the freshness of the garlic and the purity of the honey, will significantly impact the final flavor of the dish.
Instructions
- Step 1: Begin by prepping your ingredients. Chop the garlic finely and slice the bell peppers into strips. Measure out the honey, olive oil, salt, and pepper according to the recipe.
- Step 2: In a large skillet, heat the olive oil over medium heat. Add the chopped garlic and sauté for about 1 minute until fragrant, being careful not to burn it.
- Step 3: Add the chicken breasts to the skillet and cook until they are browned on both sides and cooked through, which should take about 5-6 minutes per side, depending on the thickness of the breasts. Remove the chicken from the skillet and set it aside.
- Step 4: In the same skillet, add the sliced bell peppers and cook until they are tender, about 3-4 minutes. Then, in a small bowl, whisk together the honey, a bit of water, and any additional seasonings you like. Pour the honey mixture over the bell peppers and stir to combine. Return the chicken to the skillet and coat with the honey and pepper mixture. Let it simmer for a few minutes to allow the flavors to meld together.
Handy Tips
- Always use high-quality ingredients, especially when it comes to the honey and garlic, as they are the backbone of the dish’s flavor.
- Don’t overcook the chicken. It should be juicy and tender, not dry and tough.
- Consider adding other vegetables like carrots or broccoli to the skillet with the bell peppers for added nutrition and flavor.
Heat Control
Heat control is crucial in this recipe, especially when cooking the chicken and sautéing the garlic. The ideal temperature for cooking the chicken is medium to medium-high heat, ensuring that it cooks evenly and quickly without burning the garlic. The chicken is done when it reaches an internal temperature of 165°F (74°C). For the garlic, a medium heat is best to prevent burning while still bringing out its rich flavor.
Crunch Factor
The crunch factor in this dish comes from the tender-crisp bell peppers and the potentially crispy exterior of the chicken, achieved by not overcooking it. To enhance the crunch, you can also add some toasted nuts or seeds on top of the dish before serving. The texture contrast between the juicy chicken, the crunchy peppers, and any added nuts makes the dish more engaging and satisfying.
Pro Kitchen Tricks
- Pound the chicken breasts to an even thickness before cooking to ensure they cook uniformly and prevent overcooking in some areas while undercooking in others.
- Use a meat thermometer to check the internal temperature of the chicken, ensuring it’s cooked to a safe temperature without overcooking.
- Let the chicken rest for a few minutes before slicing and serving. This allows the juices to redistribute, making the chicken more tender and flavorful.
Storage Tips
- Leftover storage: Store any leftovers in an airtight container in the refrigerator for up to 3 days. Reheat gently in the microwave or on the stovetop.
- Reheating tips: When reheating, add a bit of water or broth to the pan to prevent drying out the chicken. Heat over low to medium heat, stirring occasionally, until warmed through.
- Shelf life: Cooked chicken can be safely stored in the fridge for 3 to 4 days. If you don’t plan to use it within this timeframe, consider freezing it.
- Best containers: Use glass or microwave-safe containers for reheating and storage to avoid chemical contamination and for easy cleanup.
Gift Packaging Ideas
If you’re considering gifting this dish, perhaps for a potluck or as a meal for a friend in need, you can package it in a decorative microwave-safe container with a clear lid, allowing the recipient to see the beautifully glazed chicken and vegetables. Add a ribbon around the container and include a card with reheating instructions for a thoughtful touch.
Flavor Variations
- Different spices: Experiment with various spices like paprika, cumin, or coriander to give the dish a unique flavor profile.
- Creative toppings: Add some creativity with toppings like diced fresh herbs (parsley, basil, or thyme), grated cheese, or a dollop of yogurt for extra flavor and texture.
- Ingredient swaps: For a vegetarian version, swap the chicken with portobello mushrooms or eggplant, and adjust the cooking time accordingly.
Troubleshooting
- Texture problems: If the chicken becomes too dry, it was likely overcooked. Prevent this by using a thermometer and not overcooking.
- Ingredient replacements: If you’re out of a specific ingredient, consider what can be substituted without altering the dish’s essence. For example, maple syrup can replace honey in a pinch.
- Over/undercooking signs: The chicken should be white and firm to the touch when cooked. If it’s pink or soft, it’s undercooked. If it’s dry and tough, it’s overcooked.
FAQs
- Can I freeze it? Yes, you can freeze the cooked chicken and vegetables in an airtight container for up to 2 months. Reheat thawed leftovers to an internal temperature of 165°F (74°C).
- Is it gluten-free? This recipe is naturally gluten-free, making it suitable for those with gluten intolerance or sensitivity, provided that the honey and any additional ingredients are gluten-free.
- Can I double the recipe? Yes, you can easily double or triple this recipe for larger groups. Just ensure you have a large enough skillet to cook everything evenly.
Conclusion
This Honey Garlic Chicken Recipe is a testament to the magic that happens when simple, high-quality ingredients come together in perfect harmony. With its ease of preparation, impressive flavor, and versatility, it’s a dish that will quickly become a staple in your kitchen. Feel free to experiment with the recipe, adding your own favorite spices or ingredients to make it truly yours. Share it with friends and family, and enjoy the joy of cooking and the pleasure of delicious, homemade meals.