Looking for a decadent dessert to impress your family and friends? This easy homemade Black Velvet Cake is a quick and delicious family favorite made with dark chocolate and topped with creamy frosting, save for later and indulge in its rich flavors tonight.
Black Velvet Cake
Introduction
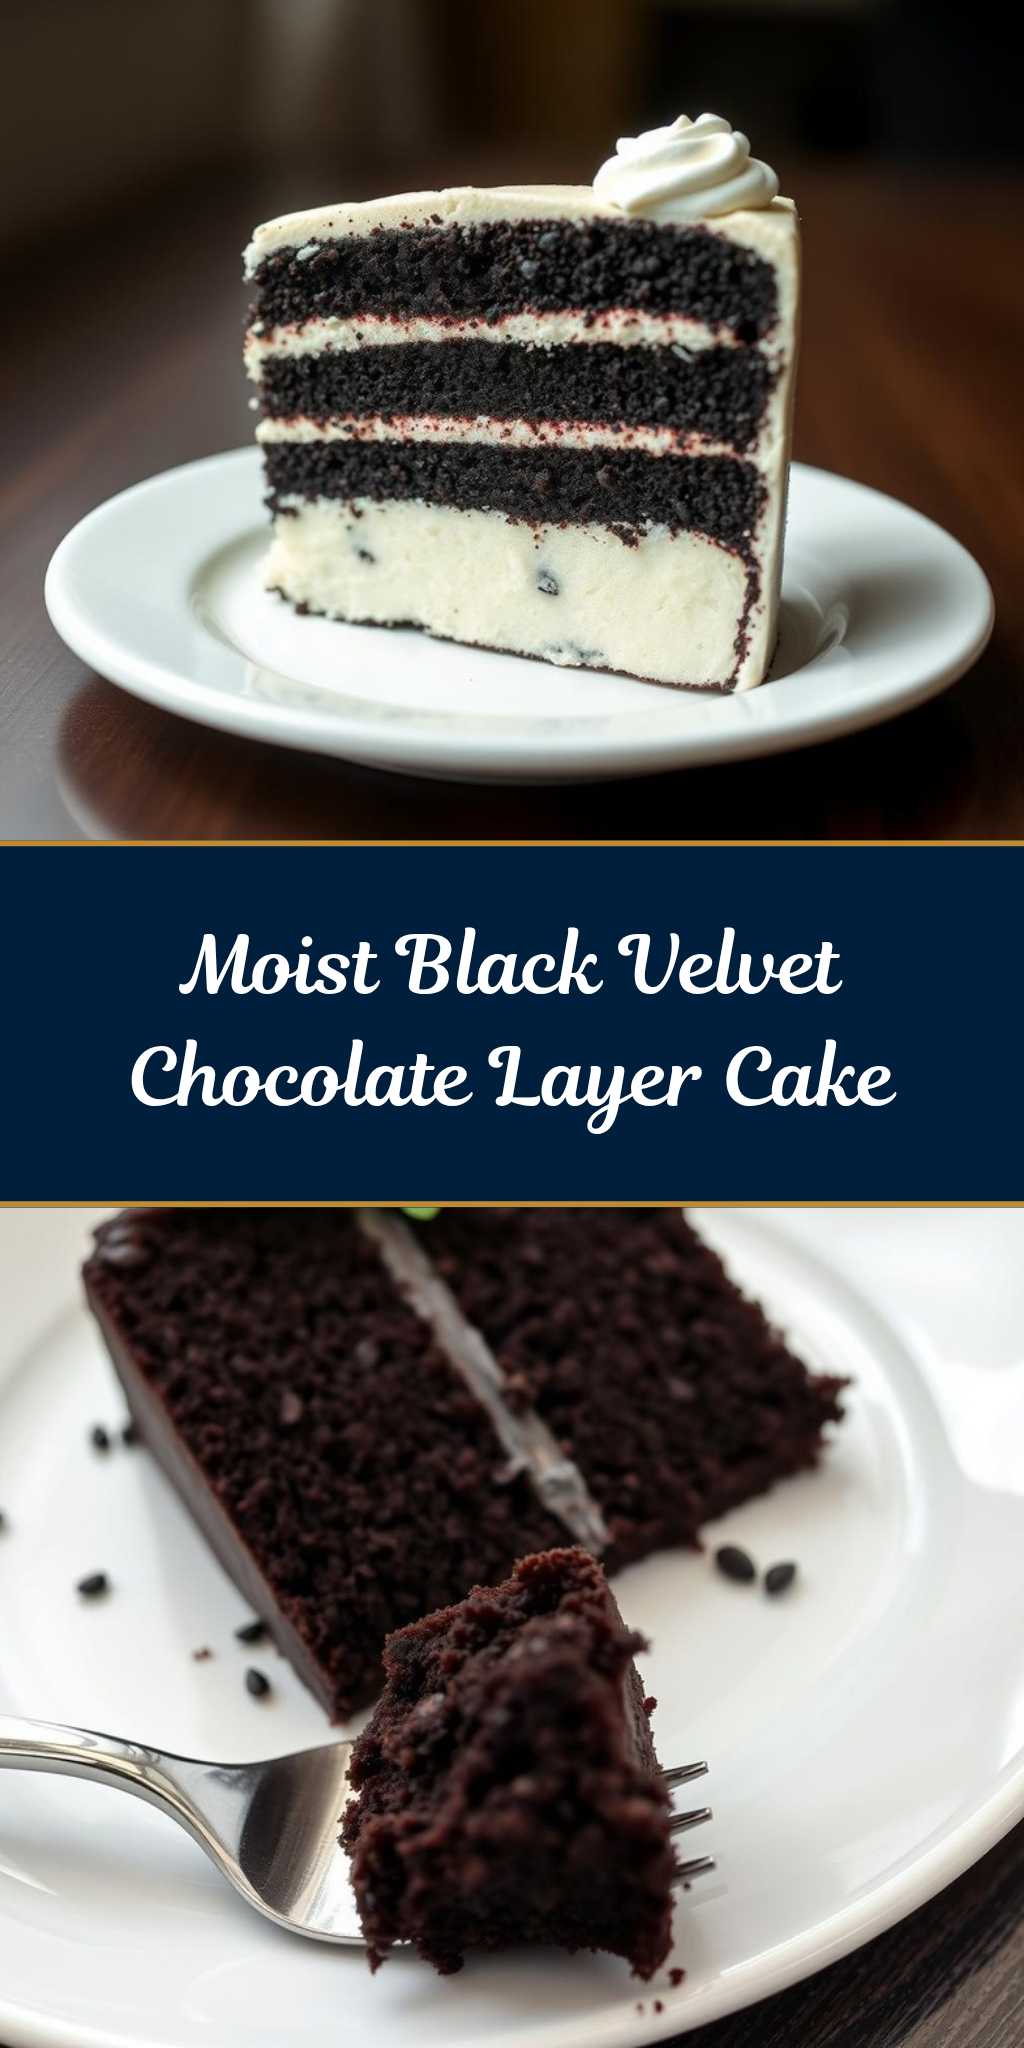
The allure of a Black Velvet Cake lies not just in its dramatic appearance, but in the depth of flavor it offers with each bite. This cake is a masterclass in balance and creativity, utilizing everyday ingredients in a way that’s both accessible and impressive. The combination of dark chocolate and subtle hints of coffee, along with the velvety smoothness of the cream cheese frosting, makes for a dessert that’s as much a feast for the eyes as it is for the palate. Whether you’re a seasoned baker or just starting out, this recipe is designed to guide you through the process with ease, ensuring that your final product is nothing short of stunning.
Why This Works
- The balance of flavors, with the richness of chocolate offset by the tang of cream cheese, creates a delightful harmony that will leave everyone wanting more.
- The use of readily available ingredients means you won’t have to hunt down specialty items, making this cake accessible to bakers of all levels.
- Despite its sophisticated appearance and taste, the Black Velvet Cake is surprisingly easy to prepare, requiring minimal effort for the impressive results it yields.
Key Ingredients
To bring this masterpiece to life, you’ll need a few key ingredients. First, high-quality dark chocolate is essential for the deep, velvety flavor that defines this cake. You’ll also need strong brewed coffee, which enhances the chocolate flavor without overpowering it. For the cake itself, all-purpose flour, granulated sugar, unsweetened cocoa powder, and a mix of buttermilk and oil provide moisture and structure. The cream cheese frosting, made with cream cheese, unsalted butter, vanilla extract, and powdered sugar, adds a tangy contrast to the richness of the chocolate. Practical substitutions can be made, such as using milk with a tablespoon of white vinegar or lemon juice as a buttermilk substitute, but sticking to the core ingredients will yield the best results.
Instructions
- Step 1: Begin by preheating your oven to 350°F (175°C). Prepare two 9-inch round cake pans by greasing them and lining the bottoms with parchment paper. In a medium bowl, whisk together flour, sugar, cocoa powder, baking powder, and salt. In a large mixing bowl, whisk together buttermilk, oil, eggs, and vanilla extract. Add the dry ingredients to the wet ingredients, whisking until just combined. Then, whisk in the brewed coffee until the batter is smooth.
- Step 2: Divide the batter evenly between the prepared pans and smooth the tops. Bake for about 30-35 minutes or until a toothpick inserted in the center comes out clean. Let the cakes cool in the pans for 10 minutes before transferring them to a wire rack to cool completely.
- Step 3: For the frosting, beat the cream cheese and butter until smooth. Gradually add the powdered sugar, beating until smooth and creamy. Add the vanilla extract and mix well. Once the cakes are completely cool, you can assemble the cake by spreading a layer of frosting on top of one of the cakes and then placing the second cake on top. Frost the outside of the cake with the remaining frosting.
- Step 4: Final touches can include decorating the cake with chocolate shavings or chopped nuts. To ensure a smooth frosting, make sure the cake is completely cooled, and the frosting ingredients are at room temperature. This will help in achieving a velvety, even coat.
Handy Tips
- Always use room temperature ingredients for the best results in baking. This ensures that ingredients mix smoothly and evenly, leading to a better texture in the final product.
- Don’t overmix the batter, as this can lead to a dense cake. Stop mixing as soon as the ingredients come together in a smooth batter.
- For a more intense chocolate flavor, use a higher percentage of cocoa solids in your dark chocolate. However, be aware that very dark chocolate can be quite bitter, so balance it with a bit more sugar if necessary.
Heat Control
When baking the cake, it’s crucial to maintain the right temperature and baking time. The ideal temperature is 350°F (175°C), and the cakes are done when a toothpick inserted into the center of each cake comes out clean. Overbaking can lead to dry cakes, so keep an eye on them after the 25-minute mark, checking every few minutes until they’re done. The top of the cake should be set and a toothpick inserted into the center should come out clean or with a few moist crumbs attached.
Crunch Factor
The Black Velvet Cake is characterized by its moist, velvety texture, both in the cake itself and the frosting. To achieve this, ensure that you don’t overbake the cakes and that you’re using enough liquid ingredients in both the cake batter and the frosting. If you prefer a bit of crunch, you can add chopped nuts or chocolate shavings on top of the cake before serving.
Pro Kitchen Tricks
- For an extra moist cake, try adding an extra tablespoon or two of buttermilk or sour cream to the batter. This will enhance the cake’s texture without altering its flavor profile significantly.
- To ensure the cake layers are even, bake them for the same amount of time and check them frequently towards the end of the baking time. If one layer is done before the other, remove it from the oven and let the other layer bake for a few more minutes.
- For a shortcut in frosting, use a stand mixer with a paddle attachment to beat the cream cheese and butter until smooth, then gradually add the powdered sugar. This will save you time and elbow grease.
Storage Tips
- The Black Velvet Cake can be stored at room temperature for up to 3 days. Make sure it’s covered tightly with plastic wrap or aluminum foil to keep it fresh.
- For longer storage, the cake can be refrigerated for up to 5 days. Let it come to room temperature before serving for the best flavor and texture.
- Freezing is also an option; wrap the cake tightly in plastic wrap and then in aluminum foil. Frozen cake can be stored for up to 2 months. Thaw overnight in the refrigerator before serving.
Gift Packaging Ideas
If you’re planning to give the Black Velvet Cake as a gift, consider packaging it in a decorative cake box or a large tin. You can also wrap the cake in plastic wrap or aluminum foil and then in a layer of decorative paper or fabric, finishing it off with a ribbon or gift tag. For a more rustic look, use a wooden cake box or a basket lined with a checkered cloth. Whatever method you choose, make sure the cake is completely cooled and the frosting is set to prevent smudging or damage during transport.
Flavor Variations
- Try adding different spices like cinnamon, nutmeg, or cardamom to the batter for unique flavor twists. Start with a small amount (about 1/4 teaspoon) and adjust to taste, as spices can quickly overpower the other flavors.
- For creative toppings, consider using fresh fruits like raspberries or strawberries, or even candy pieces like M&M’s or chocolate chips. This adds a fun and personalized touch to the cake.
- Ingredient swaps can also lead to interesting variations. For example, using brown sugar instead of granulated sugar will add a deeper, caramel-like flavor to the cake. Similarly, almond milk or coconut milk can be used as a substitute for buttermilk for a non-dairy version.
Troubleshooting
- If your cake turns out too dense, it might be due to overmixing the batter. Try mixing the wet and dry ingredients separately and gently folding them together until just combined.
- For cakes that are too dry, check your oven temperature and ensure you’re not overbaking. A dry cake can also result from using too little liquid in the recipe.
- If the frosting is too runny, refrigerate it for about 10 minutes to firm it up before using. If it’s too thick, you can warm it slightly by placing the bowl in a larger bowl of warm water for a few minutes, then whisking until smooth.
FAQs
- Can I freeze it? Yes, the Black Velvet Cake can be frozen for up to 2 months. Wrap it tightly in plastic wrap and then in aluminum foil. Thaw overnight in the refrigerator before serving.
- Is it gluten-free? The traditional recipe includes wheat flour, making it not gluten-free. However, you can experiment with gluten-free flours as a substitute, though this may affect the texture and flavor slightly.
- Can I double the recipe? Yes, you can double the recipe to make a larger cake. Just ensure you have enough pans and adjust the baking time accordingly. It’s also a good idea to use a larger mixer bowl to accommodate the doubled ingredients.
Conclusion
Creating a Black Velvet Cake is a journey that combines the joy of baking with the satisfaction of presenting a stunning dessert. With its deep, rich flavors and velvety texture, this cake is sure to impress any audience. Don’t be afraid to experiment with the recipe, adding your own twists and flavors to make it truly unique. Whether you’re a fan of dark chocolate, a lover of creamy frostings, or simply someone who appreciates the beauty of a well-crafted cake, the Black Velvet Cake is a recipe that’s sure to become a favorite. So, go ahead, take the first step, and indulge in the decadence of this culinary masterpiece.