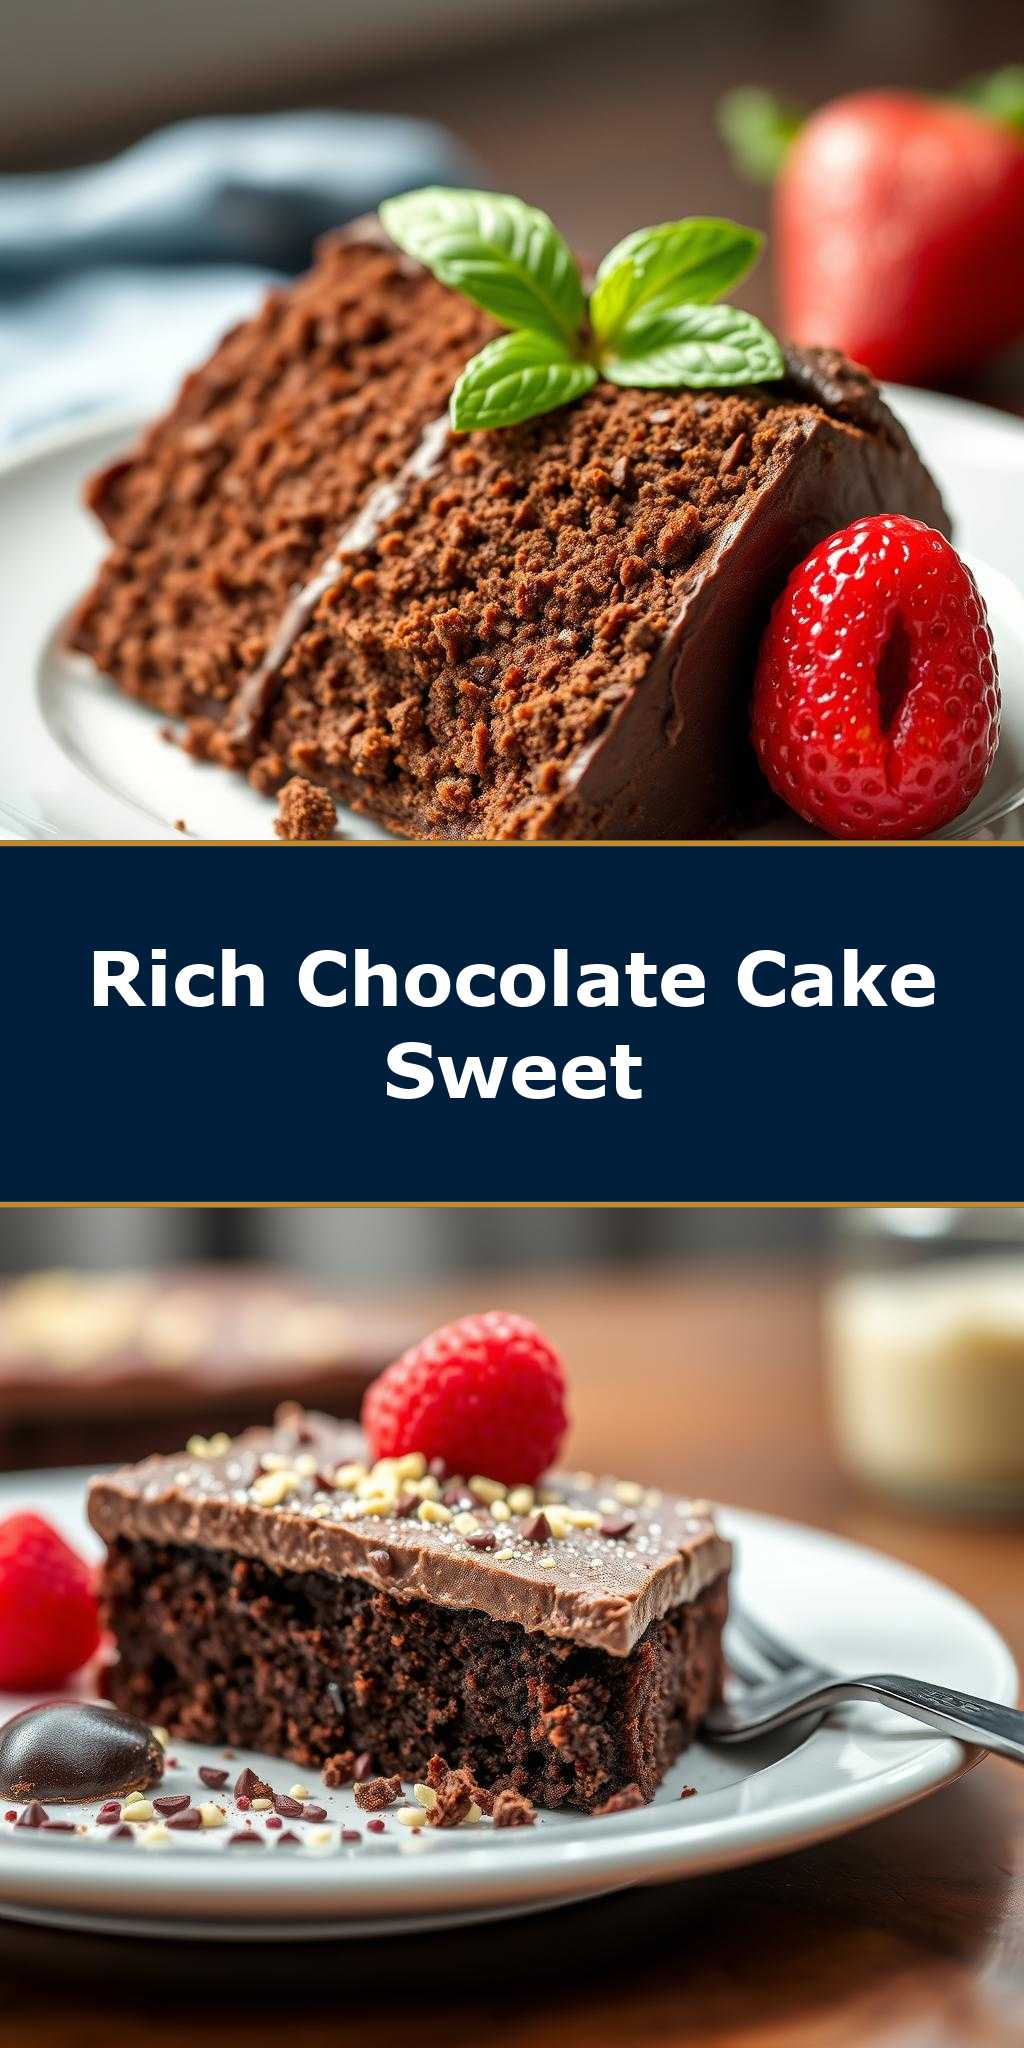
What makes a chocolate cake truly decadent? Rich, velvety chocolate and deep, satisfying flavors come together in this easy homemade recipe, perfect for a special occasion or weeknight dinner treat featuring dark cocoa powder and a moist, tender crumb, save this idea for your next family favorite dessert.
Decadent Chocolate Cake Recipe
Introduction
Indulge in the rich, velvety goodness of our Decadent Chocolate Cake Recipe, where the simplicity of everyday ingredients meets the elegance of a professionally baked dessert. This recipe is designed to delight both beginners and experienced bakers alike, with its ease of preparation, balanced flavors, and the creativity it allows for customization. Whether you’re celebrating a special occasion or simply satisfying your sweet tooth, this decadent chocolate cake is sure to impress with its deep, satisfying flavors and moist texture, all achievable with minimal effort.
Why This Works
- Flavor balance and ingredient accessibility: The combination of high-quality cocoa powder, sugar, eggs, and flour creates a flavor profile that is both intense and well-balanced, using ingredients that are easily found in most supermarkets.
- Ease of preparation: Despite its decadent nature, this cake recipe is surprisingly straightforward, requiring minimal specialized equipment or advanced baking techniques.
- Impressive results with minimal effort: The end result is a cake that looks and tastes like it was purchased from a high-end bakery, but is actually achievable with a fraction of the time and effort.
Key Ingredients
The foundation of our Decadent Chocolate Cake Recipe includes high-quality dark cocoa powder for its deep, rich flavor; granulated sugar to balance the bitterness of the cocoa; large eggs to provide moisture and structure; all-purpose flour as the base of the cake; salt to enhance the flavors; whole milk at room temperature to ensure the cake’s tenderness; and pure vanilla extract for its aromatic and flavor-enhancing properties. For practical substitutions, consider using almond milk or another non-dairy milk for a dairy-free version, and swapping granulated sugar with brown sugar for a slightly different flavor profile.
Instructions
- Step 1: Begin by preheating your oven to 350°F (175°C). Prepare two 9-inch round cake pans by greasing them and lining the bottoms with parchment paper. In a medium bowl, whisk together flour, salt, and cocoa powder, setting it aside for later use.
- Step 2: In a large mixing bowl, use an electric mixer to beat together the sugar and eggs until light and fluffy, about 2 minutes. Gradually add the flour mixture to the sugar and egg mixture, alternating with the milk, beginning and ending with the flour mixture. Beat just until combined, then stir in the vanilla extract.
- Step 3: Divide the batter evenly between the prepared pans and smooth the tops. Bake for 30-35 minutes or until a toothpick inserted in the center comes out clean. Let the cakes cool in the pans for 10 minutes before transferring them to a wire rack to cool completely.
- Step 4: For the final touches, once the cakes are completely cool, you can frost them with your favorite chocolate frosting and decorate as desired. This could involve simple dusting with powdered sugar, creating a multi-layer cake with frosting in between, or adding fresh fruits or nuts for extra texture and flavor.
Handy Tips
- Ensure all ingredients are at room temperature before starting to mix the batter for a smoother and more even texture. Also, don’t overmix the batter, as this can lead to a dense cake. If you find your cake is too dense, consider adding an extra egg or using buttermilk instead of regular milk for added moisture.
Heat Control
For ideal baking, maintain your oven at a consistent 350°F (175°C). The baking time may vary depending on your oven’s performance and the cake’s size, so keep an eye on it after 25 minutes. The cake is done when it springs back to the touch and a toothpick inserted into the center comes out clean or with a few moist crumbs attached.
Crunch Factor
This Decadent Chocolate Cake is designed to be moist and tender, with a delicate crumb. To achieve this texture, avoid overbaking and ensure you’re not overmixing the batter. If you prefer a crunchier exterior, you can slightly increase the baking time, but be cautious not to dry out the cake. Adding nuts or chocolate chips to the batter can also introduce a pleasant crunch and texture contrast.
Pro Kitchen Tricks
- To ensure your cakes release perfectly from the pans, make sure to grease them thoroughly and don’t skip the parchment paper. For an extra moist cake, try adding a teaspoon of instant coffee powder to the batter, as it enhances the chocolate flavor without giving the cake a coffee taste.
Storage Tips
- Store your Decadent Chocolate Cake in an airtight container at room temperature for up to 3 days. For longer storage, consider refrigerating the cake, where it can keep for up to 5 days. If you want to freeze the cake, it’s best to do so without frosting, wrapping it tightly in plastic wrap or aluminum foil and storing it in a freezer-safe bag for up to 2 months. When you’re ready to serve, thaw the cake overnight in the refrigerator and frost as desired.
Gift Packaging Ideas
This cake makes a wonderful gift, especially for birthdays, anniversaries, or holidays. Consider packaging the cake in a decorative tin or on a sturdy cake stand, wrapped in colorful plastic wrap or a festive cake box. Adding a ribbon around the cake or a gift card with a personal message can make it an even more thoughtful and elegant present.
Flavor Variations
- Different spices: Introduce a pinch of cinnamon, nutmeg, or cayenne pepper to give your cake a unique twist. For a more pronounced flavor, you could also soak raisins or cranberries in a liquor of your choice and add them to the batter.
- Creative toppings: Instead of traditional chocolate frosting, top your cake with a lightly sweetened whipped cream, a drizzle of caramel sauce, or a sprinkle of powdered sugar and chopped nuts.
- Ingredient swaps: Experiment with different types of sugar, like brown sugar or turbinado sugar, for varying depths of flavor. You could also substitute some of the all-purpose flour with almond flour for a gluten-free option or add a handful of dark chocolate chips for an intense chocolate experience.
Troubleshooting
- Texture problems: If your cake turns out too dense, it might be due to overmixing the batter or using old baking powder. On the other hand, if it’s too dry, it could be overbaked or made with old ingredients. Adjust your technique and ingredient freshness accordingly.
- Ingredient replacements: If you’re missing an ingredient, consider what role it plays in the recipe and find a suitable substitute. For example, if you don’t have buttermilk, you can make a substitute by mixing milk with vinegar or lemon juice and letting it sit for a few minutes.
- Over/undercooking signs: Keep an eye on your cake’s baking time and check for doneness regularly. An undercooked cake will be wet and soggy in the center, while an overcooked cake will be dry and possibly cracked on the surface.
FAQs
- Can I freeze it? Yes, you can freeze the cake for up to 2 months. It’s best to freeze it without frosting and then thaw and frost it when you’re ready to serve.
- Is it gluten-free? The original recipe includes all-purpose flour, making it not gluten-free. However, you can experiment with gluten-free flours as a substitute, keeping in mind that the texture and flavor might slightly differ.
- Can I double the recipe? Yes, you can double the recipe to make a larger cake or more cakes. Just ensure you have enough pans and adjust the baking time accordingly, as larger cakes take longer to bake through.
Conclusion
With its rich, deep chocolate flavor and moist, tender crumb, our Decadent Chocolate Cake Recipe is sure to become a favorite. Whether you’re a seasoned baker or a beginner in the kitchen, this recipe offers the perfect blend of ease, flavor, and creativity. Don’t hesitate to experiment with the ingredients and decorations to make it your own, and enjoy the process of creating something truly decadent and delicious. Share your experiences, tips, and variations in the comments below, and happy baking!