What makes the perfect sweet treat for a weeknight dinner party? These irresistible salted caramel rice krispie bars are a quick and easy homemade favorite, made with gooey caramel and crunchy rice cereal. Save this idea for your next family gathering to make a delicious and easy dessert that everyone will love. Try it soon and enjoy the oohs and aahs from your guests, pin for later to make again and again.
Irresistible Salted Caramel Rice Krispie Bars
Introduction
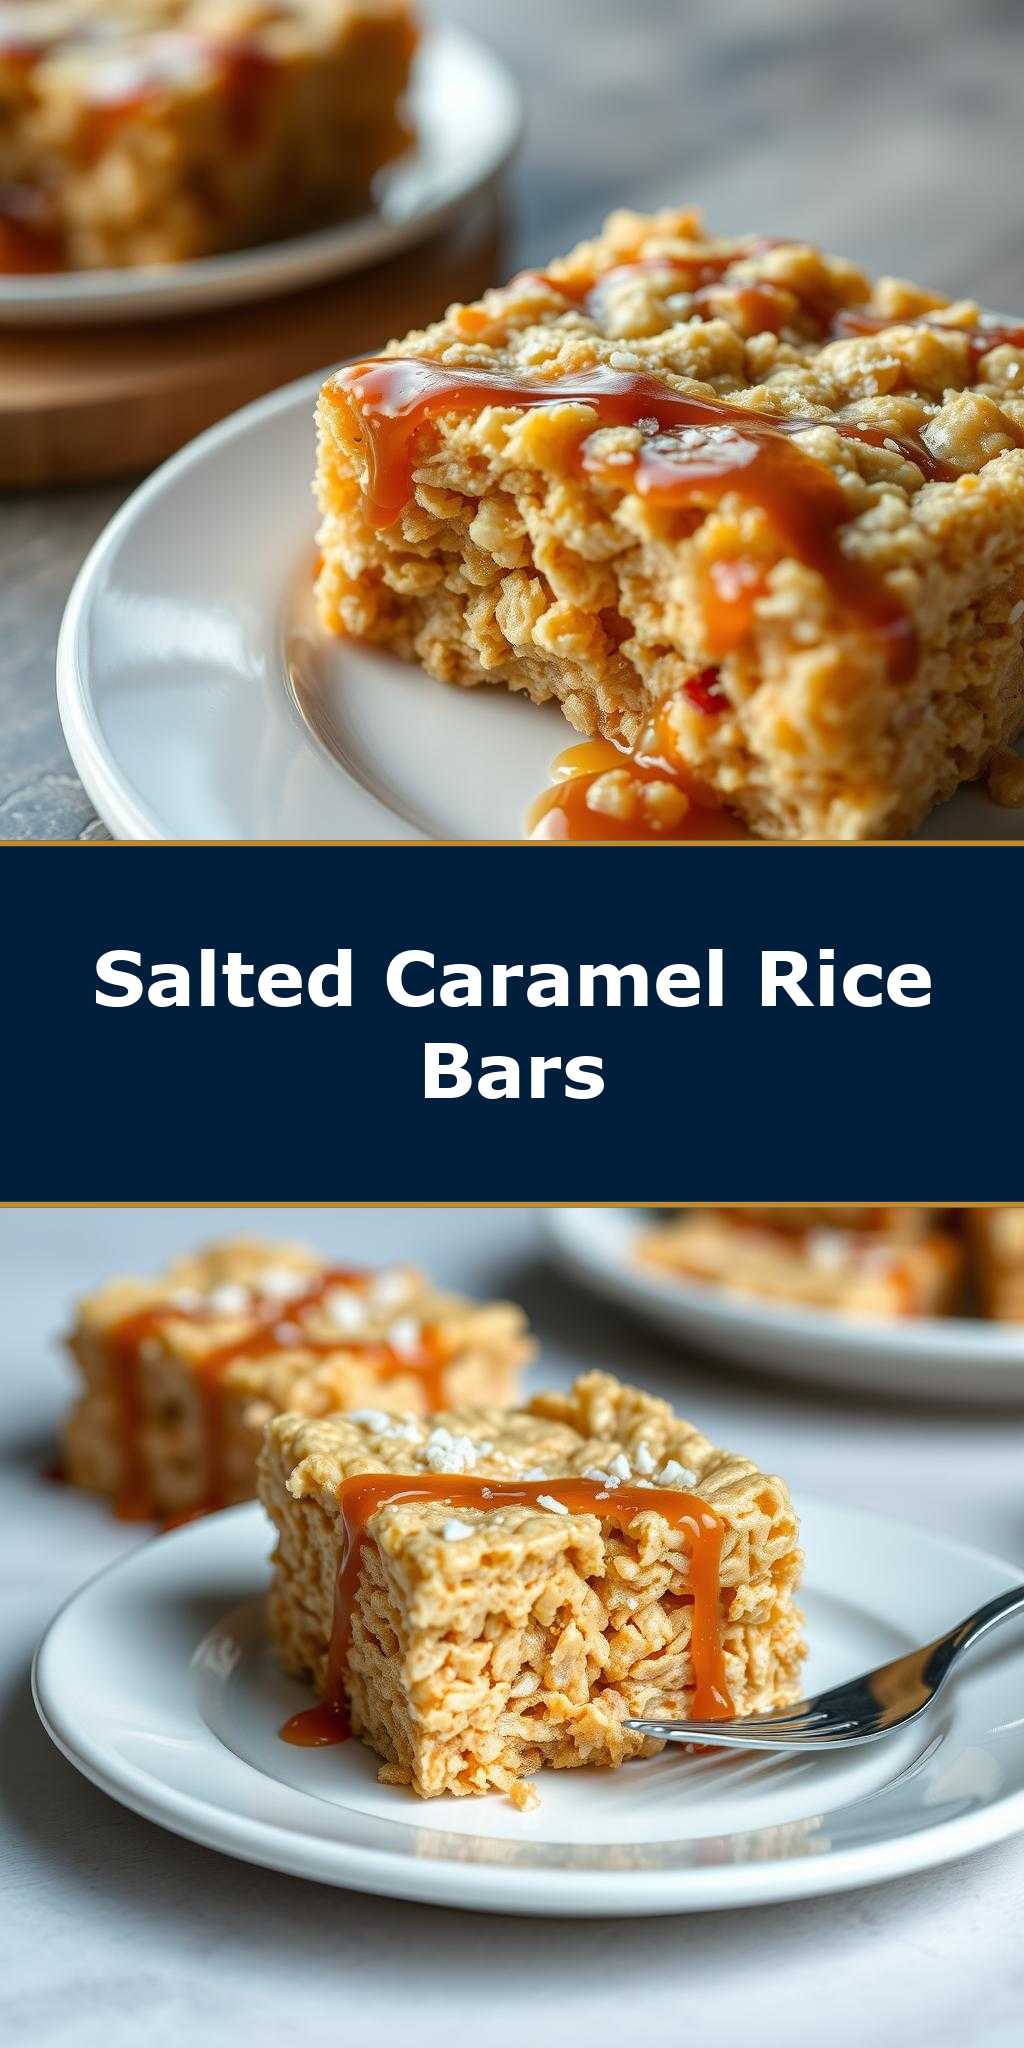
Imagine a treat that combines the simplicity of childhood favorites with the sophistication of adult flavors – welcome to the world of Irresistible Salted Caramel Rice Krispie Bars. These bars are a masterclass in balancing ease, flavor, and creativity, using everyday ingredients to create something truly special. With their gooey salted caramel, crunchy Rice Krispies, and a touch of flaky sea salt, these bars are sure to become a staple in your household, perfect for satisfying your sweet tooth, impressing friends at gatherings, or as a thoughtful gift. The best part? They require minimal effort and ingredients you likely already have on hand, making them an ideal project for a lazy Sunday afternoon or a quick weeknight dessert.
Why This Works
- The perfect balance of flavors and textures, with the sweetness of the marshmallows and caramel, the crunch of the Rice Krispies, and the savory touch of salt, creates a dish that is both familiar and excitingly new.
- The ease of preparation is unparalleled; with just a few simple steps, you can create bars that look and taste like they were bought from a professional bakery.
- Despite the impressive results, the recipe requires minimal effort, making it accessible to cooks of all skill levels and perfect for those looking to impress without spending hours in the kitchen.
Key Ingredients
The magic of these bars lies in their simple yet impactful ingredients. You’ll need Rice Krispies cereal for the base, marshmallows to bind everything together, unsalted butter to add richness, and of course, salted caramel for the crowning glory. For the salted caramel, you can either make your own using heavy cream, butter, and sea salt or use store-bought for an even quicker turnaround. Practical substitutions include using different types of cereal for varied textures or flavors, and for those looking for a dairy-free option, vegan butter and non-dairy cream can be used in the caramel.
Instructions
- Step 1: Begin by preparing your workspace. Lay out a large piece of parchment paper or a silicone mat on your countertop. Measure out your Rice Krispies cereal and set it aside in a large bowl. If making your own caramel, have your cream, butter, and sea salt ready.
- Step 2: In a large pot or saucepan, melt your butter over low heat. Add your marshmallows and stir until they are completely melted and the mixture is smooth. Remove from heat and quickly add your Rice Krispies, stirring until the cereal is evenly coated with the marshmallow mixture.
- Step 3: Add your salted caramel to the mixture. If using store-bought, you can simply pour it in. If making your own, slowly pour the caramel into the marshmallow and Rice Krispie mixture, stirring constantly to combine. The key here is to work quickly before the mixture cools and becomes difficult to stir.
- Step 4: Press the mixture into a lined or greased 9×13 inch baking dish. Let it cool completely before cutting into bars. For a clean cut, dip your knife in hot water and wipe dry between cuts. Finally, sprinkle with flaky sea salt for the perfect finishing touch.
Handy Tips
- Always use fresh marshmallows for the best results, as they will melt more smoothly and evenly.
- For an extra crunchy texture, you can add some chopped nuts or a sprinkle of sea salt on top of the bars before they cool.
- Avoid overmixing the marshmallow and Rice Krispie mixture, as this can make the bars dense and tough.
Heat Control
When melting your marshmallows, it’s crucial to keep the heat low to prevent them from burning or turning too golden too quickly. The ideal temperature is just above melting point, and you should stir constantly to ensure even heating. If making your own caramel, be careful not to let it boil over, as this can lead to a bitter taste. The caramel is done when it turns a deep amber color and smells nutty.
Crunch Factor
The crunch in these bars comes from the Rice Krispies and the optional nuts or seeds you might add. To achieve the perfect crunch, press the mixture into the baking dish firmly but gently, ensuring the bars are evenly distributed and not too densely packed. If you find your bars are too soft, you can try baking them in a preheated oven at 300°F for about 10 minutes to dry them out slightly.
Pro Kitchen Tricks
- For easier cleanup, spray your spoon and any other utensils with cooking spray before using them to mix the marshmallow and Rice Krispie mixture.
- If you’re having trouble getting the bars to cut cleanly, try refrigerating them for about 30 minutes before cutting.
- Experiment with different extracts, like vanilla or almond, added to the marshmallow mixture for unique flavor profiles.
Storage Tips
- These bars are best stored in an airtight container at room temperature for up to 3 days. If you live in a humid climate, consider storing them in the refrigerator to keep them fresh.
- For longer storage, you can freeze the bars for up to 2 months. Simply cut them, place them in a single layer in a freezer-safe bag or container, and thaw at room temperature when you’re ready to serve.
- When reheating, a few seconds in the microwave can restore the bars to their gooey, freshly made state. Be cautious not to overheat, as this can cause the caramel to burn.
Gift Packaging Ideas
These bars make a thoughtful and unique gift, especially when packaged with a personal touch. Consider wrapping individual bars in wax paper or cellophane bags and tying with a ribbon. For a more substantial gift, place a selection of bars in a decorative tin or jar, layered with parchment paper to prevent sticking. Add a handwritten note or a sprinkle of decorative salt on top for a finishing touch.
Flavor Variations
- Try adding different spices, like cinnamon or nutmeg, to the marshmallow mixture for a seasonal twist.
- Experiment with creative toppings, such as chopped nuts, shaved chocolate, or even candy pieces, pressed into the top of the bars before they cool.
- Swap out your Rice Krispies for other cereals, like Froot Loops or Cinnamon Toast Crunch, for a fun color and flavor change.
Troubleshooting
- If your bars turn out too hard, it may be because the marshmallow mixture was overcooked. Try reducing the heat or cooking time next time.
- For bars that are too soft, you might have not pressed the mixture into the pan firmly enough. Try refrigerating them for a bit to set before cutting.
- If you’re having trouble with the caramel setting, ensure you’re not stirring it too much after it’s been poured, as this can prevent it from hardening properly.
FAQs
- Can I freeze it? Yes, these bars freeze beautifully. Cut them, place them in a single layer in a freezer-safe bag or container, and thaw at room temperature when you’re ready to serve.
- Is it gluten-free? Yes, as long as you use gluten-free cereal and ensure your caramel and any additives are gluten-free, these bars can be enjoyed by those with gluten intolerance.
- Can I double the recipe? Absolutely. Simply double all the ingredients and adjust the cooking time slightly. Keep an eye on the marshmallow mixture, as it may take a bit longer to melt and combine with the cereal.
Conclusion
With their irresistible combination of textures and flavors, these Salted Caramel Rice Krispie Bars are sure to become a favorite. Whether you’re a seasoned baker looking for a quick dessert or a beginner seeking a recipe to impress, these bars deliver. Don’t be afraid to experiment with different flavors and toppings to make the recipe your own, and enjoy the process of creating something truly special with minimal fuss. So go ahead, get creative, and indulge in the sweet, salty, crunchy goodness of these Irresistible Salted Caramel Rice Krispie Bars.