Craving a childhood treat? These easy homemade Hostess Cupcake Cookies are a quick family favorite made with simple ingredients like chocolate and vanilla, perfect for a weeknight dessert, Save for later
Hostess Cupcake Cookies
Introduction
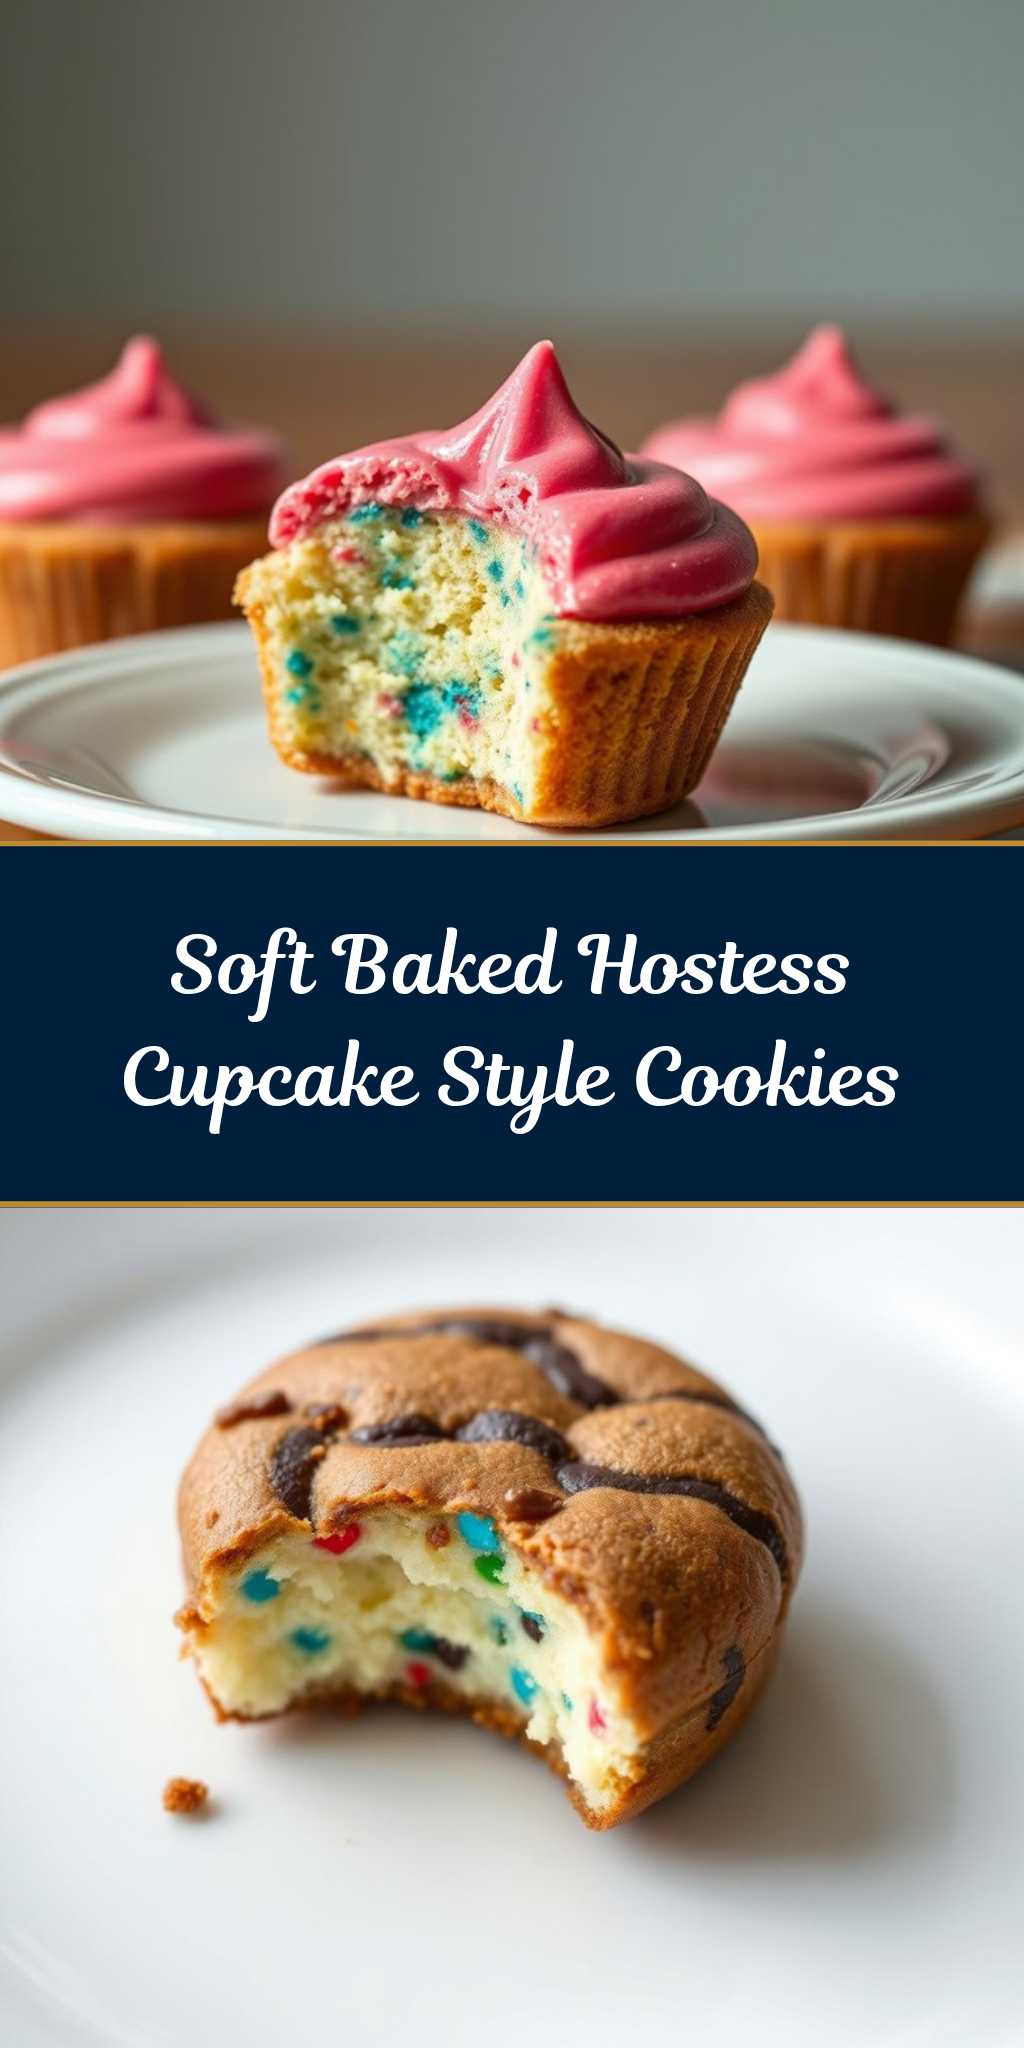
Imagine the classic Hostess cupcake, with its moist, fluffy interior and rich, chocolatey exterior, transformed into a cookie that’s just as delightful. These Hostess Cupcake Cookies are a game-changer for anyone with a sweet tooth, combining the best of both worlds in an easy-to-make, incredibly delicious treat. Using everyday ingredients and requiring minimal effort, these cookies are perfect for a quick dessert fix or as a creative project to enjoy with the family. The beauty of this recipe lies in its accessibility and the freedom to get creative with flavors and decorations, making it an ideal choice for both novice bakers and seasoned pros looking to impress.
Why This Works
- Flavor balance and ingredient accessibility
- Ease of preparation
- Impressive results with minimal effort
Key Ingredients
The magic of these cookies starts with a few key ingredients: soft and chewy chocolate cake mix, which serves as the base and gives the cookies their distinct Hostess cupcake flavor; cream-filled frosting to mimic the creamy filling of the cupcakes; and semi-sweet chocolate chips for an added depth of chocolate flavor. For those looking to make substitutions, using a different flavor of cake mix can offer a fun twist, and experimenting with various types of chocolate chips or chunks can enhance the chocolate experience. Additionally, if you’re looking to make these cookies a bit healthier, using less sugar in the dough or opting for a darker chocolate can reduce the calorie count without sacrificing flavor.
Instructions
- Step 1: Begin by preheating your oven to 375°F (190°C). Line a baking sheet with parchment paper to ensure easy cleanup and to prevent the cookies from sticking. Next, prepare your ingredients by measuring out the cake mix, frosting, chocolate chips, and any additional mix-ins you might be using, such as nuts or sprinkles.
- Step 2: In a large mixing bowl, combine the cake mix, eggs, and oil. Mix until a dough forms. It’s essential to not overmix at this stage to keep the cookies soft and chewy. Fold in the chocolate chips and any other mix-ins you’re using.
- Step 3: Scoop tablespoon-sized balls of dough onto the prepared baking sheet, leaving about 2 inches of space between each cookie to allow for spreading. Bake for 10-12 minutes or until the edges are lightly golden. Remove from the oven and let cool on the baking sheet for 5 minutes before transferring to a wire rack to cool completely.
- Step 4: Once the cookies are cool, it’s time to add the cream filling. You can either use store-bought cream-filled frosting or make your own by whipping together butter, powdered sugar, and a touch of vanilla extract until light and fluffy. Sandwich a small dollop of the frosting between two cookies to create the signature Hostess cupcake effect.
Handy Tips
- For an extra crispy exterior and chewy interior, bake the cookies for 8 minutes, then broil for an additional 1-2 minutes, watching carefully to prevent burning.
- Consider using a cookie scoop to ensure uniform cookie sizes, which helps in achieving consistent baking times and appearances.
- To enhance the chocolate flavor, melt the chocolate chips in the microwave in 10-second increments, stirring between each interval until smooth, and then fold them into the dough for an intense chocolate experience.
Heat Control
Heat control is crucial when baking these cookies. The ideal temperature is 375°F (190°C), and the baking time should be around 10-12 minutes. Signs of doneness include lightly golden edges and a set center. If you prefer a chewier cookie, bake for 8-10 minutes. For a crisper cookie, bake for 12-14 minutes.
Crunch Factor
The crunch factor in these cookies can be adjusted based on your preference. For a softer cookie, bake for the minimum recommended time. For a crunchier exterior, bake for a few minutes longer. Additionally, adding nuts or even crushed cookies to the dough can provide a pleasant texture contrast.
Pro Kitchen Tricks
- Chilling the dough for 30 minutes to an hour before baking can help the cookies retain their shape better and bake up with a more appealing texture.
- Using high-quality chocolate can elevate the flavor profile of the cookies significantly.
- For easier cleanup, consider lining your baking sheet with parchment paper or a silicone mat.
Storage Tips
- These cookies are best stored in an airtight container at room temperature for up to 5 days.
- For longer storage, consider freezing the baked cookies without the filling for up to 2 months. Simply thaw at room temperature or reheat in the microwave when you’re ready to fill and serve.
- When storing, it’s a good idea to place pieces of parchment paper between layers of cookies to prevent them from sticking together.
Gift Packaging Ideas
These cookies make for a wonderful gift, especially when packaged with love. Consider placing them in decorative jars or tin containers lined with parchment paper or colorful tissue paper. Adding a ribbon or a gift tag with a personal message can make the gift even more special. For a more rustic look, you could wrap the cookies individually in plastic wrap or cellophane bags and then place them in a charming basket or box.
Flavor Variations
- Different spices: Adding a pinch of cinnamon, nutmeg, or cardamom can give the cookies a unique and intriguing flavor.
- Creative toppings: Before baking, sprinkle the tops of the cookies with sea salt, chopped nuts, or even candy pieces for added flavor and texture.
- Ingredient swaps: Experimenting with different types of cake mix, such as red velvet or carrot cake, can offer a fun twist on the classic recipe.
Troubleshooting
- Texture problems: If your cookies turn out too hard, they might have been overbaked. Conversely, if they’re too soft, they might not have been baked long enough.
- Ingredient replacements: If you’re out of a specific ingredient, don’t be afraid to get creative with substitutions. For example, using applesauce instead of oil can add moisture and reduce the fat content.
- Over/undercooking signs: Keep an eye on your cookies while they’re baking. Overcooked cookies will be dark around the edges and hard to the touch, while undercooked cookies will be pale and soft.
FAQs
- Can I freeze it? Yes, you can freeze the cookies before filling for up to 2 months. Simply thaw and fill when you’re ready to serve.
- Is it gluten-free? The recipe as described is not gluten-free due to the cake mix. However, you can experiment with gluten-free cake mixes for a gluten-free version.
- Can I double the recipe? Absolutely! Simply double all the ingredients and proceed with the instructions as normal. Keep in mind that baking time might be slightly longer for larger batches.
Conclusion
In conclusion, the Hostess Cupcake Cookies are a delightful treat that combines the nostalgia of childhood snacks with the joy of baking. With their ease of preparation, impressive results, and endless possibilities for creativity, these cookies are sure to become a favorite in any household. Whether you’re a seasoned baker or just starting out, this recipe is a must-try. So go ahead, get baking, and share the love – and the cookies – with your friends and family. Happy baking!