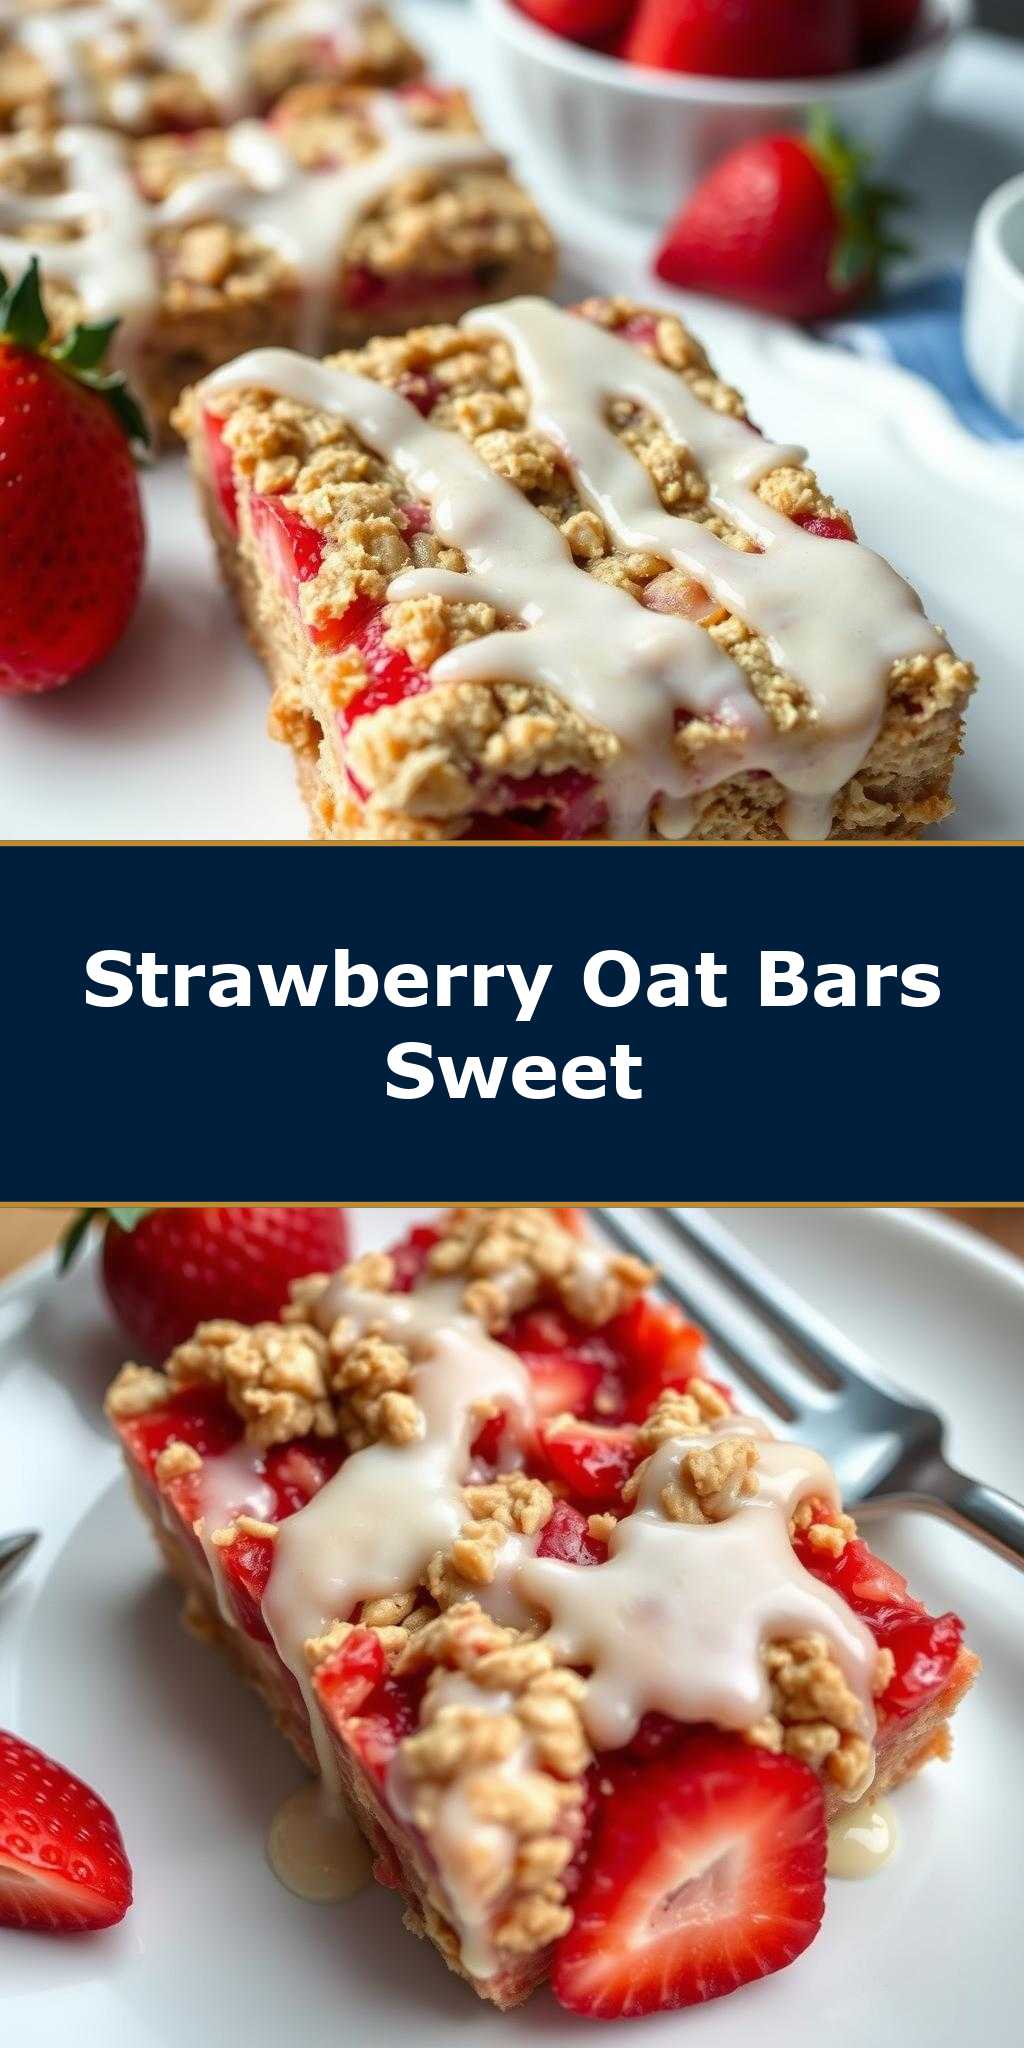
What makes a perfect summer dessert so irresistible? It’s the combination of sweet strawberries and crunchy oatmeal, perfectly balanced in these easy strawberry oatmeal bars with a hint of vanilla from the glaze, made with simple homemade ingredients like fresh strawberries and rolled oats, a quick and easy family favorite treat to save this idea
Easy Strawberry Oatmeal Bars with Vanilla Glaze
Introduction
Imagine a dessert that’s as easy to make as it is delicious, combining the warmth of oatmeal with the sweetness of strawberries and the elegance of a vanilla glaze. The Easy Strawberry Oatmeal Bars with Vanilla Glaze recipe is a perfect blend of flavors and textures, ideal for anyone looking to impress with minimal effort. Using everyday ingredients, this recipe allows for creativity and substitution, making it accessible to everyone. Whether you’re a seasoned baker or a beginner in the kitchen, these bars are sure to become a favorite, perfect for snacking, sharing, or as a centerpiece for any gathering.
Why This Works
- Flavor balance and ingredient accessibility: The combination of strawberries, oatmeal, and vanilla glaze creates a well-rounded flavor profile that’s both comforting and exciting. The ingredients are easily found in most grocery stores, making this recipe highly accessible.
- Ease of preparation: The steps are straightforward, requiring minimal cooking and effort, making it perfect for a quick dessert or snack.
- Impressive results with minimal effort: Despite the ease of preparation, the end result is impressive, both in terms of presentation and taste, making it ideal for potlucks, parties, or as a gift.
Key Ingredients
The main ingredients for this recipe include rolled oats, fresh strawberries, sugar, brown sugar, butter, eggs, vanilla extract, and powdered sugar for the glaze. Practical substitutions can be made, such as using frozen strawberries when fresh ones are out of season, or substituting some of the sugar with honey for a different flavor profile. The vanilla extract can be replaced with almond extract for a nuttier taste, and for those looking for a gluten-free option, gluten-free oats can be used.
Instructions
- Step 1: Begin by preheating your oven to 375°F (190°C). Prepare a 9×9 inch baking dish by lining it with parchment paper. In a medium bowl, whisk together the oats, sugar, and brown sugar. Add in the melted butter, mixing until the mixture is evenly moistened.
- Step 2: Press half of the oat mixture into the prepared baking dish. Bake for 10 minutes, then set aside. In a separate bowl, mix the sliced strawberries with a bit of sugar and let it sit for about 10 minutes, allowing the strawberries to release their juice and soften.
- Step 3: Spread the strawberry mixture over the baked oat layer. Top with the remaining oat mixture, pressing it down gently to ensure it adheres to the strawberry layer. Return to the oven and bake for an additional 25-30 minutes, or until the top is lightly golden brown.
- Step 4: Remove from the oven and let cool completely. Once cooled, prepare the vanilla glaze by whisking together powdered sugar, vanilla extract, and a small amount of milk until smooth. Drizzle the glaze over the cooled bars before cutting into squares and serving.
Handy Tips
- For a crisper top, bake the oat mixture for an additional 5 minutes. Keep an eye on it to prevent burning.
- Don’t overmix the strawberry mixture to preserve the texture of the strawberries.
- Experiment with different types of milk in the glaze for varying flavors, such as almond milk for a non-dairy option.
Heat Control
Heat control is crucial in this recipe, especially when baking the oat layers. The ideal temperature is 375°F (190°C), and the baking times are 10 minutes for the first layer and 25-30 minutes for the final layer. Signs of doneness include a lightly golden brown top and a set texture. It’s essential to keep an eye on the bars during the last 10 minutes of baking to prevent overcooking.
Crunch Factor
The crunch factor in these bars comes from the oat topping. To achieve the perfect crunch, press the oat mixture down gently but firmly onto the strawberry layer. This ensures that the oats bake evenly and provide a satisfying crunch when biting into the bars. The bottom layer, which is baked first, will also have a crunch to it, providing a nice textural contrast to the soft strawberries and crunchy top.
Pro Kitchen Tricks
- For easier cutting, refrigerate the bars for about 30 minutes before slicing. This will help the layers set and make cutting cleaner and more precise.
- To prevent the bars from becoming too soggy, don’t overbake, and make sure the strawberry layer isn’t too wet. You can achieve this by not mixing the strawberries too much and by baking the bottom layer until it’s lightly golden, which will help absorb some of the moisture from the strawberries.
- Consider using a pastry brush to apply a small amount of egg wash (beaten egg mixed with a little water) to the top oat layer before baking for an extra golden brown finish.
Storage Tips
- These bars can be stored in an airtight container at room temperature for up to 3 days. For longer storage, they can be refrigerated for up to 5 days or frozen for up to 2 months. When freezing, it’s best to cut the bars first, then freeze them in a single layer on a baking sheet before transferring them to a freezer-safe bag or container.
- For reheating, simply thaw frozen bars at room temperature or refrigerate them overnight. Bars stored in the refrigerator can be served chilled or allowed to come to room temperature before serving.
Gift Packaging Ideas
These strawberry oatmeal bars are perfect for gifting, especially when packaged nicely. Consider placing them in a decorative tin or a glass jar with a ribbon around it. You can also wrap individual bars in parchment paper or cellophane bags and tie them with a twine for a more rustic look. Adding a handwritten note or a small bag of gourmet coffee can elevate the gift, making it a thoughtful and delicious present for friends, family, or coworkers.
Flavor Variations
- Different spices: Try adding a pinch of cinnamon, nutmeg, or cardamom to the oat mixture for a unique twist.
- Creative toppings: Before baking the final layer, sprinkle some chopped nuts, chocolate chips, or dried cranberries on top for added texture and flavor.
- Ingredient swaps: Replace strawberries with other fruits like blueberries, raspberries, or peaches for a different flavor profile. You can also use different types of sugar or honey for a distinct taste.
Troubleshooting
- Texture problems: If the bars turn out too soggy, it might be due to overbaking the bottom layer or using too many strawberries. If they’re too dry, the top layer might have been overbaked.
- Ingredient replacements: Always consider the flavor and texture profile when substituting ingredients. For example, using frozen strawberries will result in a softer texture compared to fresh strawberries.
- Over/undercooking signs: Keep an eye on the bars during baking. Undercooked bars will be soft and possibly soggy, while overcooked bars will be dry and possibly burnt.
FAQs
- Can I freeze it? Yes, these bars can be frozen for up to 2 months. It’s best to freeze them after they’ve been cut for easier thawing and serving.
- Is it gluten-free? The recipe can be made gluten-free by using gluten-free oats. Always ensure that the other ingredients, especially the vanilla extract, are gluten-free as well.
- Can I double the recipe? Yes, the recipe can be doubled. Just keep in mind that you’ll need a larger baking dish and possibly a bit more baking time. Keep an eye on the bars to ensure they don’t overcook.
Conclusion
Making the Easy Strawberry Oatmeal Bars with Vanilla Glaze is a delightful experience that combines simplicity with impressive results. With its accessible ingredients and straightforward instructions, this recipe is perfect for anyone looking to create a delicious dessert without spending too much time in the kitchen. Feel free to experiment with different flavors and ingredients to make the recipe your own, and don’t hesitate to share your creations with friends and family. The joy of cooking lies not just in the eating, but in the sharing and the love that goes into every dish. So, go ahead, get creative, and enjoy the process of making something truly special.