What makes the perfect summer dessert so irresistible? For me, it’s the combination of sweet pineapple and a buttery crust in these easy homemade dessert bars. Made with fresh pineapple and a simple shortbread crust, they’re a quick family favorite. Save this idea for your next weeknight treat.
Pineapple Dream Dessert Bars
Introduction
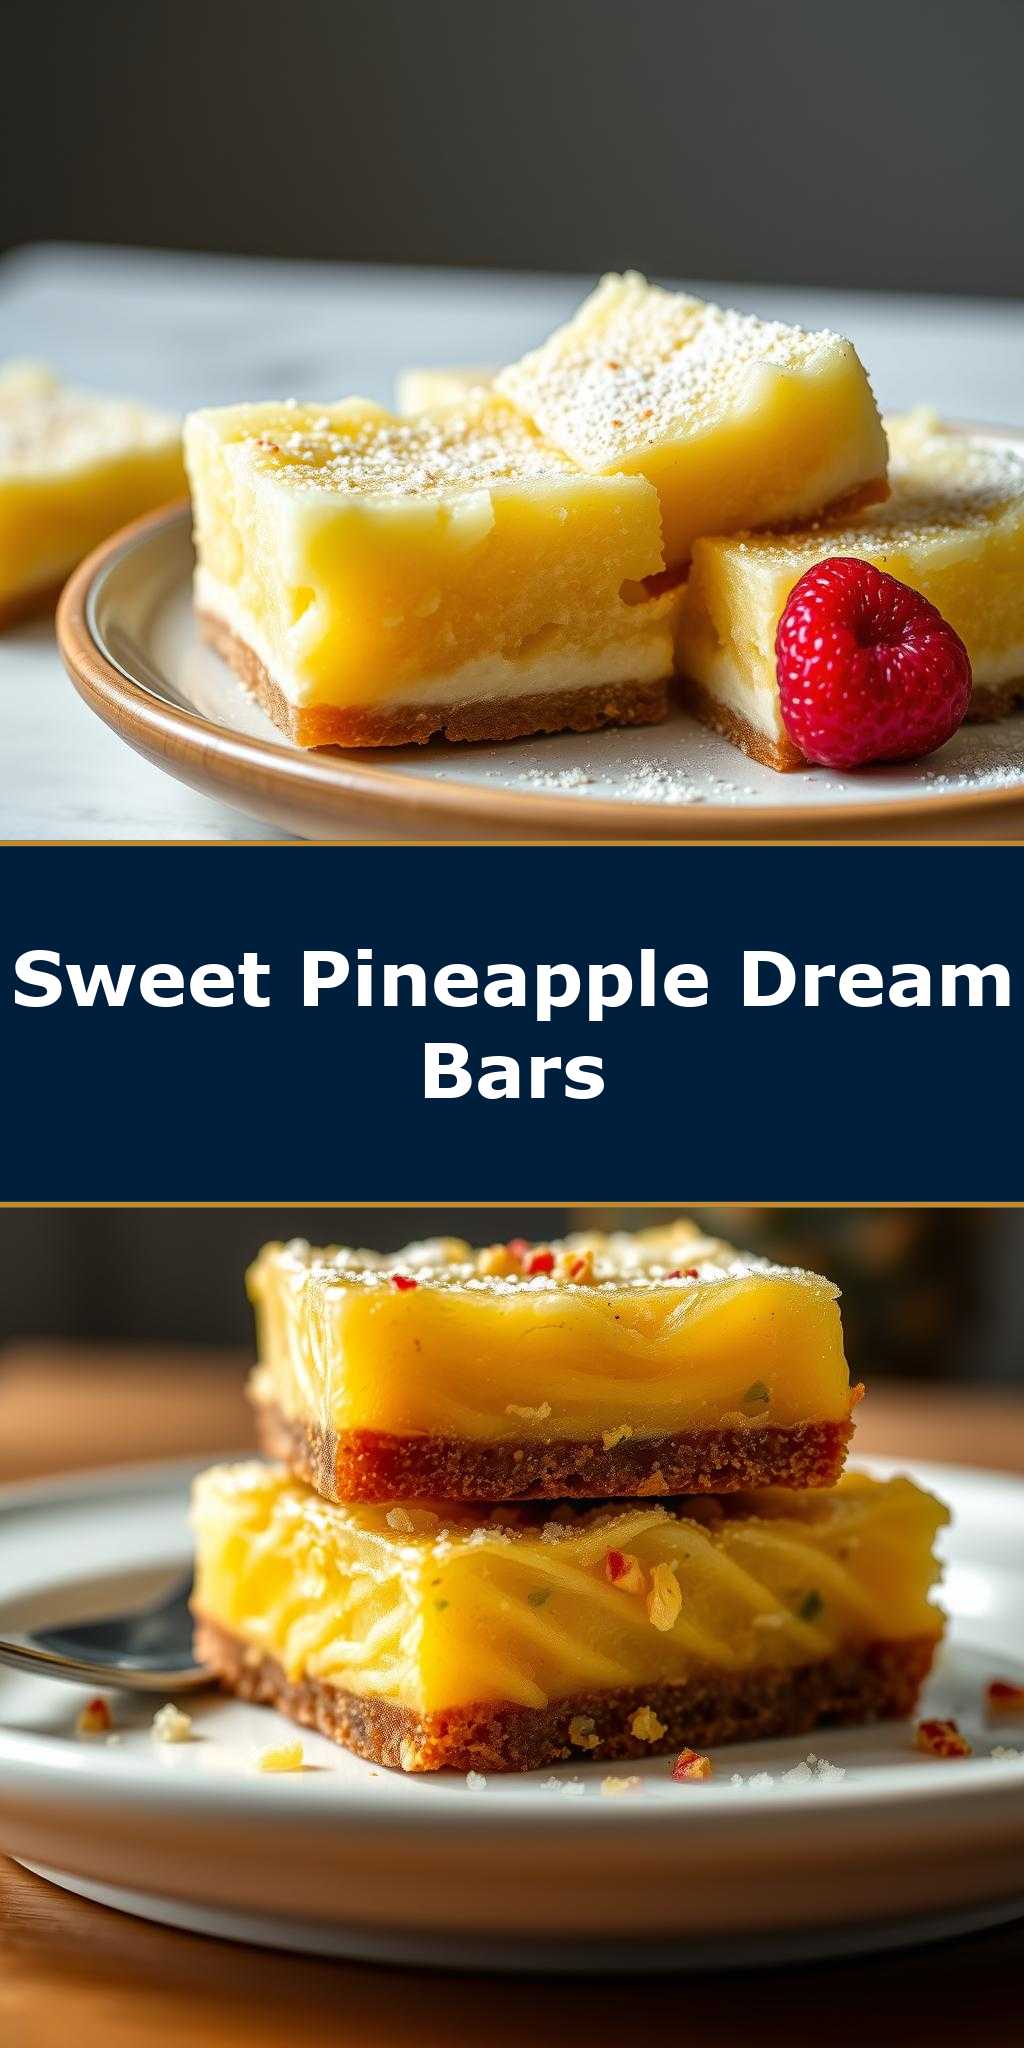
Imagine a dessert that’s as sweet as a dream, with the tropical flavor of pineapple, the crunch of a buttery crust, and the simplicity of a recipe that can be made with everyday ingredients. The Pineapple Dream Dessert Bars are a creative and delicious treat that combines the best of flavors and textures, making them perfect for any occasion, whether it’s a family gathering, a potluck, or just a sweet indulgence. With their ease of preparation, impressive results, and the versatility to be customized to your taste, these bars are sure to become a favorite among both kids and adults.
Why This Works
- Flavor balance and ingredient accessibility: The combination of pineapple, coconut, and a hint of spice creates a balanced and intriguing flavor profile that’s easy to achieve with commonly found ingredients.
- Ease of preparation: The recipe is straightforward and requires minimal cooking, making it perfect for beginners or those looking for a quick dessert solution.
- Impressive results with minimal effort: Despite the simplicity of the recipe, the final product is visually appealing and tastes like a professional dessert, sure to impress your guests or family members.
Key Ingredients
The Pineapple Dream Dessert Bars rely on a few key ingredients to achieve their unique flavor and texture. These include fresh pineapple, desiccated coconut, a crunchy biscuit base made from digestive biscuits or a similar substitute, condensed milk for sweetness and creaminess, and a touch of cinnamon or nutmeg for depth. Practical substitutions can be made for some ingredients, such as using canned pineapple if fresh is not available, or experimenting with different types of biscuits for the base. The beauty of this recipe lies in its flexibility and the ability to adjust ingredients based on personal preferences or dietary needs.
Instructions
- Step 1: Begin by preparing your ingredients. Chop the fresh pineapple into small pieces, and if using, toast the desiccated coconut lightly in a pan to enhance its flavor. Measure out the condensed milk, spices, and biscuits.
- Step 2: Cook or mix the base ingredients. Start by crushing the biscuits in a blender or placing them in a plastic bag and crushing them with a rolling pin. Mix the crushed biscuits with melted butter until well combined, then press this mixture into a lined or greased baking dish. Bake in a preheated oven until lightly browned.
- Step 3: Layer the flavors or textures. Once the base is ready, mix the condensed milk with the chopped pineapple, toasted coconut, and a pinch of spice. Pour this mixture over the cooled biscuit base and refrigerate until set.
- Step 4: Final touches and plating. After the dessert has set, cut it into bars. You can garnish with additional toasted coconut or a sprinkle of cinnamon. Serve chilled and enjoy the delightful combination of textures and flavors.
Handy Tips
- Always use high-quality ingredients, especially the pineapple, as it will greatly affect the flavor of the dessert. If fresh pineapple is not in season, consider using canned pineapple in juice, drained and rinsed.
- For a gluten-free version, ensure the biscuits used for the base are gluten-free. There are many gluten-free biscuit options available in stores or you can make your own using gluten-free flours.
- To avoid a soggy base, make sure the biscuit mixture is pressed firmly into the baking dish and baked until it’s lightly browned. Also, don’t overbake, as this can make the base too hard.
Heat Control
If heat is used, such as toasting the coconut or baking the biscuit base, it’s crucial to control the temperature and timing. For toasting coconut, use a low heat and stir frequently to avoid burning. For baking the base, preheat your oven to 350°F (180°C) and bake for about 10-12 minutes, or until the edges are lightly browned. Keep an eye on it, as the baking time may vary depending on your oven and the thickness of the base.
Crunch Factor
The crunch in these dessert bars comes from the toasted coconut and the biscuit base. To achieve the perfect crunch, ensure that the coconut is toasted until it’s lightly browned and fragrant, and the biscuit base is baked until it’s firm to the touch and lightly browned at the edges. The combination of these crunchy elements with the smooth pineapple and condensed milk mixture creates a delightful texture contrast that enhances the overall dessert experience.
Pro Kitchen Tricks
- Use a food processor to crush the biscuits for a finer texture and to mix the filling ingredients for a smoother consistency.
- Line your baking dish with parchment paper for easy removal of the dessert bars once they’re set.
- Experiment with different spices, like cinnamon, nutmeg, or cardamom, to give your dessert bars a unique flavor profile.
Storage Tips
- These dessert bars can be stored in an airtight container in the refrigerator for up to 5 days. Allow them to come to room temperature before serving for the best flavor and texture.
- For longer storage, consider freezing the bars. Place them in a single layer in a freezer-safe container or bag, and they can be frozen for up to 2 months. Thaw frozen bars in the refrigerator overnight before serving.
- When transporting or storing, keep the bars away from direct sunlight and heat sources to prevent melting or becoming soggy.
Gift Packaging Ideas
If you’re considering gifting these delicious dessert bars, there are several creative ways to package them. Place the bars in a decorative tin or a gift box lined with parchment paper. You can also wrap each bar individually in plastic wrap or aluminum foil and then place them in a gift basket or bag. Adding a personal touch, such as a handwritten note or a sprinkle of toasted coconut on top, can make the gift even more special and thoughtful.
Flavor Variations
- Different spices: Try adding a pinch of salt, a sprinkle of cinnamon, or a few grinds of nutmeg to the filling for added depth of flavor.
- Creative toppings: Experiment with different toppings such as chopped nuts, shredded coconut, or even a drizzle of caramel sauce to add texture and flavor contrast.
- Ingredient swaps: Substitute the pineapple with another fruit like peaches or mandarin oranges for a different flavor profile. You can also use different types of milk or cream for the filling, such as almond milk or heavy cream, to change the consistency and flavor.
Troubleshooting
- Texture problems: If the base becomes too soggy, it may be due to overbaking or using too much butter. If the filling is too runny, refrigerate it for a few hours to set before pouring it over the base.
- Ingredient replacements: Always read the labels of substitute ingredients to ensure they fit your dietary needs. For example, if using gluten-free biscuits, check that they are also free from other allergens if necessary.
- Over/undercooking signs: Keep an eye on the base while it’s baking, as the edges should be lightly browned. If the filling doesn’t set, it may not have been refrigerated long enough or the consistency of the condensed milk might be off.
FAQs
- Can I freeze it? Yes, these dessert bars can be frozen for up to 2 months. Simply place them in a single layer in a freezer-safe container or bag and thaw in the refrigerator overnight when you’re ready to serve.
- Is it gluten-free? The recipe can be made gluten-free by using gluten-free biscuits for the base. Always check the ingredient labels to ensure all components are gluten-free.
- Can I double the recipe? Yes, you can easily double or triple the recipe if you’re serving a larger crowd. Just ensure you have a large enough baking dish to accommodate the increased quantity.
Conclusion
The Pineapple Dream Dessert Bars are a testament to the magic that happens when simple, everyday ingredients come together in a creative and delicious way. With their unique flavor profile, ease of preparation, and the flexibility to be customized to suit various tastes and dietary needs, these bars are sure to become a staple in your dessert repertoire. Whether you’re a seasoned baker or a beginner in the kitchen, this recipe is a must-try. So go ahead, experiment with the ingredients, share your creations with friends and family, and enjoy the joy of baking and sharing delicious food.