Looking for a delicious homemade bread recipe? This easy beetroot bread is a perfect weeknight dinner solution, made with roasted beetroot and simple ingredients. Save for later and enjoy!
Beetroot Bread
Introduction
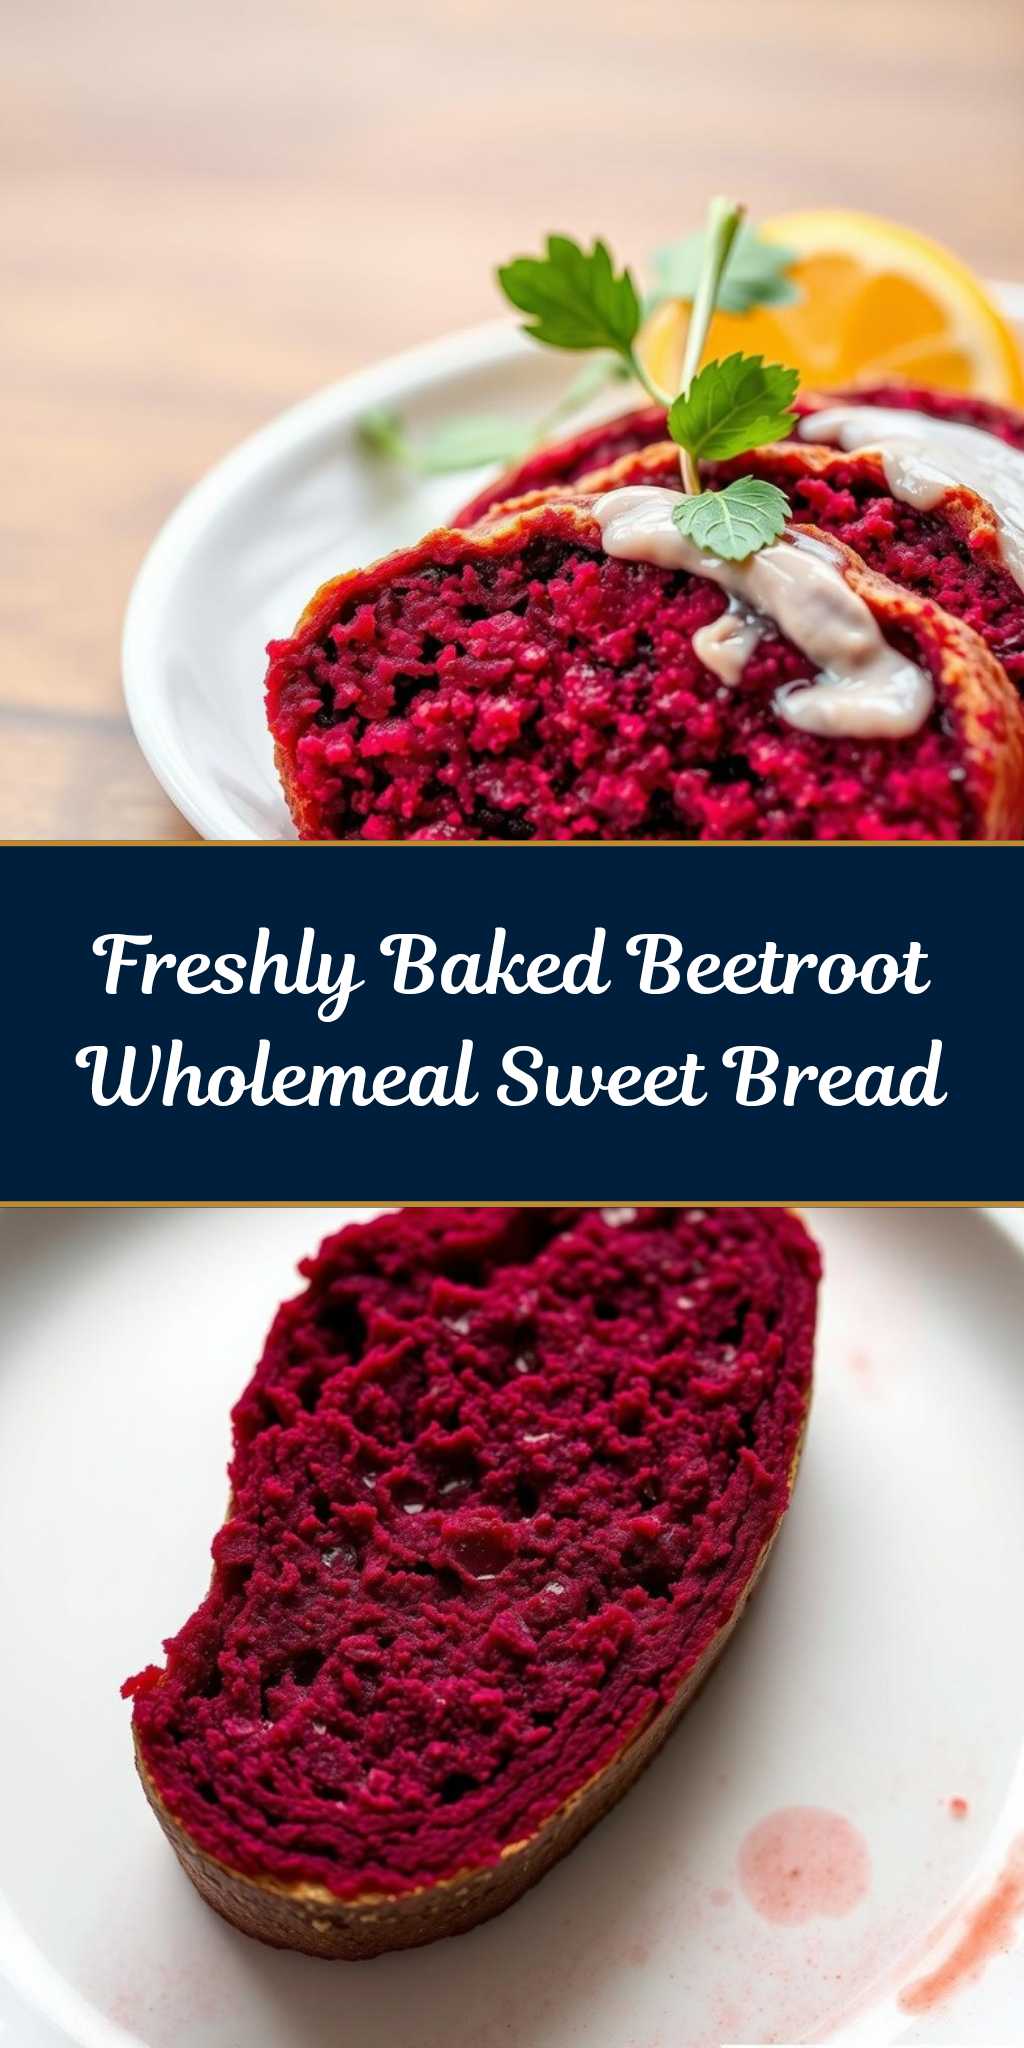
Imagine sinking your teeth into a moist, flavorful loaf of bread, its vibrant color and subtle sweetness hinting at the secret ingredient that sets it apart: beetroot. This beetroot bread recipe is a masterclass in simplicity, requiring minimal effort for a dish that’s as much a feast for the eyes as it is for the taste buds. By combining everyday ingredients in a creative way, you’ll achieve a flavor balance that’s both earthy and inviting. Whether you’re a seasoned baker or a culinary newcomer, this recipe promises to delight, using beetroot to add a unique twist to traditional bread-making.
Why This Works
- Flavor balance and ingredient accessibility: The beauty of this recipe lies in its use of readily available ingredients, combined in a way that balances earthy sweetness with savory depth.
- Ease of preparation: Despite its impressive outcome, the process of making beetroot bread is straightforward and accessible, requiring no special equipment or advanced baking skills.
- Impressive results with minimal effort: The addition of beetroot not only adds a pop of color but also a layer of sophistication, making this bread perfect for special occasions or as a unique offering for everyday meals.
Key Ingredients
The core of this recipe revolves around a few key ingredients: beetroot, flour, yeast, salt, sugar, and olive oil. The beetroot, which can be cooked and pureed beforehand, adds moisture, flavor, and its distinctive color. All-purpose flour provides the structure, while yeast ensures the bread rises beautifully. Salt and sugar are used in moderation to enhance flavors, and olive oil adds a richness and tenderness to the crumb. For those looking for substitutions, coconut sugar can replace regular sugar, and if you’re looking for a gluten-free option, consider using a gluten-free flour blend, though this may affect the texture and rise of the bread.
Instructions
- Step 1: Begin by preparing your beetroot. Wrap it in foil and roast it in the oven at 425°F (220°C) for about 45 minutes, or until it’s tender when pierced with a fork. Let it cool, then peel and puree it in a blender or food processor until smooth.
- Step 2: In a large mixing bowl, combine the warm water, yeast, and a pinch of sugar. Let it sit for 5-10 minutes, allowing the yeast to activate. It should become frothy and bubbly. Then, add the flour, salt, olive oil, and beetroot puree. Mix until a shaggy dough forms.
- Step 3: Knead the dough on a floured surface for about 10 minutes, until it becomes smooth and elastic. You can also use a stand mixer with a dough hook attachment for this step. Place the dough in a greased bowl, cover it with a damp cloth, and let it rise in a warm place for about an hour, or until it has doubled in size.
- Step 4: Preheat your oven to 375°F (190°C). Punch down the dough and shape it into a round or oblong loaf. Place it onto a baking sheet lined with parchment paper, cover it with a clean towel, and let it rise for another 30-45 minutes. Bake for 35-40 minutes, or until the bread sounds hollow when tapped on the bottom and is golden brown.
Handy Tips
- When working with beetroot, wear gloves to avoid staining your hands. Also, be mindful of surfaces and utensils that might be colored by the beet juice.
- For a more intense flavor, you can add a teaspoon of dried herbs like thyme or rosemary to the dough.
- Avoid overmixing the dough, as this can lead to a dense bread. Mix just until the ingredients come together, then rely on the kneading process to develop the gluten.
Heat Control
Temperature control is crucial in bread baking. Ensure your oven is preheated to the correct temperature (375°F or 190°C) before baking. The baking time may vary depending on your oven, so keep an eye on the bread after 30 minutes. It’s done when it sounds hollow when tapped on the bottom and has a nice golden crust. If you’re unsure, it’s better to err on the side of underbaking than overbaking, as the bread will continue to cook a bit after it’s removed from the oven.
Crunch Factor
The ideal texture for beetroot bread is a crispy crust giving way to a soft, airy interior. To achieve this, ensure you don’t overbake, and consider using a baking stone in the oven to enhance the crust’s crunch. If you prefer a softer crust, you can brush the bread with a little water or egg wash before baking.
Pro Kitchen Tricks
- Use a thermometer to ensure your ingredients are at the right temperature, especially the water for activating the yeast, which should be between 100°F and 110°F (38°C to 43°C) for optimal yeast activation.
- Let the dough rest for a longer time if you’re not in a hurry. A slower rise can result in a more complex flavor and better texture.
- For an easier cleanup, lightly flour your work surface and hands before kneading the dough.
Storage Tips
- Once the bread is completely cool, store it in an airtight container at room temperature for up to 3 days. You can also freeze it for up to 2 months. When freezing, consider slicing the bread to make it easier to thaw and use only what you need.
- For reheating, wrap the bread in foil and warm it in the oven at 350°F (180°C) for about 10 minutes. You can also toast slices for a crispy snack.
- When storing, keep in mind that beetroot bread, like any bread, is best consumed fresh. However, its moisture content, courtesy of the beetroot, might make it slightly more prone to mold than traditional bread, so monitor it closely.
Gift Packaging Ideas
Beetroot bread makes a wonderful gift, especially when presented thoughtfully. Consider wrapping a cooled loaf in a colorful tea towel or a paper bag with a ribbon. You could also slice the bread, package it in a decorative tin or jar, and add a few of your favorite spreads or cheeses for a complete gift. For a more rustic look, wrap the bread in parchment paper and twine, adding a handwritten note with the recipe or a personal message.
Flavor Variations
- Different spices: Try adding a pinch of cumin for a smoky depth or coriander for a slightly sweet and citrusy note.
- Creative toppings: Before baking, brush the loaf with olive oil and sprinkle with sesame seeds, poppy seeds, or even grated cheese for added texture and flavor.
- Ingredient swaps: For a slightly different flavor profile, you can substitute some of the all-purpose flour with whole wheat flour or experiment with other types of flour like spelt or rye.
Troubleshooting
- Texture problems: If your bread turns outdense, it might be due to overmixing the dough. If it’s too crumbly, the dough might have been too dry or not kneaded enough.
- Ingredient replacements: If you’re out of yeast, consider using baking powder as a substitute, though this will change the nature of the bread significantly, making it more like a quick bread.
- Over/undercooking signs: Keep an eye on your bread’s color and sound. A well-baked loaf will be golden brown and sound hollow when tapped. If it’s pale, it might not be fully cooked, and if it’s too dark, it could be overcooked.
FAQs
- Can I freeze it? Yes, you can freeze the bread for up to 2 months. It’s best to freeze it after it’s cooled completely, and consider slicing it before freezing for easier thawing and use.
- Is it gluten-free? The basic recipe includes all-purpose flour, which contains gluten. However, you can experiment with gluten-free flour blends as a substitute, keeping in mind that the texture and rise might be affected.
- Can I double the recipe? Yes, you can easily double or even triple the recipe if you’re planning to make more bread. Just ensure you have a large enough mixing bowl and baking sheet to accommodate the larger dough and loaves.
Conclusion
Making beetroot bread is a journey of discovery, from the vibrant color of the beetroot to the earthy sweetness of the final loaf. It’s a recipe that encourages creativity and experimentation, whether you’re playing with different spices, toppings, or types of flour. As you share slices with family and friends, or gift a beautifully wrapped loaf, remember that the joy of baking lies not just in the end product, but in the process itself. So, don’t be afraid to try new things, to adapt recipes to your taste, and to enjoy the simple pleasures of homemade bread, fresh from your oven.